 Halloween
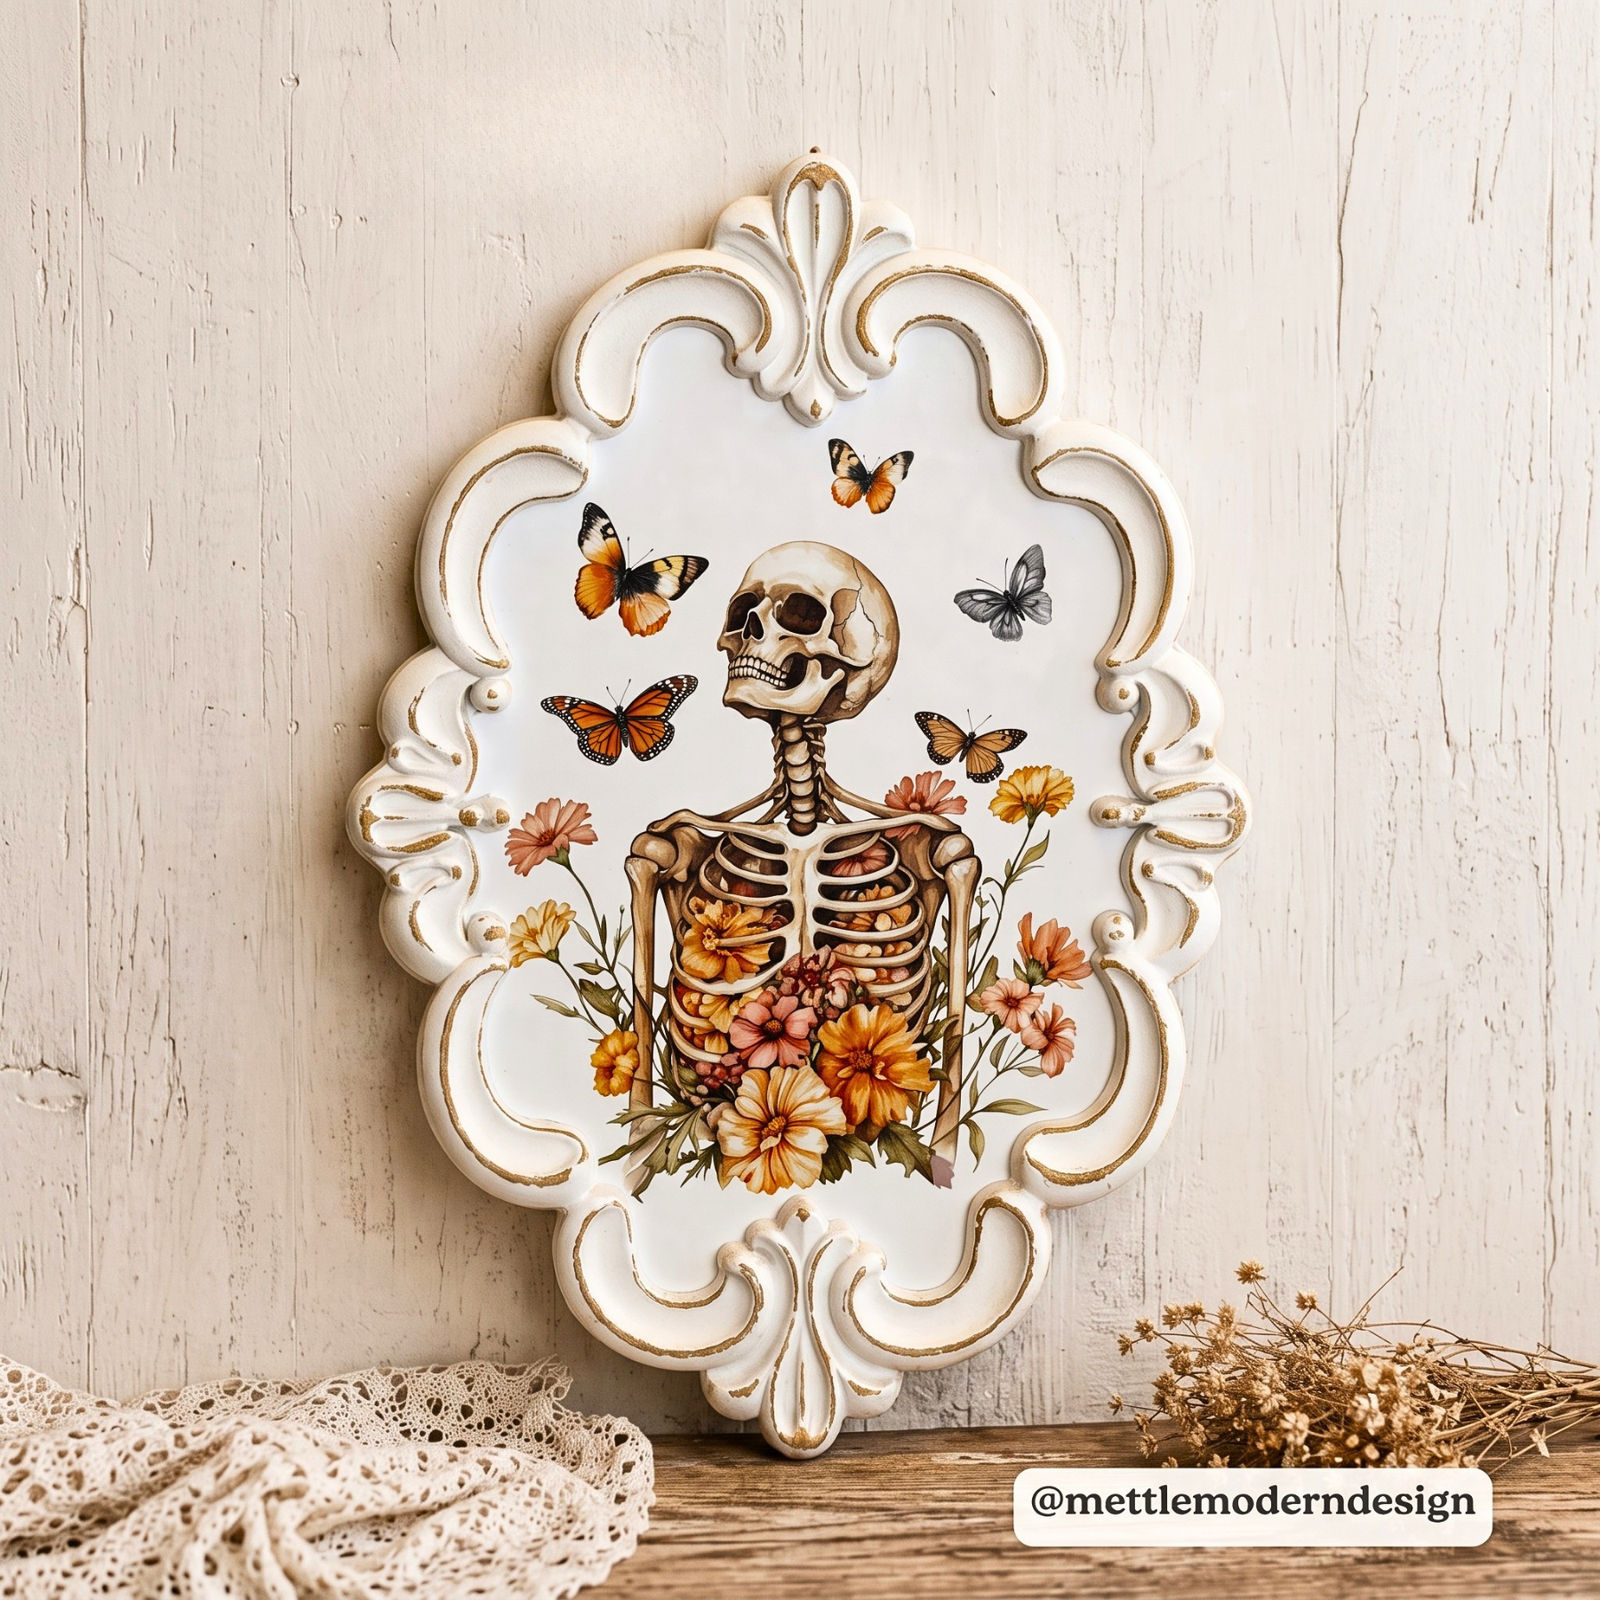
 Bones, Blossoms & Butterflies: Create a Spooky Plaque in Minutes!
Featuring Amanda Dillon
Turn a simple ornate wood plaque into a hauntingly beautiful piece of Halloween décor! 👻 With the Bones to ...


Halloween decorating doesn’t have to be complicated. Sometimes a small wood tag, a little rice paper, and a few spooky stencil details are all you need!
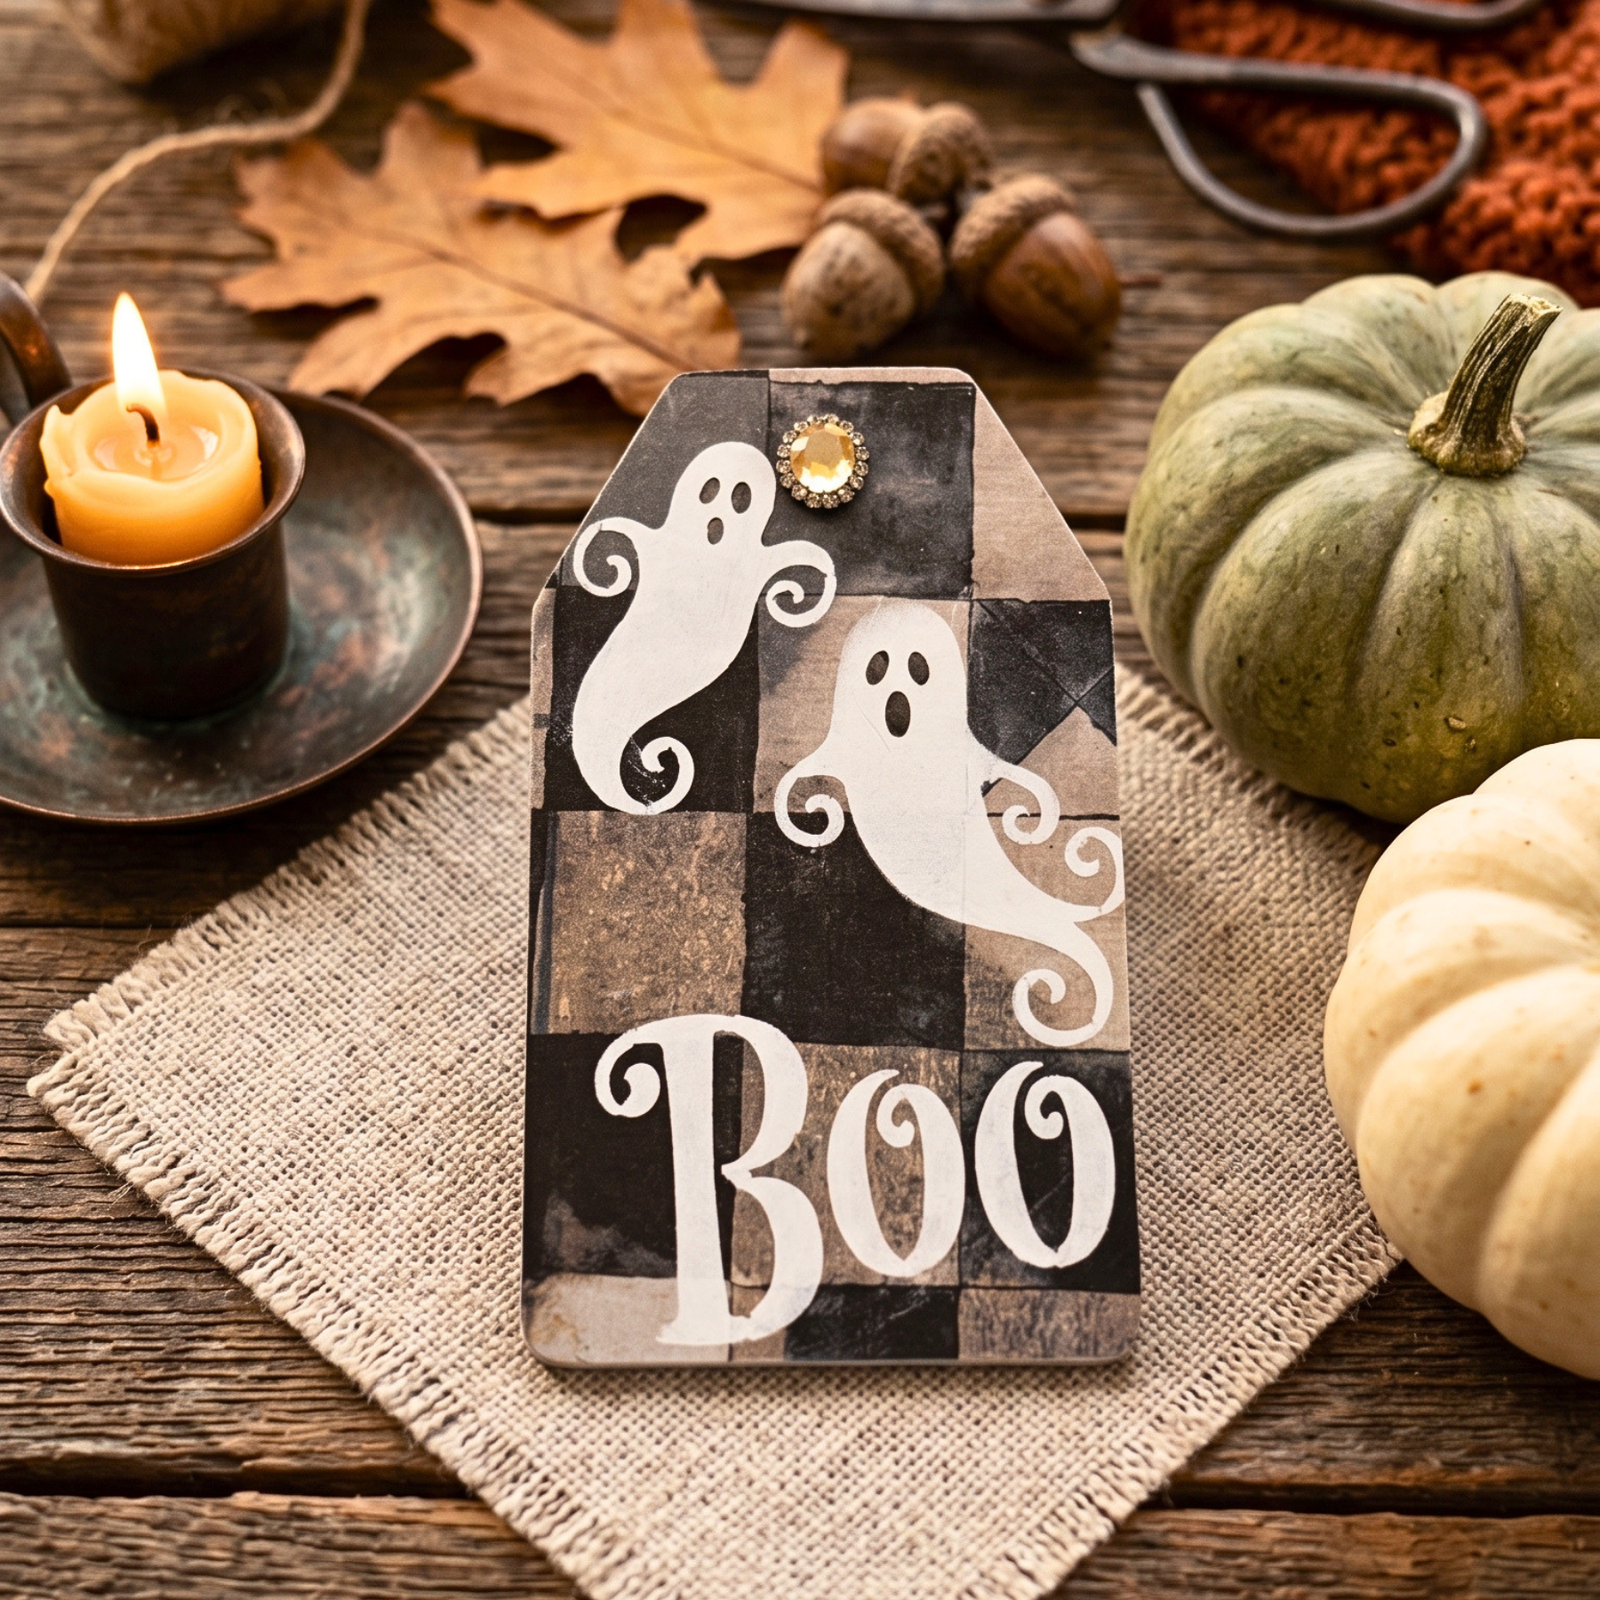
In this project, Melissa Bradshaw of Junk and Craft Treasures creates an adorable little Boo ghost tag using a checkerboard rice paper background, the Hey Boo stencil, and coordinating Ghost Faces. It’s a quick project with plenty of room to add your own finishing touches.
Melissa loves giving simple pieces a little extra personality, and this tag is no exception. Add orange ribbon, twine, or display it alongside your favorite Halloween decor.
Start by painting your small wooden tag with white paint. Allow it to dry completely before moving on.

Why start with white? A light-colored base helps the colors and design of your rice paper show up beautifully.
Once the paint is dry, apply a good coat of decoupage glue over the entire tag. Add glue to the back of your checkerboard rice paper, then carefully place it onto the tag.
Smooth the rice paper down gently. Melissa uses a blow dryer on low heat to help the paper adhere evenly.

Let the rice paper dry completely before sanding. Working with damp rice paper can cause it to tear.
Once everything is dry, gently remove the excess paper around the edges. You can carefully rip away the excess or use a sander for a clean finish.

Finish the background with another coat of decoupage glue over the rice paper. This seals the surface and gives you a nice base for stenciling.

Now it’s time for the fun part! Grab the Mid-Century Halloween Stencil Set and find the Hey Boo stencil.
Cover the stencil areas you don’t need, then position the word “Boo” toward the bottom of the tag.

Using white paint and a stencil brush, lightly fill in the design. Be sure to offload excess paint onto a shop towel before touching the stencil.
Less paint is better when stenciling. A lightly loaded brush helps prevent paint from bleeding underneath the stencil.
Apply two coats, allowing the first coat to dry before adding the second.
Reposition the same Hey Boo stencil above the word “Boo” to add the two little ghosts.

Use the same white paint and apply two coats to each ghost so the checkerboard background doesn’t show through.
Once the ghosts are dry, use the Detail Brush Set with a little white paint to close up the stencil bridges.

Simply offload your detail brush and lightly tap or drag the paint over the small bridge areas. Take your time and add a little more paint as needed.
Now for the cutest part! Find the Ghost Faces stencil from the same set and line it up over your two ghosts.

Using a Mini Stencil Brush and black paint, carefully fill in the faces.
Remember to offload your brush first. One coat of black paint is all you need here. Let it dry completely.
And just like that, your spooky-cute Boo tag is finished!

You could leave the tag just as it is, or add a little extra personality with a pop of orange ribbon or some twine.
Display your finished Boo tag on a shelf, tiered tray, Halloween vignette, or alongside your favorite ceramic ghosts.
This project is a great example of how a few simple layers can transform a small wood blank. The checkerboard background adds pattern, while the white ghosts and bold black faces give the piece plenty of Halloween character.
Ready to make your own? Pick up the Mid-Century Halloween Stencil Set and your favorite stencil brushes, then create a little Boo tag of your own!
Happy Halloween crafting! 🎃👻
Halloween Featuring Amanda Dillon
 Fall 2026
 Featuring Tammy Muto
 Fall 2026
 Featuring Sharon Hankins

