
 Halloween
 Meet Your New Favorite Halloween Skeletons! 🖤✨
Featuring Melissa Bradshaw
Turn simple wood panels into spooky statement pieces! 🖤💀 See how Melissa from Junk and Craft Treasures laye...


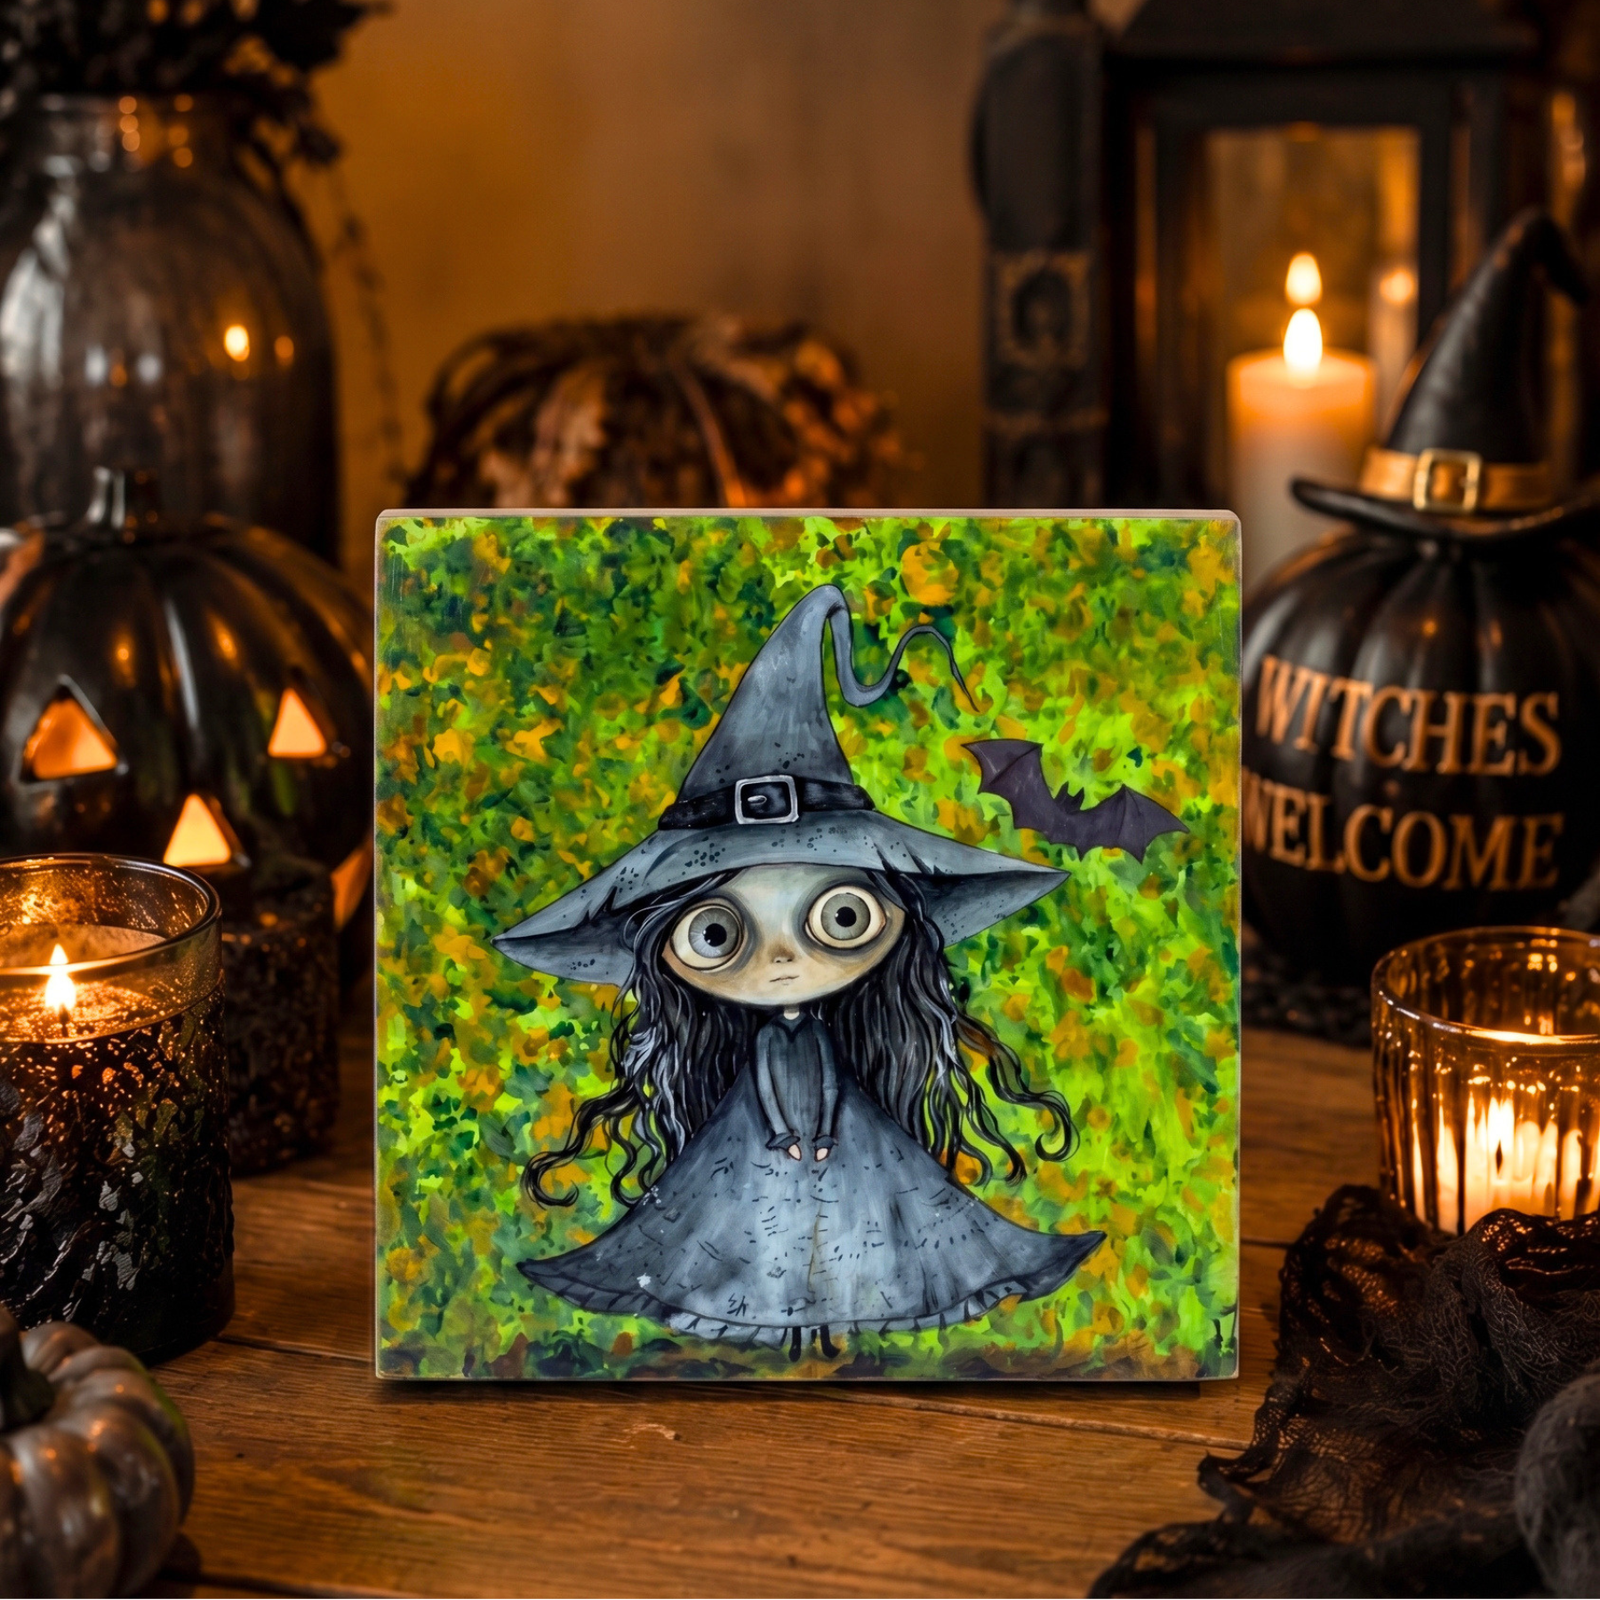
Want to make a Halloween project that is quick, colorful, and a little bit different? Tammy from Cheers to Creativity is showing us how to create a fun speckled background using something you probably already have at home: bubble wrap!
This simple 6" x 6" wood board starts with a bright Sour Apple green base, gets a little texture from bubble wrap, and is finished with adorable Halloween rub-on transfers. The result is spooky, playful, and easy to customize with your favorite colors and designs.
If you enjoy crafty tips and creative techniques, be sure to follow Tammy Muto of Cheers to Creativity for more DIY inspiration. Tammy shares crafty ideas regularly and offers the code CHEERS for savings at checkout.
Start with a 6" x 6" wood board. Apply Sour Apple paint evenly across the front and all four sides.

Make sure the edges get a good coat, too. It doesn't need to be perfectly smooth because we'll be adding texture over the top.
Keep the green paint slightly damp for the next step.
Take a piece of bubble wrap and dab small amounts of dark green and yellow paint onto it. Then gently press the bubble wrap onto the board.

Think of it like sponging, but with bubble wrap. Press, lift, and move around the board. Vary the placement to create a speckled texture that's either bold or subtle.
Once the background is completely dry, it's time for the star of the project.
Choose the adorable witch from the Moonlight Mischief Rub-On Transfer Set and carefully cut around the design.

Position the witch in the center of the board. Once you're happy with the placement, burnish the transfer firmly so all of the little details adhere smoothly.
Slowly peel away the backing, checking as you go to make sure the entire design is releasing properly.
Take your time around the small details. A little extra burnishing can help make sure every part of the transfer sticks beautifully.
For one more Halloween detail, choose a small bat from the Wildflower Ghosts Rub-On Transfer Set.
Cut out the bat and position it near the top of the witch. Burnish it firmly, then carefully remove the backing.

This tiny addition gives the design another spooky focal point without taking attention away from the witch.
The final step is a little black shading along the bottom of the board.
Using a Mini Stencil Brush and black paint, offload most of the paint before brushing lightly along the bottom edge.

Keep the black shading soft and subtle. You're not trying to create a heavy border. Just add enough depth to ground the design and give the board a finished appearance.
And that's it! A bright and playful Halloween board made with a simple paint technique, bubble wrap, and a couple of adorable transfers.

The combination of Sour Apple green, speckled bubble-wrap texture, and the cute Moonlight Mischief witch makes this project perfect for Halloween decorating.
Best of all, you can easily make it your own. Try a different background color, swap in another transfer, or change the amount of texture for a completely different look.
Ready to create your own spooky sign? Shop the Moonlight Mischief Rub-On Transfer Set and start creating!
Follow along with Tammy from Cheers to Creativity as she creates this fun Halloween board using bubble wrap and rub-on transfers!
Halloween Featuring Melissa Bradshaw
 Christmas 2026
 Featuring Sharon Hankins
 Halloween
 Featuring Melissa Miller

