 Christmas 2026
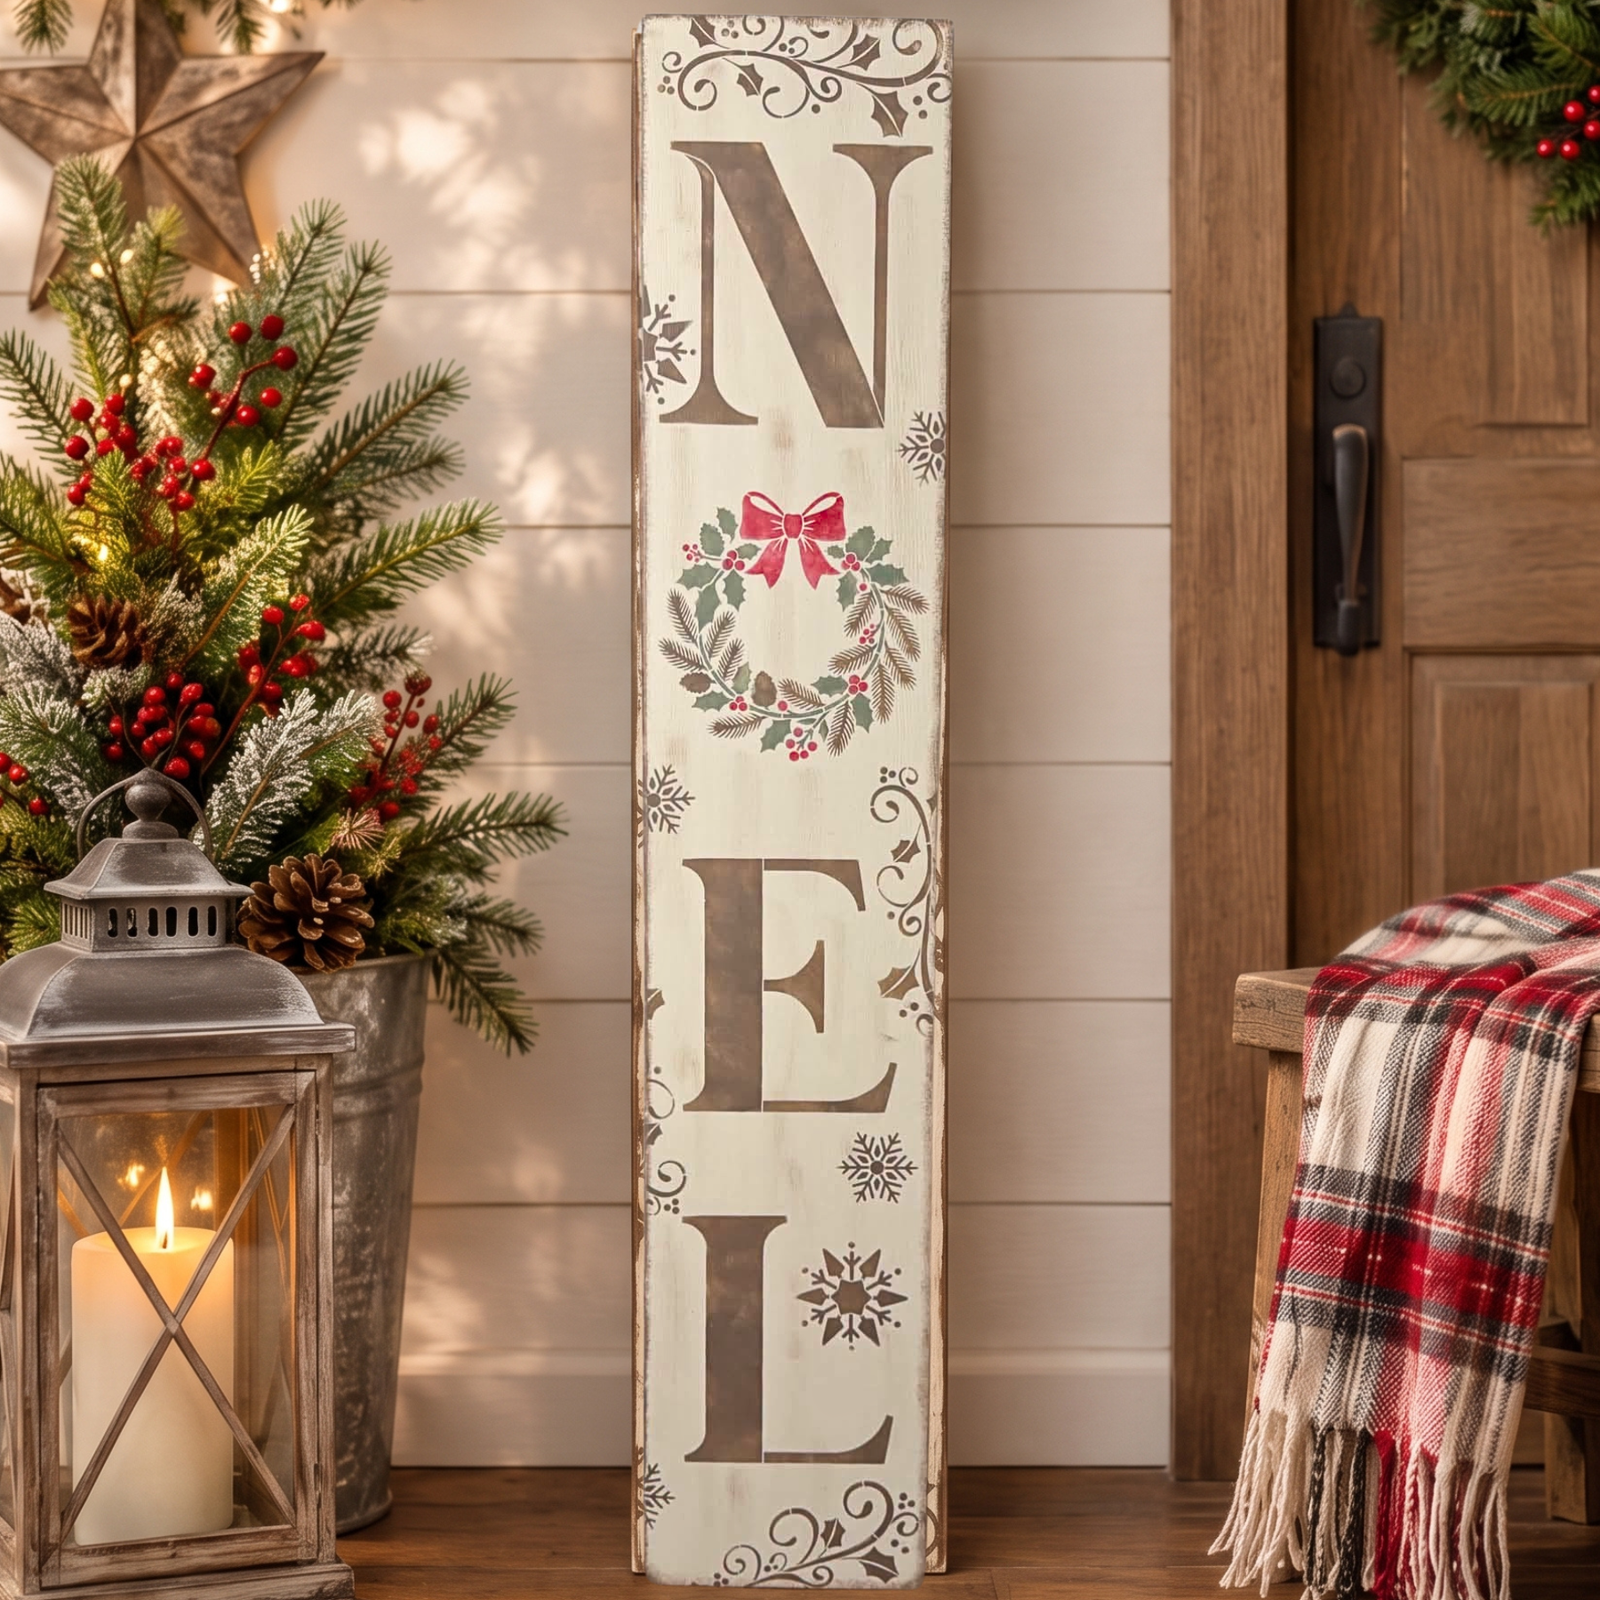
Oh, What Fun! Create a Charming NOEL Christmas Porch Board! ❤️🌿
Featuring Melissa Bradshaw
Bring a little Christmas magic to your front porch! 🎅✨ Melissa from Junk and Craft Treasures shows us how t...


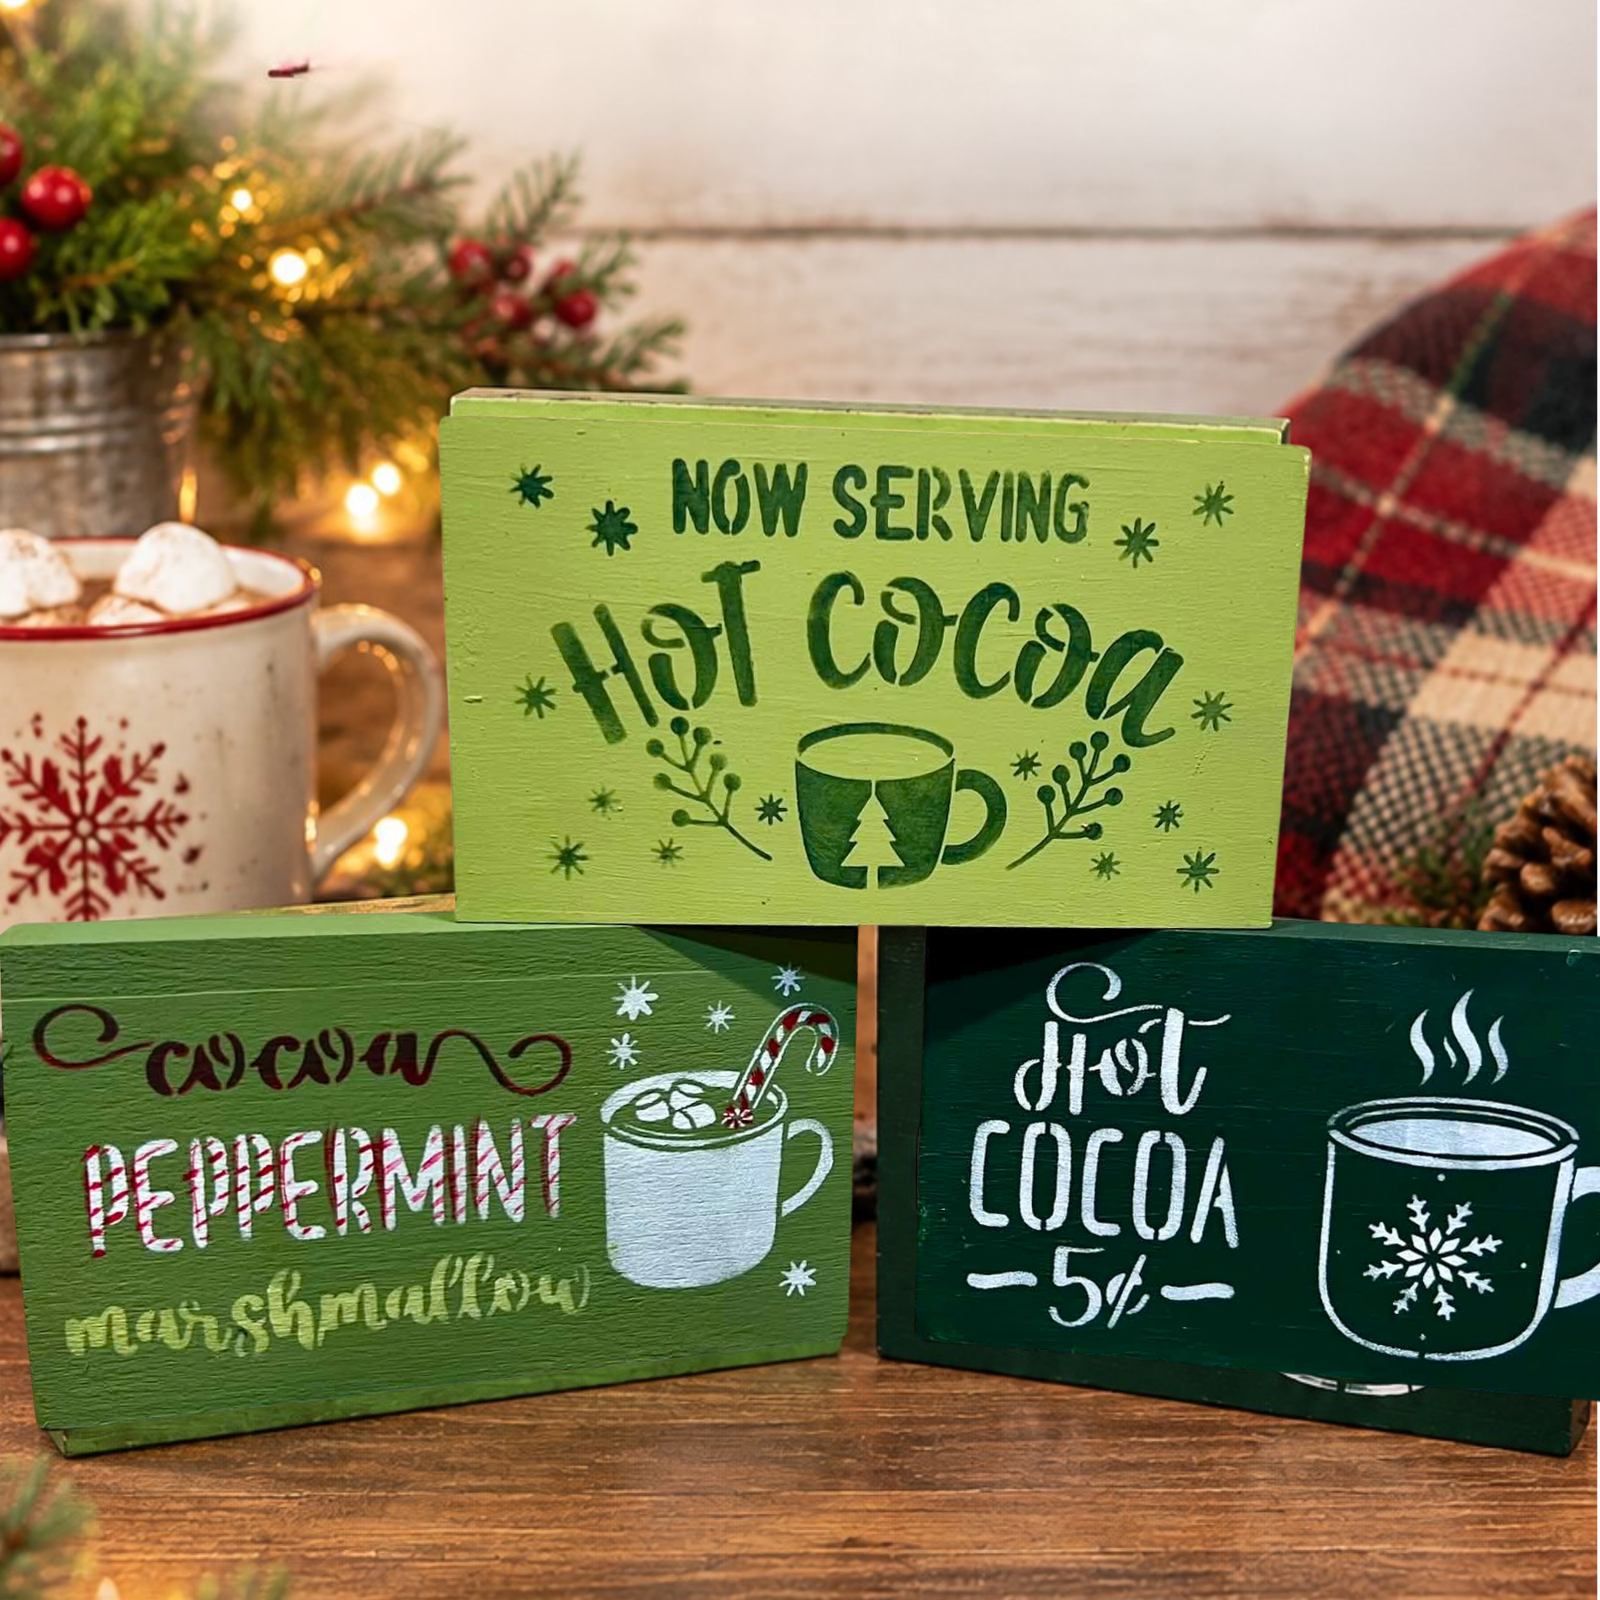
Bring a little extra Christmas charm to your home with these adorable DIY hot cocoa blocks! Tammy Muto of Cheers to Creativity shares three festive decorating ideas using Essential Stencil's Hot Cocoa Christmas Stencil Set.
With three shades of green, classic white lettering, and pops of Christmas red, these wooden blocks are perfect for a coffee bar, kitchen counter, tiered tray, or holiday shelf.
This project is beginner-friendly and easy to customize. Follow the steps below to create three coordinating pieces of handmade Christmas decor.
Before you begin: Paint your three wooden blocks in light green, medium green, and dark green. Allow the base coats to dry completely before applying the stencils.

Start with the light green wooden block and the Now Serving Hot Cocoa stencil. Dark green lettering creates a simple, coordinated look that feels festive without being too busy.
Step 1: Position the stencil.
Place the Now Serving Hot Cocoa stencil on the light green block. Center the design and secure the stencil so it stays in place while you work.
Step 2: Prepare your brush.
Load your mini stencil brush with a small amount of dark green paint. Offload the excess paint onto a paper towel before applying it to the stencil.
Step 3: Apply the paint.
Use gentle dabbing or light circular motions to fill in the design. Work in thin layers to help prevent paint from bleeding underneath the stencil.
Step 4: Remove the stencil.
Carefully lift the stencil to reveal the design. Follow the stencil's shape as you remove it to help avoid smudging.
Step 5: Let it dry.
Set the block aside until the paint is completely dry.

For the second block, use the dark green background with white paint. The contrast helps the lettering stand out and gives the design a charming vintage-inspired look.
Step 1: Position the stencil.
Place the Hot Cocoa 5¢ stencil on the dark green block. Adjust it until the design is centered, then secure it in place.
Step 2: Apply white paint.
Use a clean stencil brush or makeup sponge to apply a light layer of white paint over the design. If using a sponge, gently dab rather than dragging it across the stencil.
Step 3: Build the coverage.
Let the first coat dry slightly, then apply another thin coat if needed. Several light coats will usually produce a cleaner finish than one heavy coat.
Step 4: Lift the stencil.
Carefully remove the stencil to reveal the white design against the dark green background.
Step 5: Allow it to dry.
Set the block aside until the paint is completely dry.

This final block adds a playful pop of Christmas color. White lettering, deep red accents, and layered green paint give the Cocoa, Peppermint & Marshmallow design a sweet candy-inspired finish.
Step 1: Position the stencil.
Place the Cocoa, Peppermint, Marshmallow stencil on the medium green block. Align the design and secure the stencil in place.
Step 2: Paint the white details.
Using a mini stencil brush or sponge, apply white paint to the word Peppermint and the cup. Work carefully and use a light touch to help prevent paint from bleeding.

Step 3: Add the red Cocoa lettering.
Switch to deep red paint and use a mini stencil brush to fill in the word Cocoa. Apply an even coat, then add a second thin coat if needed.

Step 4: Create the layered Marshmallow lettering.
Use a makeup sponge to fill in the word Marshmallow with white paint. Allow the white paint to dry completely. Then apply light green paint over the lettering to create the layered look.

Step 5: Add the peppermint stripes.
Once the paint has dried, carefully lift the stencil. Use a detail brush and deep red paint to add thin lines to the peppermint candy inside the cup and across the word Peppermint.
Keep the lines at a similar angle for a coordinated candy-cane effect. Take your time with these small details to give the finished design extra charm.

Step 6: Let the block dry.
Allow all the paint to dry completely before styling or displaying your finished block.
Start with a dry surface. Always allow your base coat to dry completely before positioning a stencil.
Offload excess paint. Too much paint can seep underneath stencil edges. Remove excess paint from your brush or sponge before applying it to the wood.
Build color in thin layers. Light coats give you more control and help create crisp, clean designs.
Choose the right tool. Mini stencil brushes are ideal for filling stencil openings, makeup sponges are useful for building coverage, and detail brushes are perfect for fine lines.
Let paint dry between layers. Allowing each color to dry before adding the next helps prevent smudging and unwanted color mixing.
Make the designs your own. Try different shades of green, cream, white, red, or metallic accents to coordinate with your Christmas decorations.
Three wooden blocks, a few favorite paint colors, and the right stencils are all you need to create a sweet little holiday display. Arrange your finished blocks on a coffee bar, style them on a kitchen shelf, or add them to a festive tiered tray.

The best part is that you can customize the colors and details to match your own holiday style. Use these techniques as a starting point, then experiment with your favorite combinations.
Ready to create your own? Shop the Hot Cocoa Christmas Stencil Set and gather your favorite paints and brushes to get started.
Happy stenciling, and cheers to a creative Christmas!
Join Tammy Muto of Cheers to Creativity as she walks you through creating these three festive Hot Cocoa Christmas Blocks!
Christmas 2026 Featuring Melissa Bradshaw
 Christmas 2026
Featuring Sharon Hankins
 Christmas 2026
Featuring Cindy Berry

