 Fall 2026
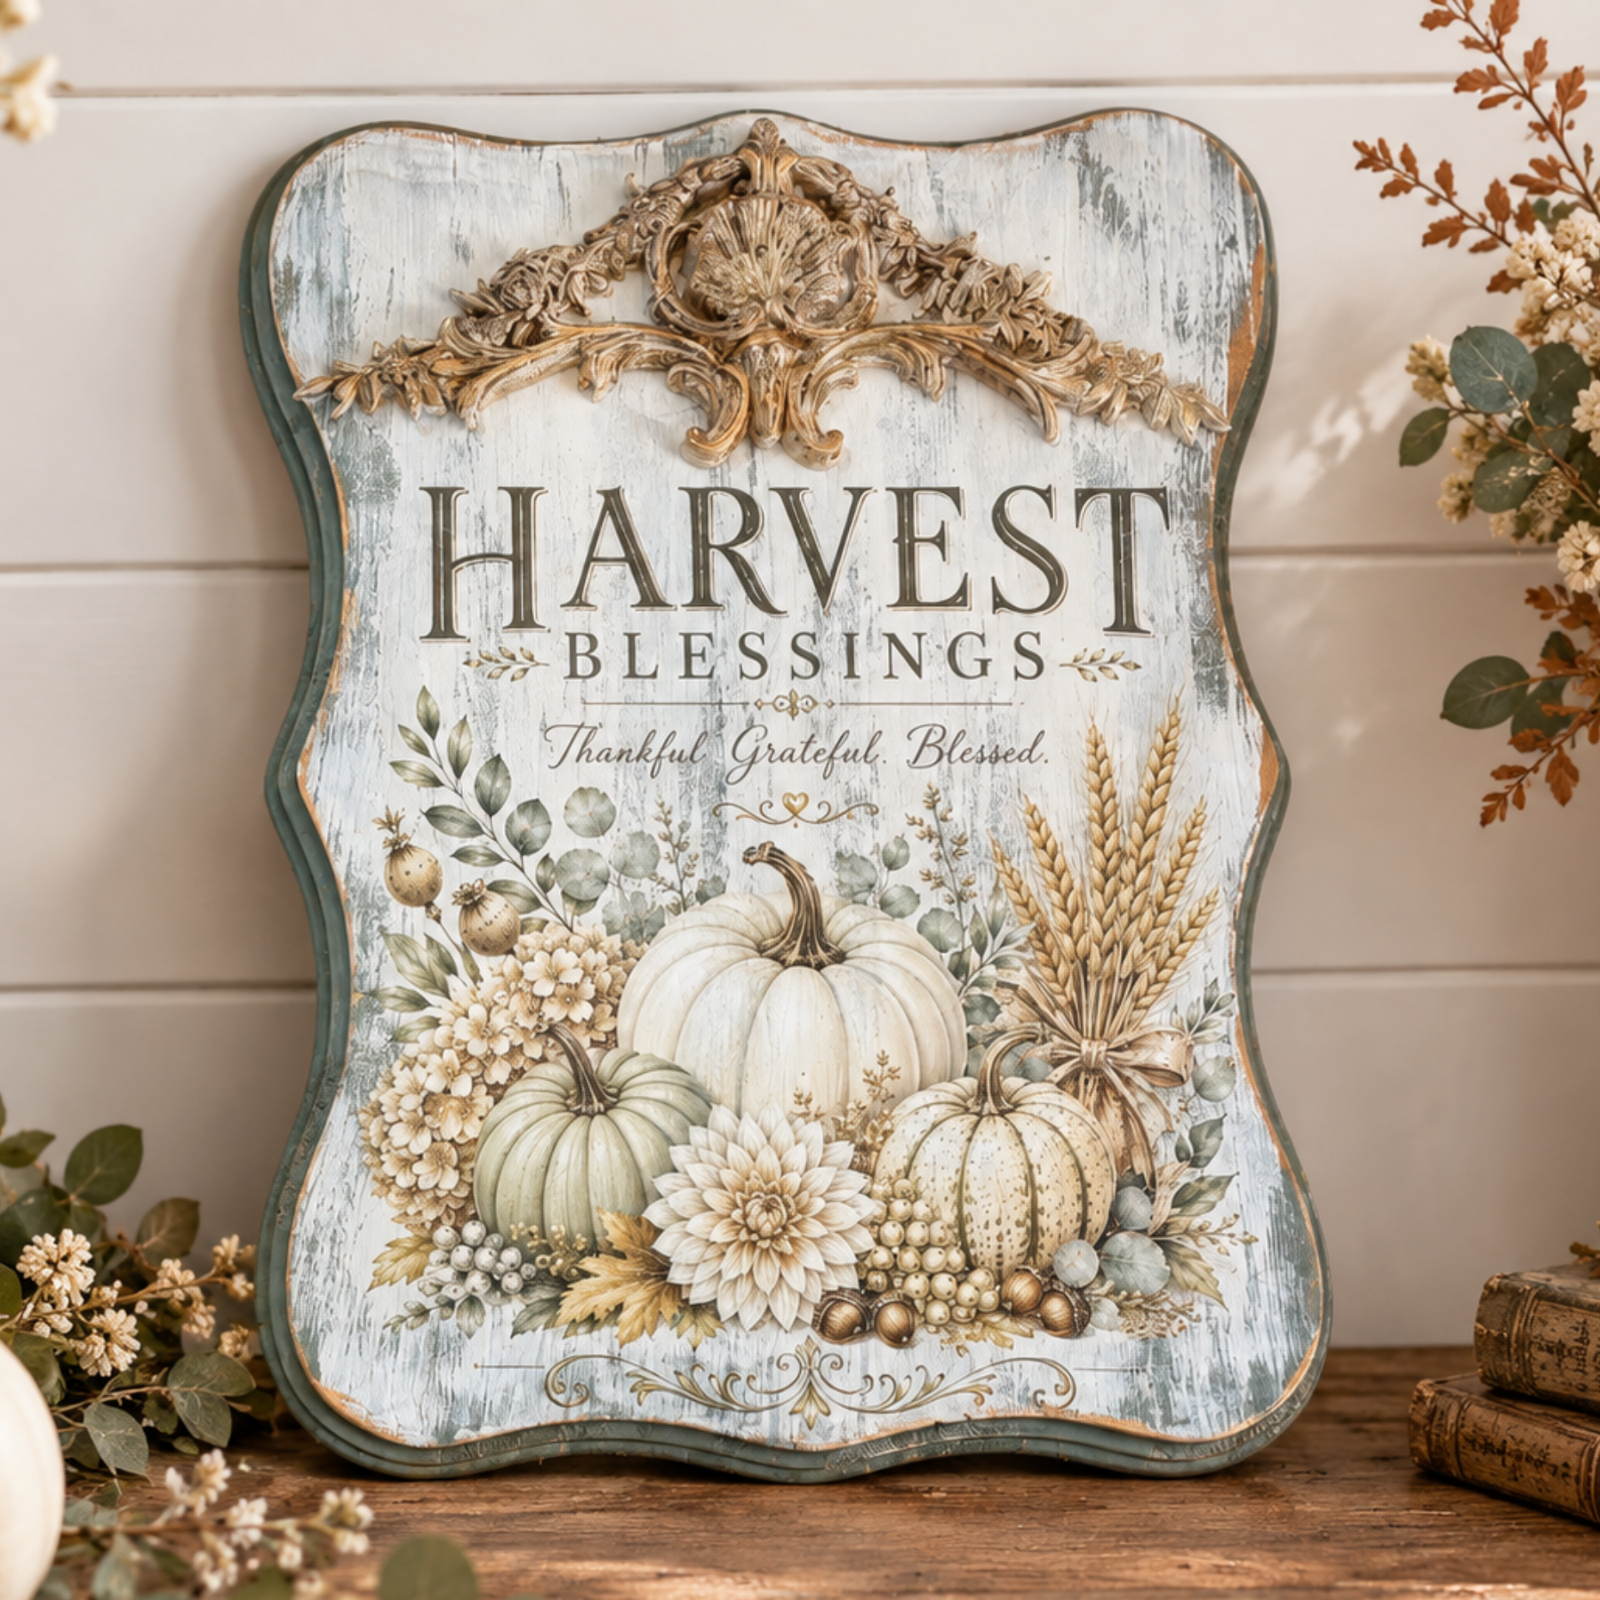
🍂 Harvest Blessing: A Vintage-Inspired Plaque with a Touch of Golden Glow
Featuring Melissa Bradshaw
Give a simple wood plaque a beautiful autumn makeover with the Harvest Blessing Transfer! Layer distressed ...


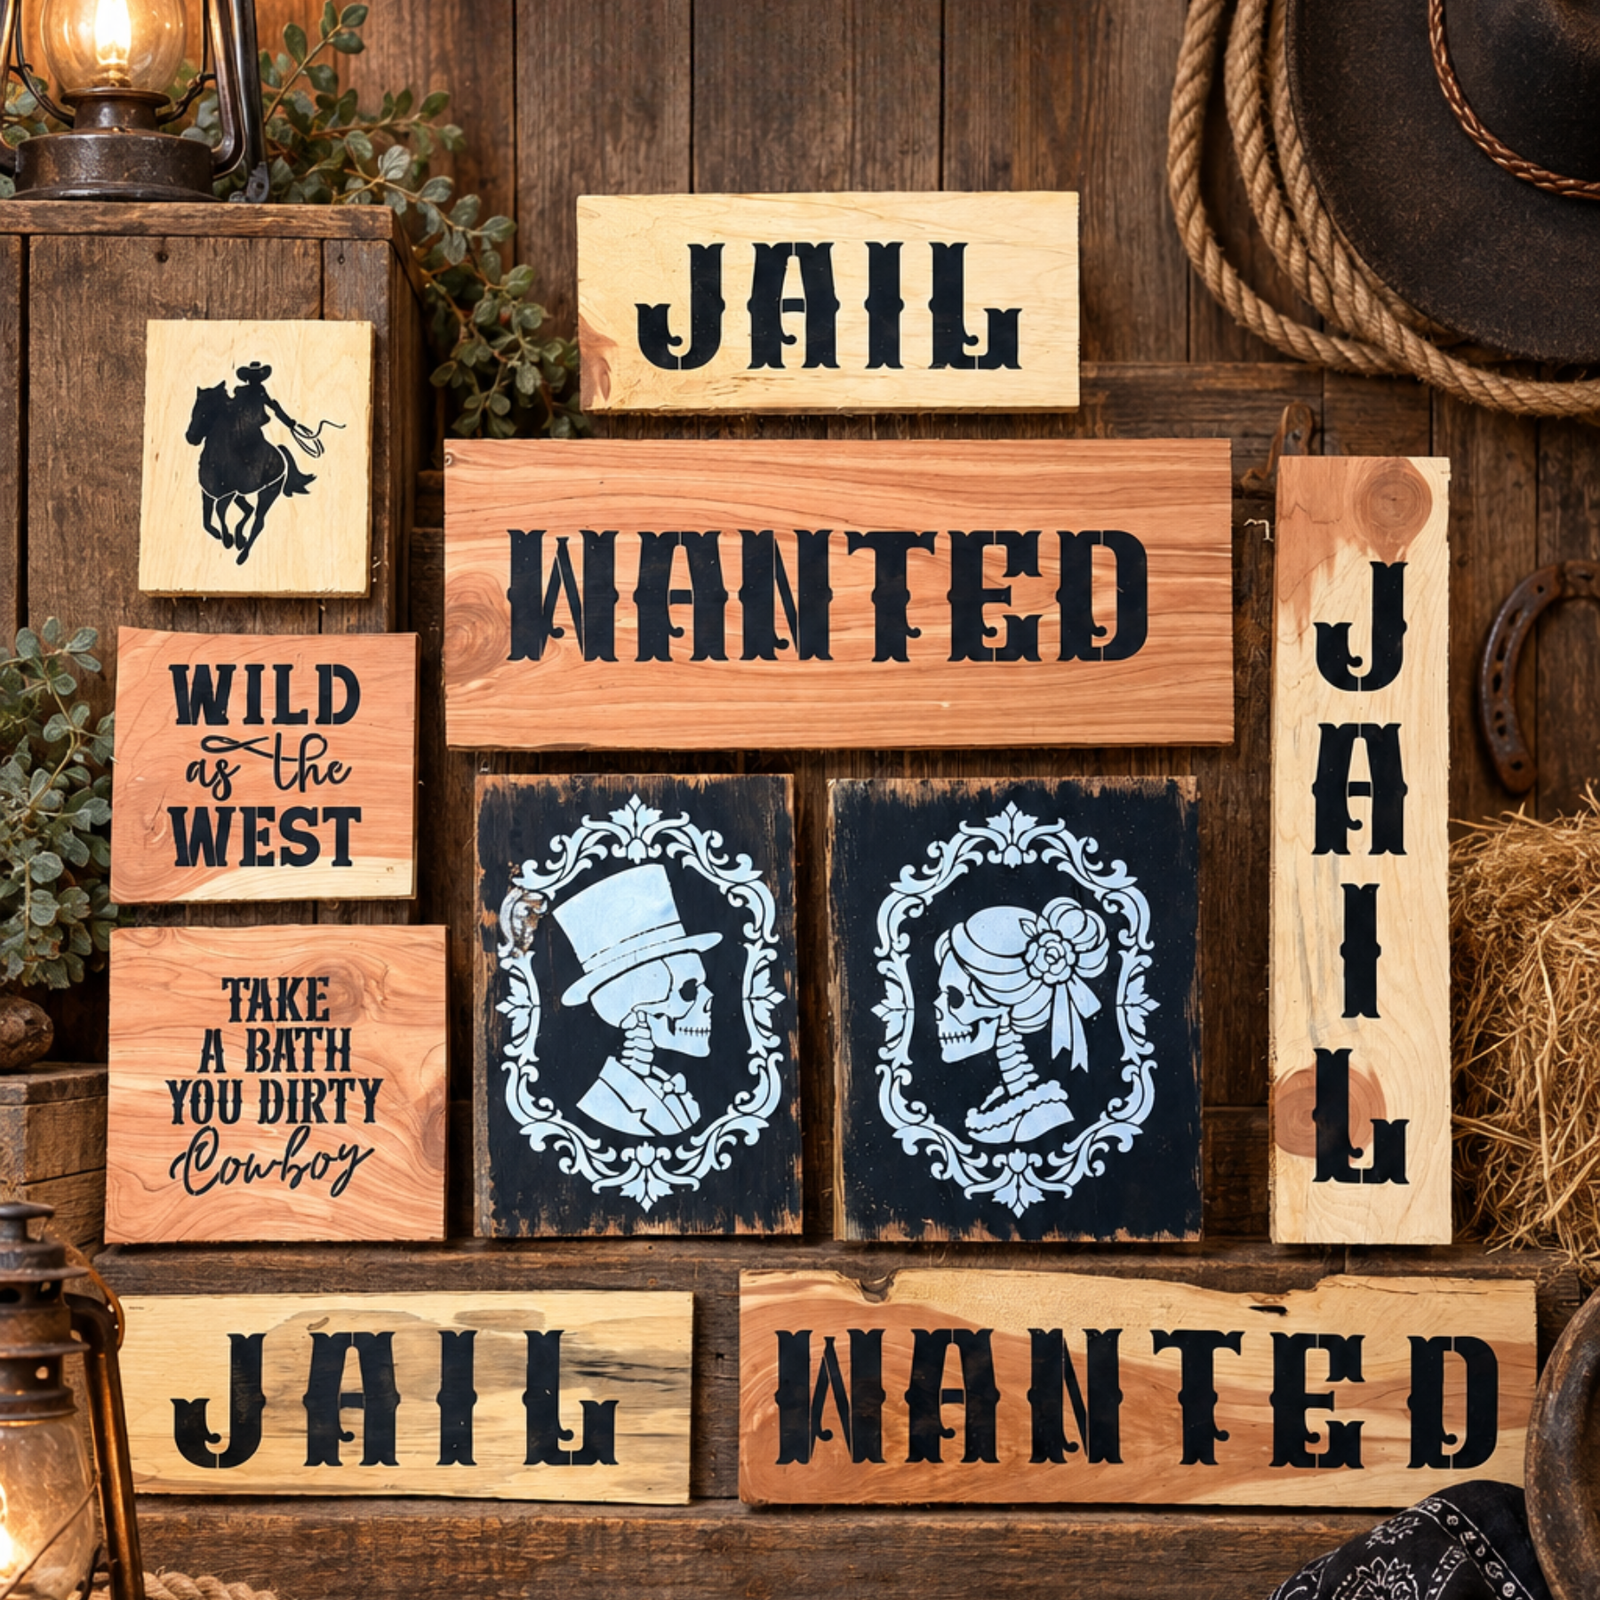
Ready to make a whole collection of rustic signs without changing your paint and supplies every few minutes? Melissa Miller of Miller's Rustic Sawmill shows us how to batch create ten fun signs for a fall festival jail using mostly black and white paint.
With rough cedar boards, 3 inch Western Letters, a few Western-themed stencils, and a simple stencil technique, you can create a whole group of signs that look great together.
The best part? Batch creating lets you keep the same paint colors, brushes, and supplies out while you work, making multiple projects much easier to tackle.
Start with a rectangular cedar board and the 3 inch Western Letters. Arrange the letters to spell WANTED, checking the spacing before you start painting.

Because the stencil letters are see-through, it is easy to line everything up before securing them with tape.
Flip-and-stencil is the key to keeping your letters aligned. Instead of trying to manage every letter at once, work across the word one letter at a time.
Always offload some paint before stenciling. A brush with too much paint can cause bleeding underneath the stencil.
For the next rectangular cedar board, use the same Western letters to spell JAIL. Since we're batch creating, keep that black paint and stencil brush handy.

The 3-inch Western Letters are a versatile size for signs, porch projects, names, and initials. Keep the same basic technique in your toolbox for all kinds of projects.
Change up the layout by creating a vertical JAIL sign on another cedar board. Line the letters up along the length of the board and slightly overlap them.

Overlapping the letters helps create a cohesive layout and gives you a little more forgiveness between each stencil.
Now it's time to add some personality to the jail display. Grab one of the square cedar boards and the Wild as the West Mini Sign Stencils set.

High contrast makes small sign sayings easy to read. Black paint against natural cedar is a simple combination that works especially well for rustic displays.
Use another square cedar board and choose the Take a Bath You Dirty Cowboy stencil from the same Wild as the West Mini Sign Stencils set.
Apply black paint with your stencil brush, then set the finished sign aside to dry.
Keep the paint application light and controlled. This helps preserve the small details in a sign with multiple words.
For a smaller accent sign, use the Cowboy on Horse stencil from the Wild as the West Mini Sign Stencils set.

A simple silhouette looks especially striking on a rustic wood background. Let the natural cedar become part of the finished design.
Keep the batch going with another rectangular cedar board and another JAIL sign. Use the same black paint and stencil setup.

These signs don't have to be perfect. For a fall festival or rustic display, the natural texture and imperfections of rough cedar add to the character.
Now switch things up with a dramatic black-and-white design. This board has already been painted black, so use the Skeleton Portraits Stencil Set with white paint.

Black and white creates an instant high-contrast look. This is an easy way to make a stencil design stand out while keeping the overall project simple.
Finish the painting portion of the batch with one more WANTED sign. Use the same letter-flipping method from the first sign.

Once you find a stencil technique that works, repeat it. Batch creating is all about simplifying your workflow and avoiding unnecessary setup changes.
Once all ten signs are dry, they're almost ready for the festival. Melissa plans to add hangers, drill a few holes, and attach twine so the signs can be displayed around the jail.

Making ten signs at once might sound like a lot, but batch creating can actually make the process simpler.
Melissa keeps the same black and white paint, brushes, and stencils in rotation instead of constantly changing supplies. That means less setup, less cleanup, and a more efficient creative session.
This approach works beyond fall festivals, too. Try batch creating signs for seasonal decorating, craft fairs, booth displays, porch décor, parties, or personalized gifts.
And don't worry about making every rustic board perfectly uniform. The natural texture, knots, and imperfections of cedar can add to the charm of the finished collection.
Build your own collection of rustic signs with the same stencils Melissa used for this fall festival project.
Shop 3 inch Western Letters and create custom words, names, and signs, or add some Western character with the Wild as the West Mini Sign Stencils.
For a spooky finishing touch, check out the Skeleton Portraits Stencil Set. Don't forget your Stencil Brush 4pc Set for controlled paint application.
Happy stenciling! 🤠
Watch Melissa Miller create these rustic fall festival jail signs in the video below!
Fall 2026 Featuring Melissa Bradshaw

 Fall 2026
Featuring Cindy Berry