 Christmas 2026
Vintage Christmas Charm: Create the Cutest Santa & Merry Christmas Tags ❤️
Featuring Melissa Miller
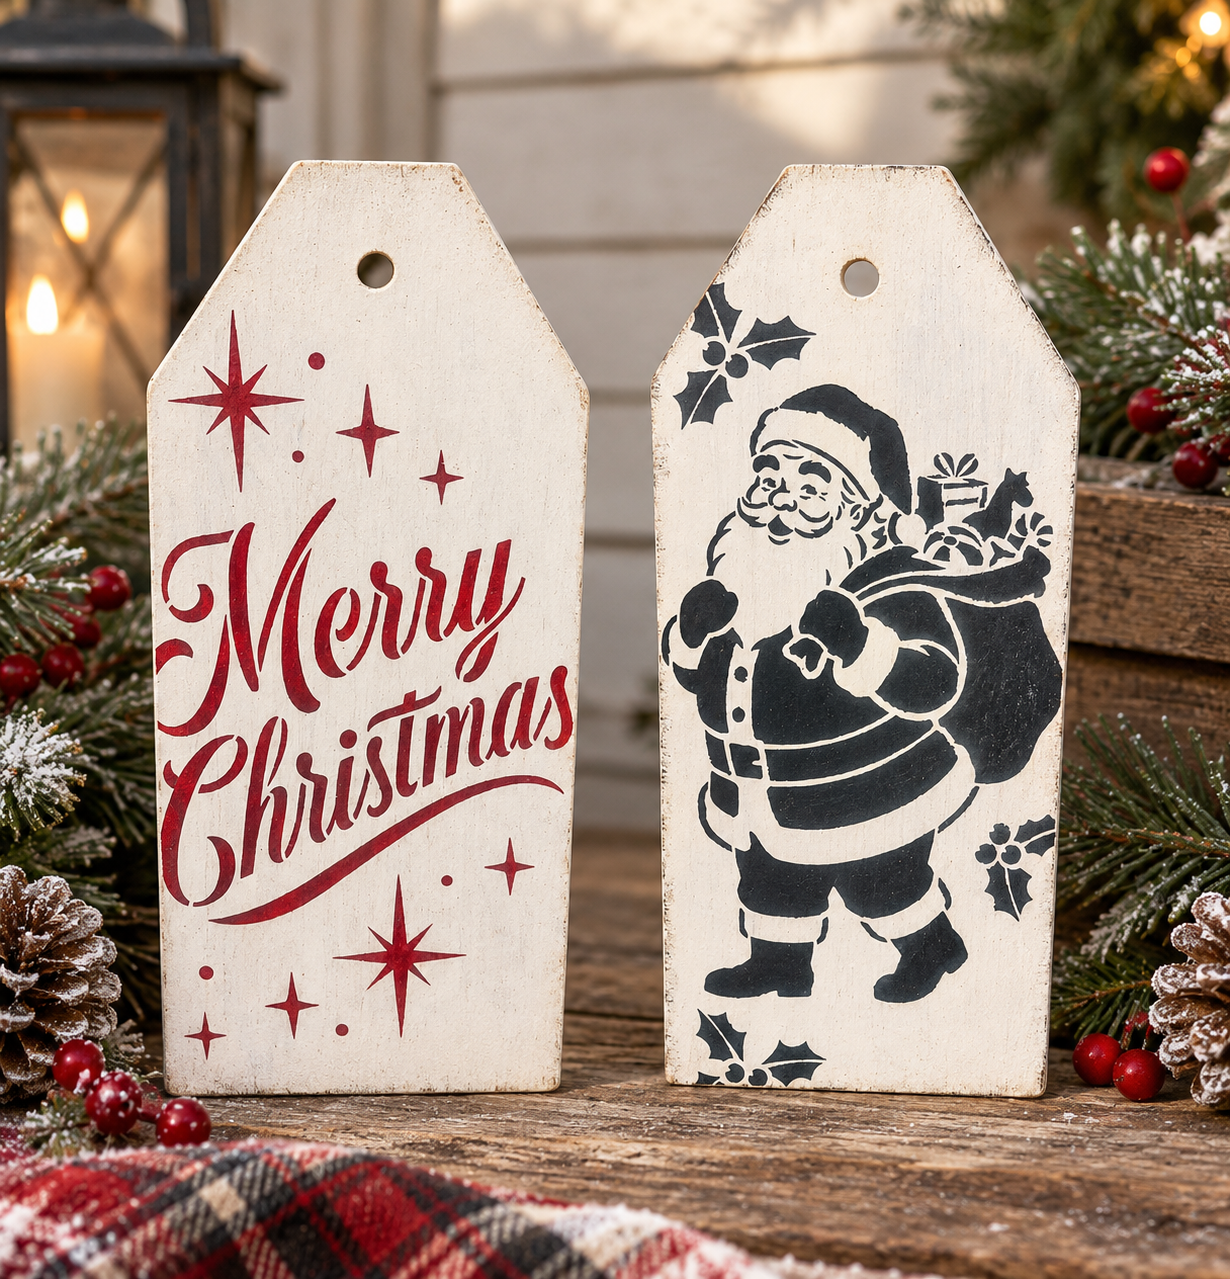
Give your holiday decor a vintage-inspired twist with these charming wooden Christmas tags! 🎅❤️ Using the R...


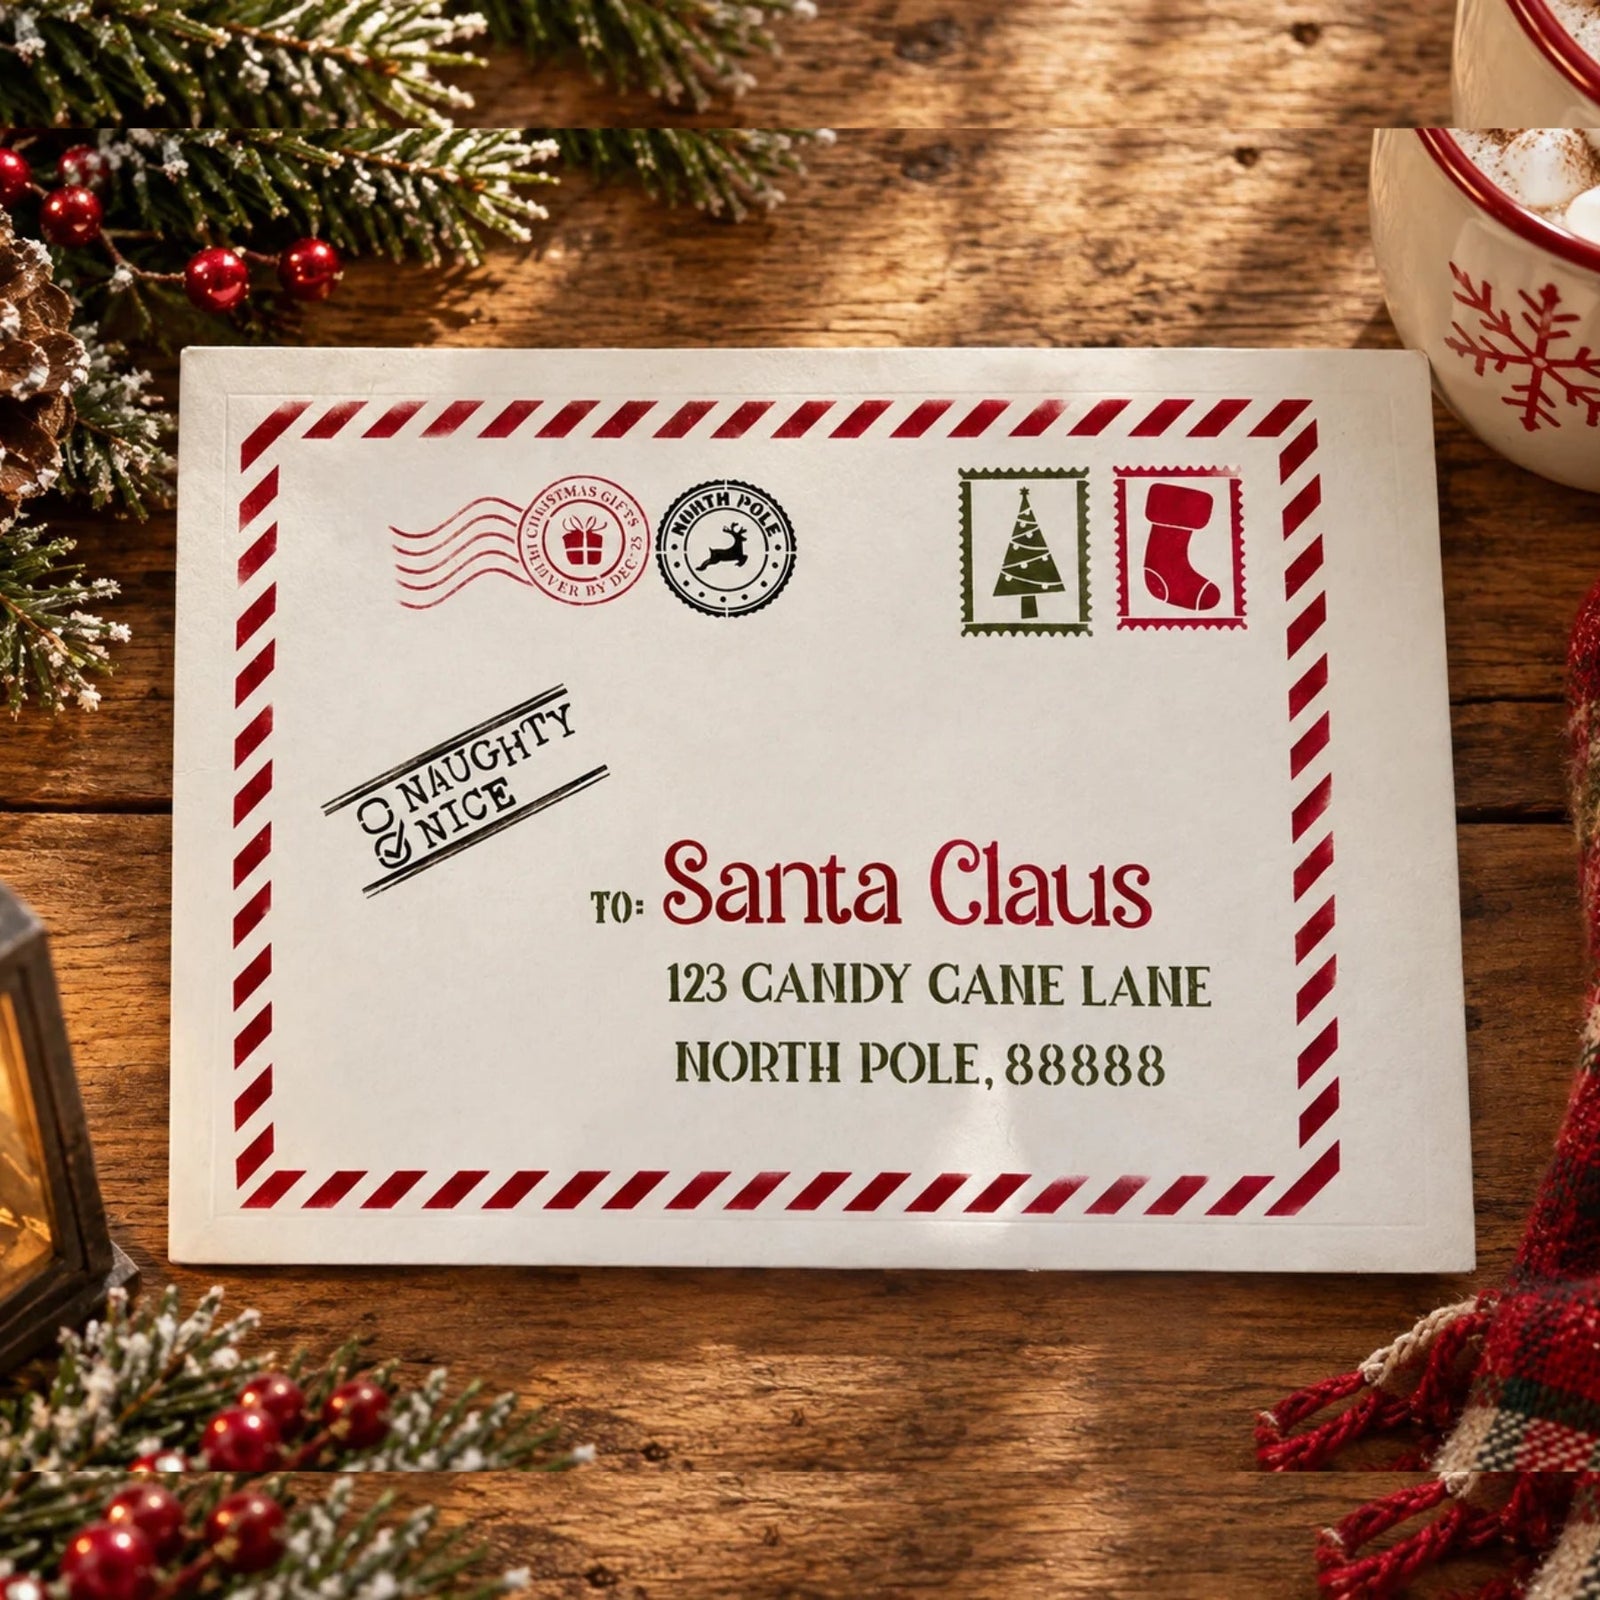
Create a little holiday magic with a Christmas envelope made especially for Santa! This festive DIY uses the Christmas Postage to Santa Stencil and a few classic Christmas paint colors to create a vintage-inspired envelope that looks ready to travel straight to the North Pole.
It’s a fun project to make with kids or grandkids, and the sturdy envelope can even be painted and reused as a holiday sign or Christmas décor.

Position the Christmas Postage to Santa Stencil on the front of your envelope.
Use a stencil brush loaded with Cranberry, a beautiful deep vintage Christmas red. Offload the excess paint onto a piece of cardboard, then lightly pounce the brush around the border.
Take your time around the edges. Light, controlled pouncing will help keep the paint where you want it.

Once the border is dry, realign the stencil so the address sits toward the bottom-right of the envelope.
Use Cranberry for the words “Santa Claus”. Then switch to Bayberry, a rich dark green, for the rest of the address and the word “to.”
Use a piece of cardstock to protect the painted border while you work.

After the address is dry, position the Christmas tree and stocking stamp in the top-right section of the envelope.
Fill the tree with Bayberry and the stocking with Cranberry. Keeping the same red-and-green color palette throughout gives the envelope a cohesive vintage Christmas look.

Position the Christmas Gifts Delivery stamp in the top-left section of the envelope.
Use Cranberry to fill the design, then carefully lift the stencil.

Angle the Naughty or Nice checklist stencil in the center-right section of the envelope.
Switch to a clean stencil brush and use black paint to fill the design. The angled placement adds another fun postal detail without making the envelope feel too busy.

Position the North Pole cancellation marks beside the Christmas Gifts Delivery stamp.
Use the same black paint to fill the marks. Then let all of the paint dry completely before handling the envelope.

Once everything is completely dry, your Christmas envelope is ready for the North Pole!
The combination of Cranberry, Bayberry, and black creates a festive vintage look, while all the little postal details make it feel like a real piece of North Pole mail.

This would be such a fun Christmas project to make with the kids or grandkids for their letters to Santa!
Bring your own Christmas mail to life with the Christmas Postage to Santa Stencil and a set of Stencil Brushes. Add your favorite Christmas paint colors and create an envelope worthy of a trip to the North Pole!
Want to see how this festive Christmas envelope comes together? Watch the full tutorial below and follow along as you create your own special delivery for Santa!
Christmas 2026 Featuring Melissa Miller
 Christmas 2026
Featuring Amanda Dillon
 Fall 2026
Featuring Melissa Bradshaw