
 Fall 2026
A Beautifully Neutral Thanksgiving Sign You’ll Want to Make! 🍂
Featuring Melissa Bradshaw
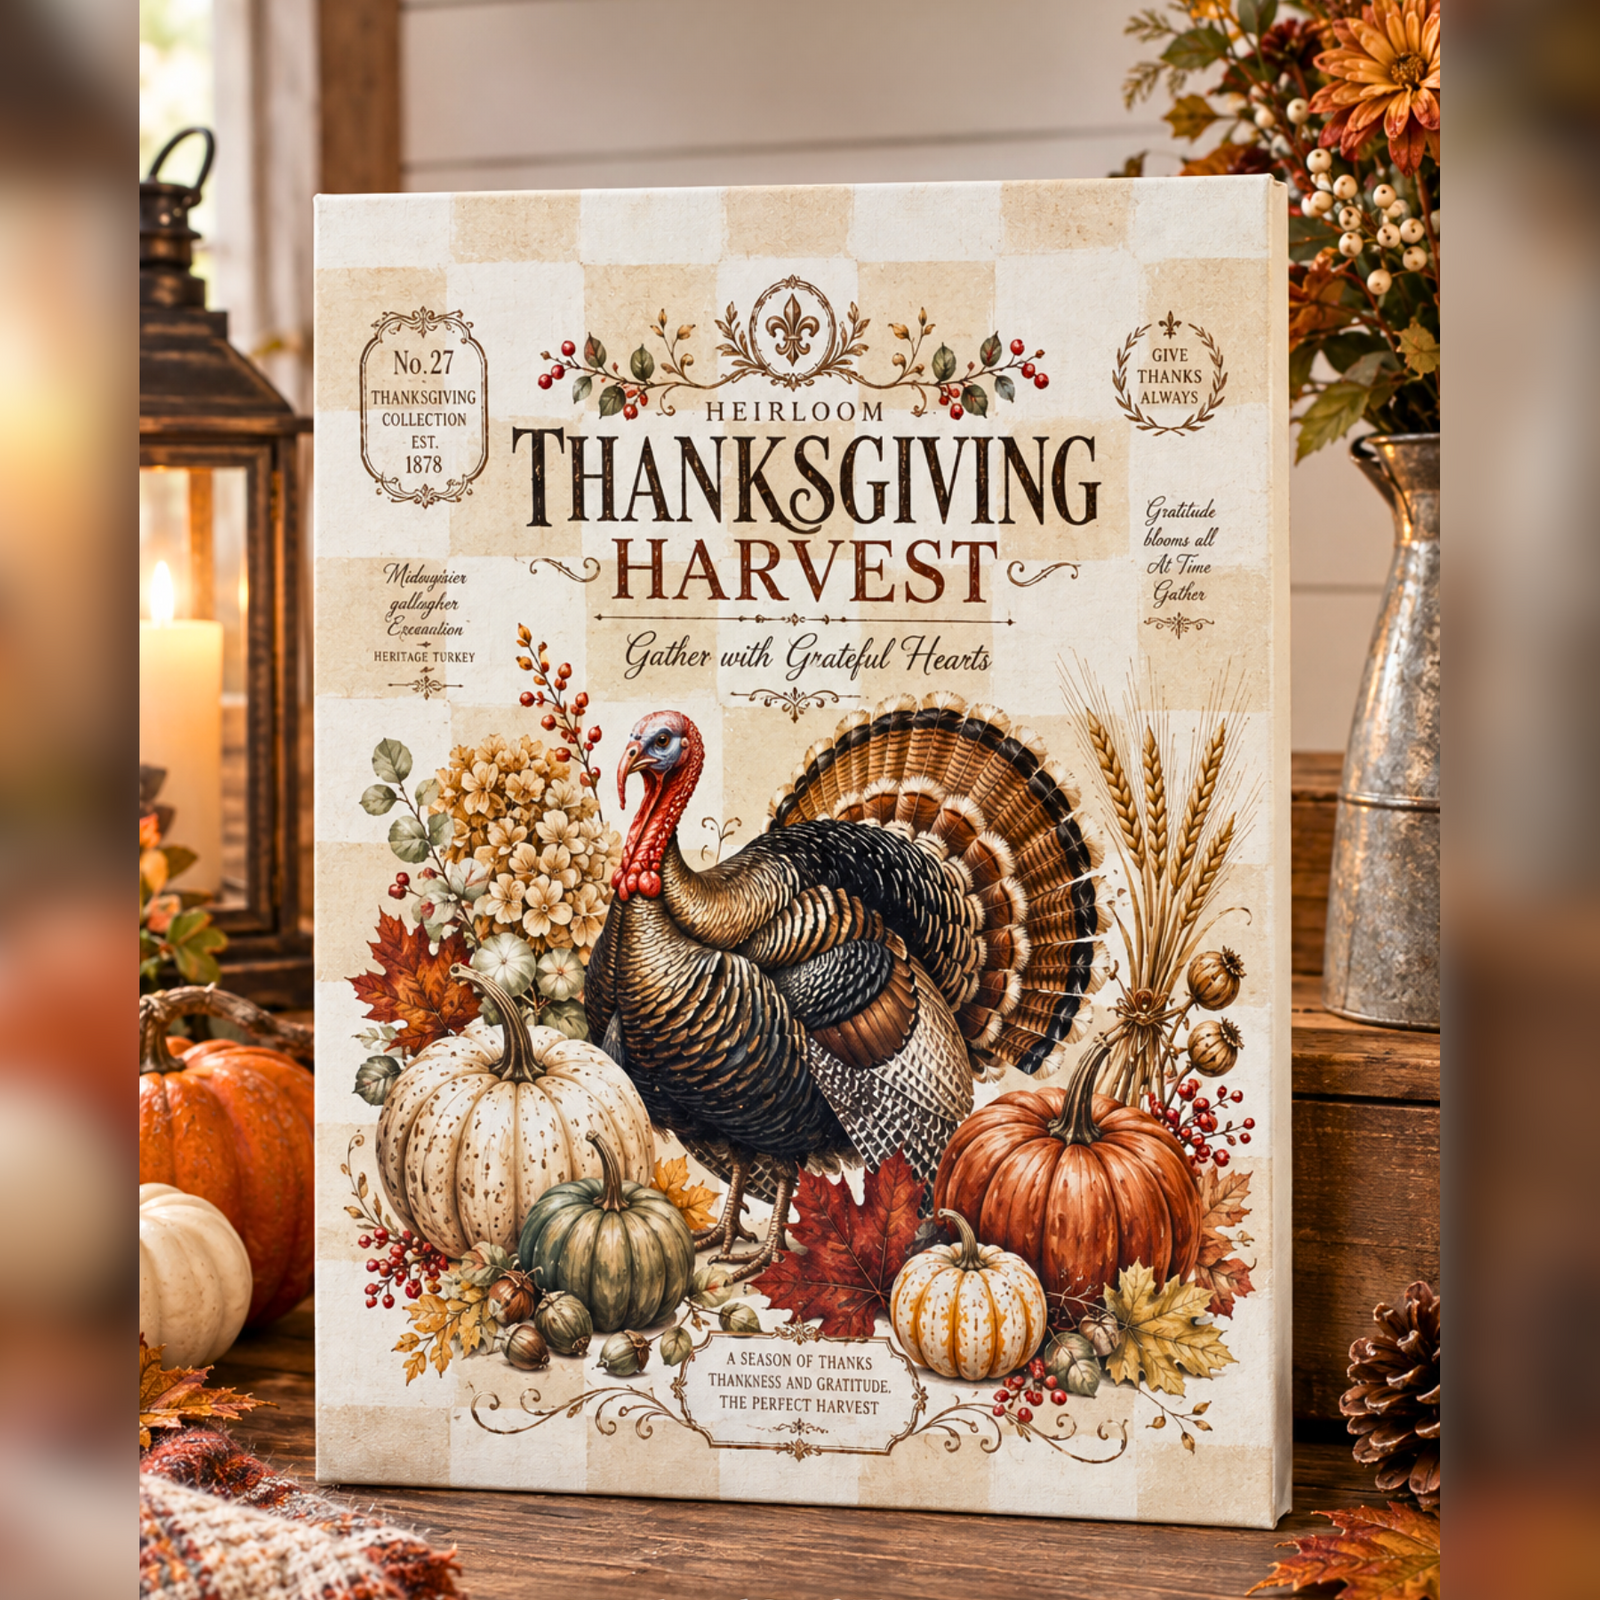
Bring cozy fall charm to your home with a soft, neutral Thanksgiving sign featuring the Heirloom Thanksgivi...


Give a simple wood cutout a beautiful fall makeover with metallic paint and rub-on transfers! This easy project combines a shimmery painted background with the Autumn Faithfulness Transfer Set to create a meaningful piece you can display all season long.
Tammy from Cheers to Creativity keeps the process simple, layering metallic color, a meaningful sentiment, and delicate fall leaves for a finished piece with plenty of dimension.
Start with a leaf-shaped wood cutout that has already been painted yellow. Make sure the surface is completely dry before adding your metallic colors.

Grab your metallic paints in gold, silver, plum, and pearl. Using a sponge, randomly dab the colors over the surface. There’s no need for a perfect pattern. The goal is to create a soft, layered shimmer that gives the background plenty of dimension.
Keep the application loose and random. Let some of the yellow base coat peek through for added depth.

Once you’re happy with the metallic finish, allow the entire surface to dry completely before applying your transfers.
Next, open the Autumn Faithfulness Transfer Set and locate the sentiment “Give Thanks to the Lord.”
Carefully cut around the sentiment so you can position it independently from the rest of the transfer. Set “Psalm 107:1” aside for later.

Center the lettering on the leaf and take a moment to make sure it is straight. Then gently burnish the design using the Essential Rub-On Transfer Tool.
Take your time with lettering. Careful positioning and thorough burnishing help preserve all the small details in the design.
Now it’s time to add a little movement around the sentiment. Cut out a few individual fall leaves from the transfer set.
Instead of keeping the leaves together, separate them and arrange them around the edges of the sign. This creates the look of leaves gently falling around the message.

Once each leaf is positioned, carefully burnish it with the transfer tool. Work slowly around the smaller details to make sure every part of the design transfers cleanly.
For the final detail, take the “Psalm 107:1” piece you set aside earlier. Position it along one side of the leaf and burnish it into place.

This last piece brings the design together while adding a meaningful finishing touch to the fall decor.
And that’s it! A simple leaf-shaped wood cutout becomes a warm fall accent with a shimmery metallic background, beautiful autumn leaves, and an encouraging message.

Ready to create your own? Shop the Autumn Faithfulness Transfer Set and add beautiful fall details to your next DIY project.
Want to see how Tammy created this beautiful metallic fall leaf sign? Watch the full video tutorial below and follow along to create your own meaningful fall decor! 🍂✨
Fall 2026 Featuring Melissa Bradshaw
 Christmas 2026
Featuring Sharon Hankins
 Fall 2026
Featuring Renee Rumph

