 Christmas 2026
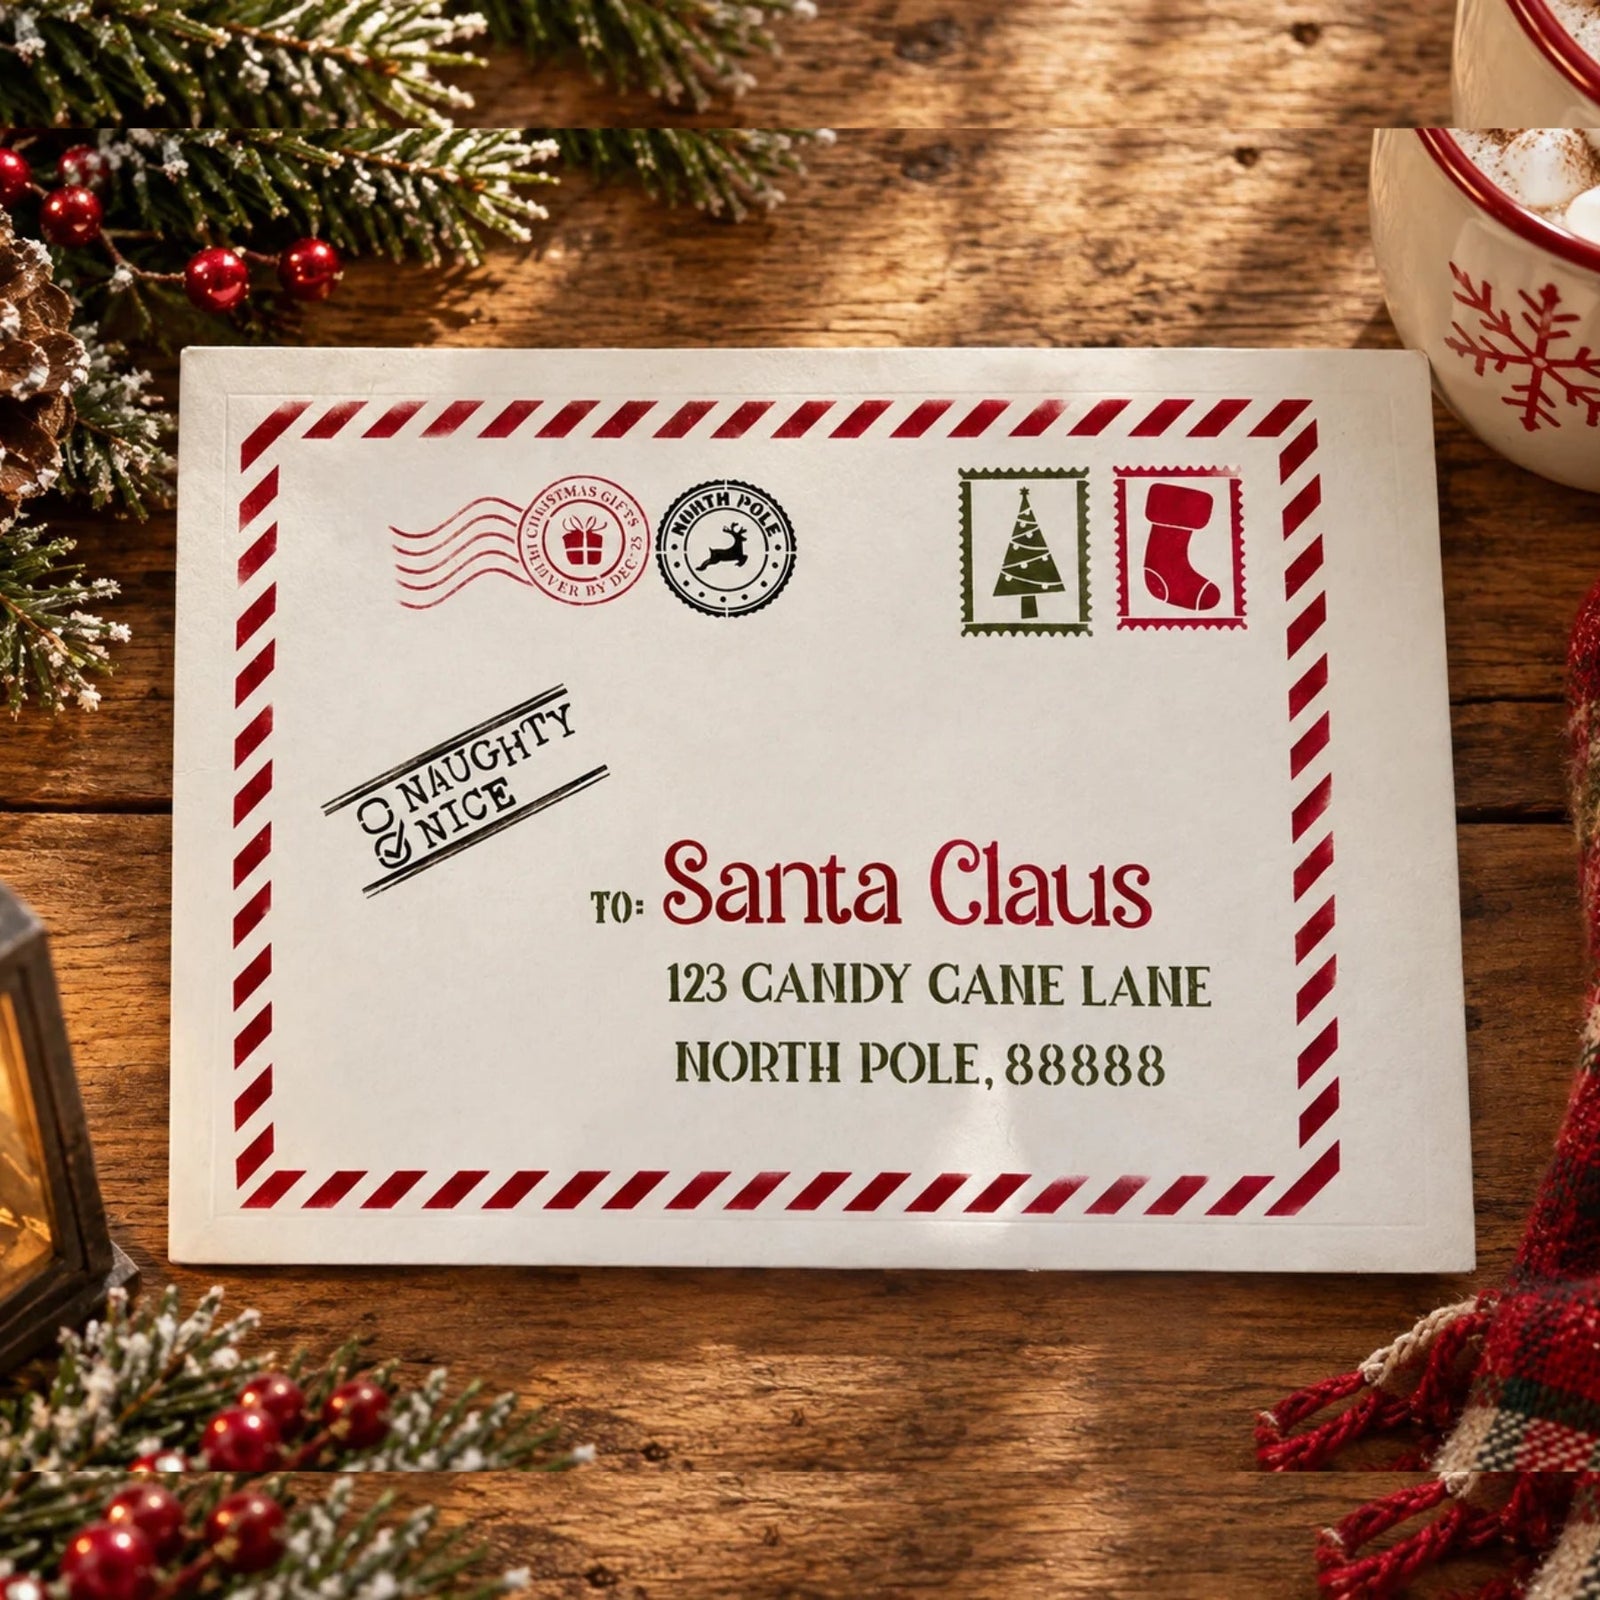
✉️ Off to the North Pole! Create the Cutest Christmas Envelope for Santa 🎅❤️
Featuring Sharon Hankins
Turn an ordinary envelope into a magical piece of Christmas mail! With the Christmas Postage to Santa Stenc...


Give your Christmas decorating a coastal twist with a little help from color! In this tutorial, Amanda Dillon of Mettle Modern Design shows how to take traditional Christmas stencils and turn them into a beautiful Coastal Christmas collection using soft blues, greens, and white.
You don't need coastal-themed stencils to get the look. Simply change your color palette and let your creativity do the rest.
In this project, we'll create a set of six coordinating Christmas tree ornaments plus a sweet holiday cutting board.
Start with six small wooden Christmas tree ornaments. By mixing solid colors, blended colors, traditional Christmas imagery, and a little sea turtle transfer, you can create a collection that feels coordinated without making every piece identical.
Using a sponge, stain six small Christmas tree wooden ornament cutouts. Paint two ornaments in Botanical Green, two in Bay Blue, and use a mixture of both colors on the remaining two ornaments.
For the blended ornaments, add blue around the outside and bring the green toward the center. Blend the two colors together for a soft, coastal-inspired finish.

Once the stain is completely dry, lightly sand each ornament to create a smooth surface.
Water-based stains can raise the wood grain slightly. A quick sanding helps smooth the surface before stenciling.

Grab the O Holy Night Nativity Stencil and randomly position the Angel, Baby Jesus in the Cradle, and Palm designs across the ornaments.
Load a stencil brush with white paint, offload the excess paint first, and then stencil each design onto the wood. Set the ornaments aside to dry.

Choose one of the ornaments and position the “O Holy Night” design from the Nativity Christmas Ornament Stencil.
Use the etched guide to help with placement. Load your stencil brush with white paint, offload, and apply the design. Let it dry completely.

On another ornament, use the Holiday Christmas Ornament Stencil to add “Merry Christmas.” Fill the design with white paint and allow it to dry.

For the final ornament, choose a small turtle from the Sea Turtles and Shells Rub-On Transfer.
Position the turtle on the ornament and burnish it down using the Essential Rub-On Transfer Tool.
This little detail is what gives the traditional Christmas collection its unexpected coastal feel.

Next, carry the same soft coastal color palette onto a small wooden cutting board. A simple holiday message turns this everyday surface into a coordinating piece for your Christmas display.
Start with a small wooden cutting board. Lightly sand the surface to help the paint adhere properly.

Apply Agave chalk paint over the entire board, including the sides. This soft light-blue shade works beautifully with the Botanical Green and Bay Blue used on the ornaments.
Let the paint dry completely, then lightly sand the surface for a smooth finish.

Use the Holiday Christmas Ornament Stencil to position the “Happy Holidays” design in the center of the board.
Load and offload your stencil brush, then fill the design with white paint. Allow it to dry completely.

And there you have it! A collection of Christmas projects with a relaxed coastal feel.
The solid Botanical Green and Bay Blue ornaments, blended pieces, traditional nativity designs, Christmas messages, and little sea turtle all work together because they share the same color family.

Amanda's approach is a great reminder that you don't have to use a stencil exactly as expected. Change the colors, mix different designs, and add unexpected elements to make the project fit your decorating style.
Try this same idea with pinks, traditional reds and greens, black and white, metallics, or any color palette you love. The possibilities are wide open!
Ready to start stenciling? Explore the Christmas stencils and transfers used in this project and create a collection that's uniquely yours.
Want to see how Amanda brings this Coastal Christmas collection to life? Watch the full step-by-step tutorial below and get inspired to create your own!
Christmas 2026 Featuring Sharon Hankins
 Christmas 2026
Featuring Melissa Miller
 Fall 2026
Featuring Melissa Bradshaw