 Fall 2026
A Beautifully Neutral Thanksgiving Sign You’ll Want to Make! 🍂
Featuring Melissa Bradshaw
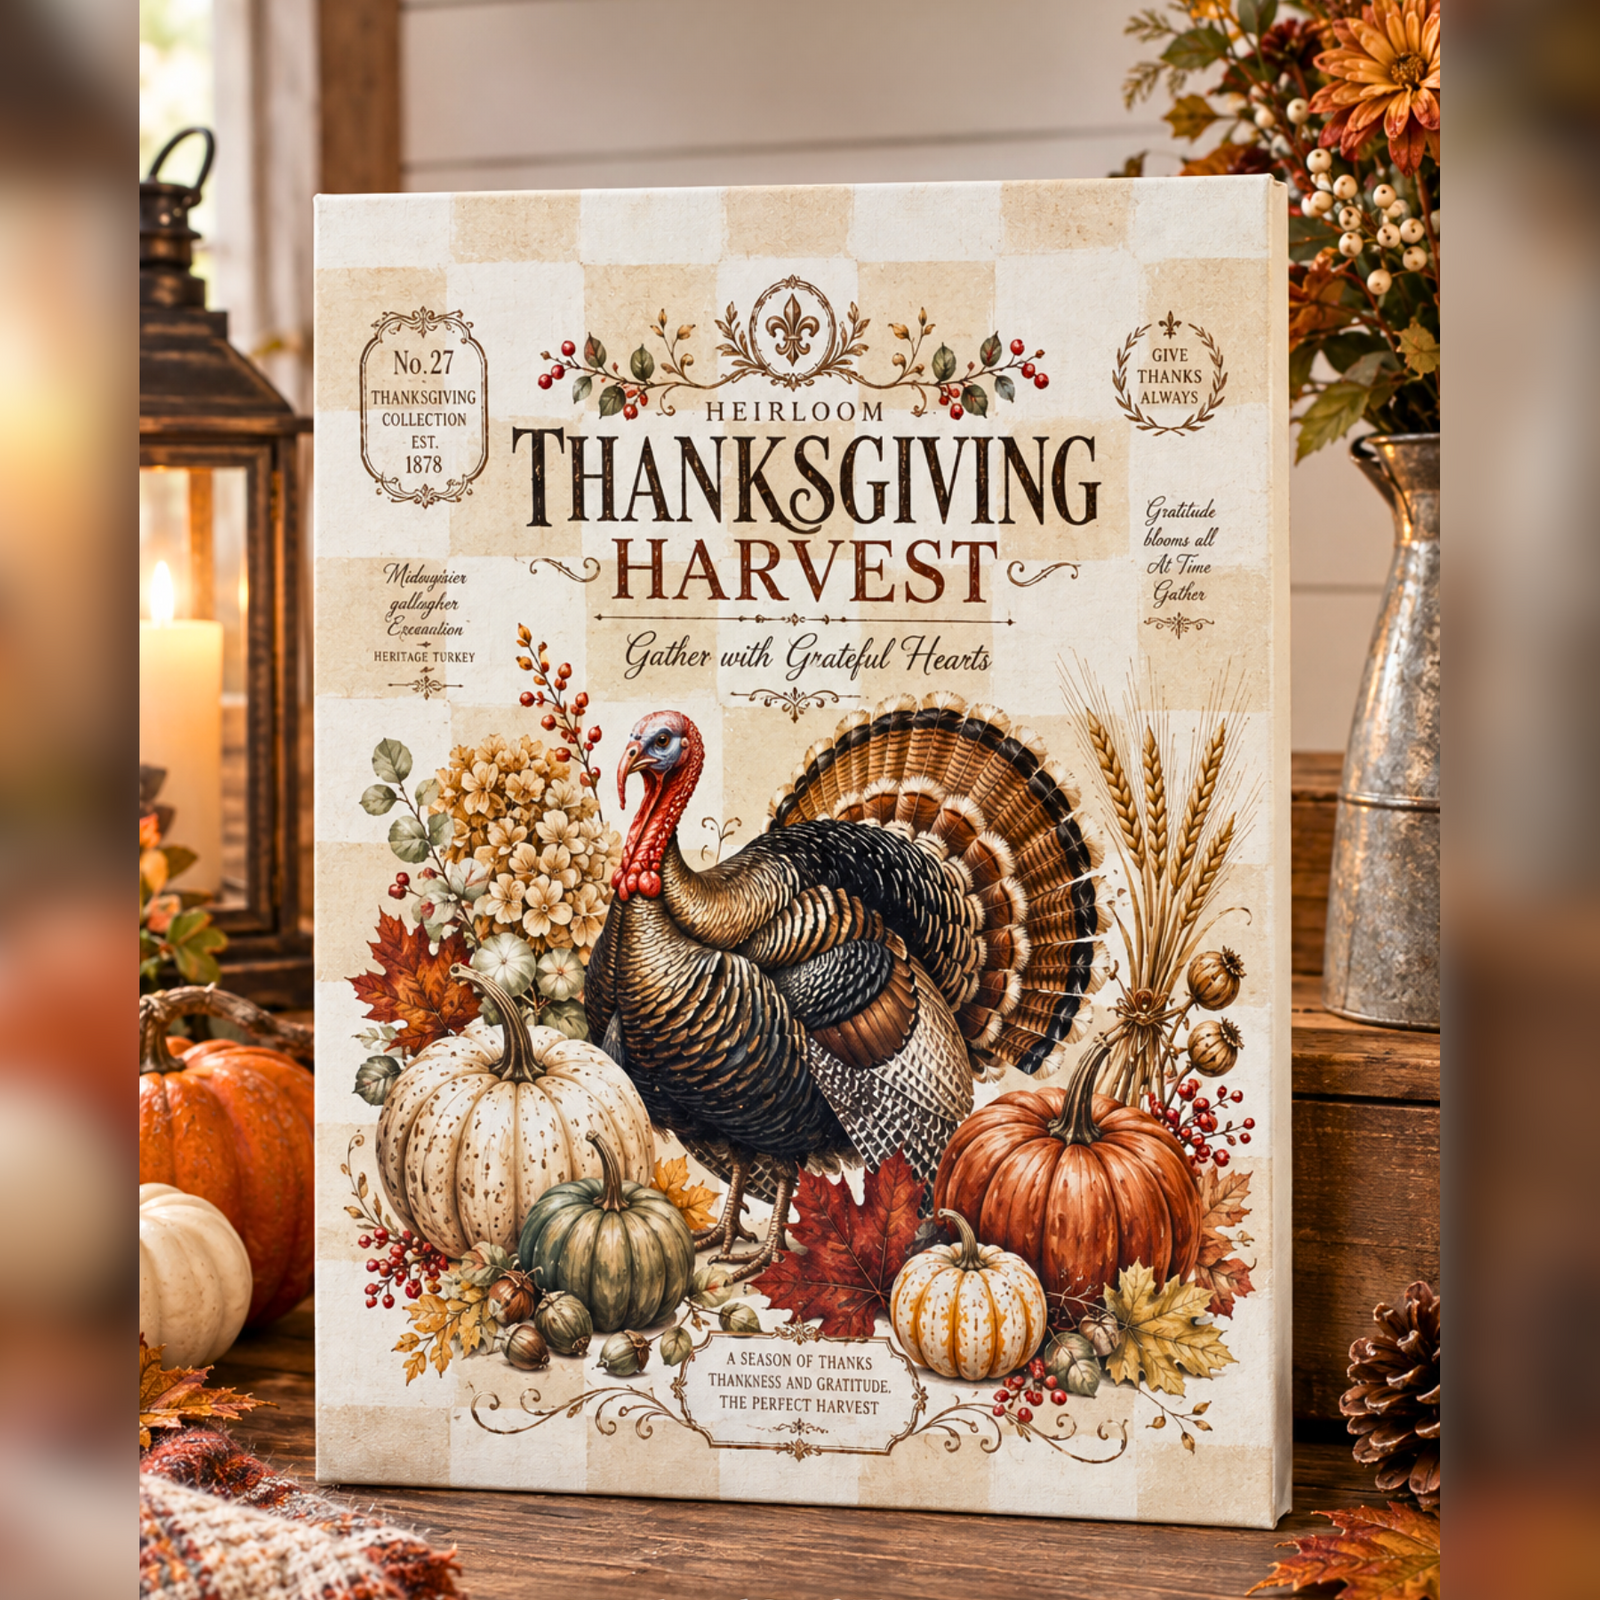
Bring cozy fall charm to your home with a soft, neutral Thanksgiving sign featuring the Heirloom Thanksgivi...


Bring a little winter magic to your home with this rustic Winter Wonderland DIY sign! Using the October 2026 Stencil of the Month Premium Set and Add-On Set, you can create a snowy scene with faded trees, a cozy igloo, snowballs, and sparkly 3D icicles.
This project starts with a stained plywood background and layers simple stencil techniques with dimensional spackle and glitter. The result is a charming winter piece with plenty of texture and rustic character.
Start with a 12" x 12" plywood board pre-stained in Dark Walnut.

Lightly dry brush Skyline Blue over the board, allowing some of the darker stain to remain visible. This creates the rustic, weathered background that gives the finished piece so much character.
Once the first layer is dry, mix a little Skyline Blue with white paint. Use a chip brush to lightly dry brush the mixture toward the top of the board.

Keep your brush light. You don't need much paint. The goal is to build soft layers while allowing some of the darker color underneath to show through.
Let the background dry completely before moving on to the stenciling.
Now it's time to bring in the October 2026 Stencil of the Month Premium Set.
Position the Winter Wonderland wording in the center of the board. Using a stencil brush and white paint, boldly fill the lettering and snowflakes.

Carefully lift the stencil to reveal the crisp white design.
Helpful tip: A light, controlled touch with your stencil brush helps keep the paint from bleeding beneath the stencil, especially around the smaller snowflake details.
Next, grab the tree stencil from the October 2026 Add-On Set. Position it along one side of the board.

Use the Skyline Blue and white paint mixture to lightly fill the tree. Keep some areas softer and less filled in rather than aiming for a solid image.
This faded technique is what gives the tree its soft, snowy appearance. The variation in the lighter and darker areas adds dimension without making the tree compete with the main wording.
Lift the stencil carefully and allow the paint to dry.
Position the igloo stencil from the Premium Set at the bottom center of the board.

Boldly fill the igloo with white paint, then carefully lift the stencil.
Once the white paint is completely dry, use a Mini Stencil Brush to lightly add navy blue along the igloo's outline details.

Don't completely fill in the outline. A light touch of navy around the edges is enough to define the structure and give the igloo more dimension.
Grab the snowball stencil from the Add-On Set and position it beside the igloo.

Fill the snowballs with white paint and carefully lift the stencil.
These small details may be simple, but they help turn the individual stenciled elements into one cohesive winter scene.
Now for the show-stopping detail!
Position the snow icicle stencil from the Premium Set along the top edge of the board.

Use a spatula to spread lightweight white spackle evenly over the stencil. Keep the stencil flat against the board as you work.
You don't have to make the spackle perfectly smooth. Leaving a few subtle lines and variations creates natural-looking texture in the finished snow.
While the spackle is still in place, lightly add silver glitter across the surface.

A little glitter goes a long way. You only need enough to catch the light and add a soft shimmer.
Carefully lift the stencil while the spackle is still workable to reveal the raised, textured icicles.
Once everything has dried completely, your Winter Wonderland sign is ready to display!

The combination of the rustic Dark Walnut background, layered blue tones, soft faded tree, snowy igloo, and raised glittery icicles creates a cozy winter scene with plenty of texture.
This project is a great example of how a few simple stencil techniques can create a piece with lots of depth and personality. Start with a rustic painted background, layer in your winter imagery, then finish it with dimensional snow and a little sparkle.
Ready to create your own? Check out the October 2026 Stencil of the Month and bring this snowy scene to life!
Want to see how this beautiful Winter Wonderland sign comes together? Watch the full video tutorial below and follow along as you create your own cozy winter masterpiece! ❄️
Fall 2026 Featuring Melissa Bradshaw
 Fall 2026
Featuring Tammy Muto
 Christmas 2026
Featuring Sharon Hankins