 Fall 2026
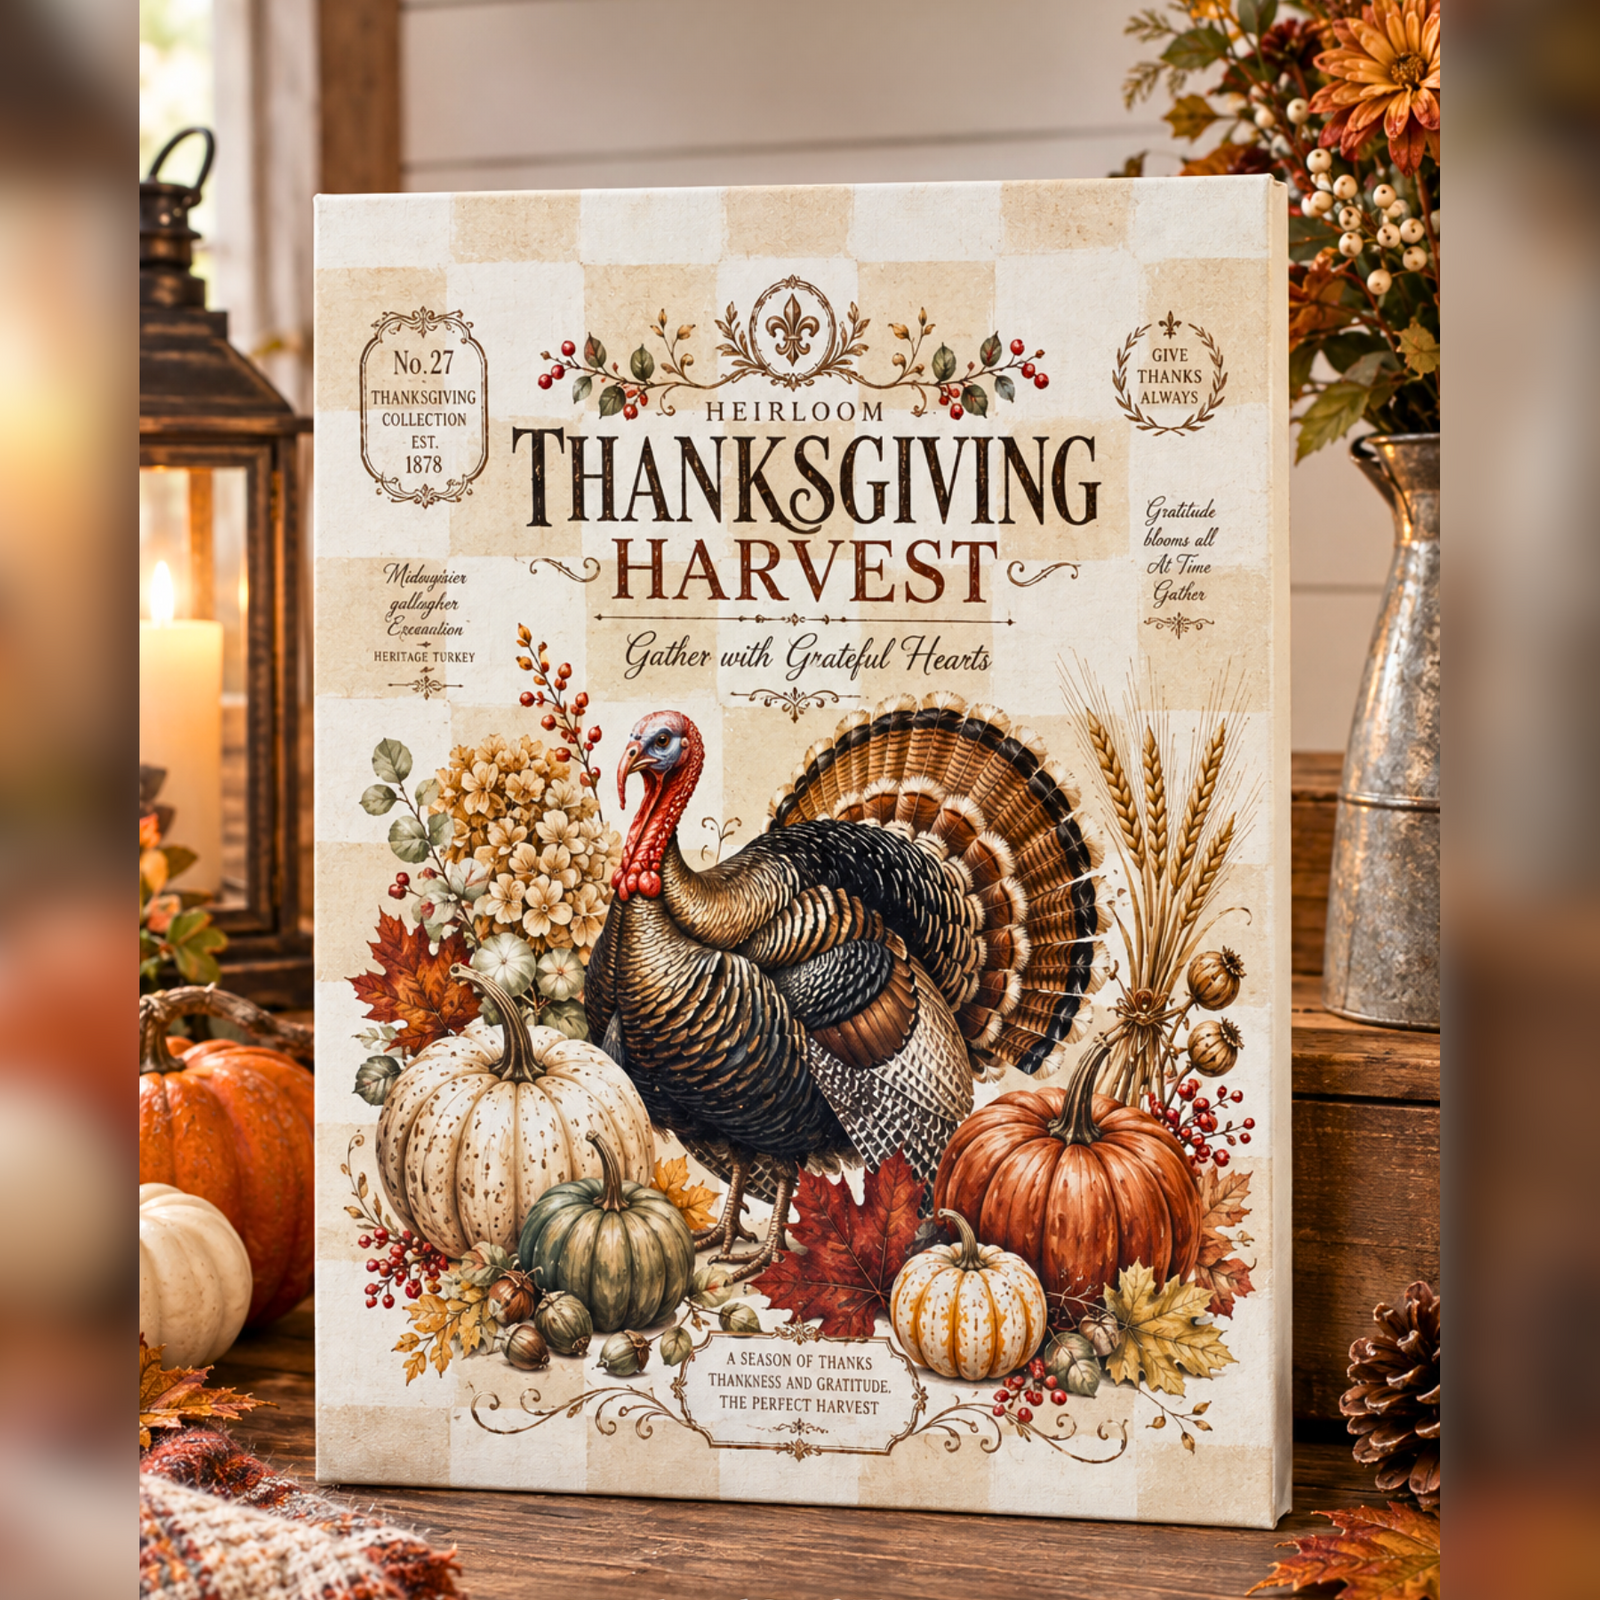
A Beautifully Neutral Thanksgiving Sign You’ll Want to Make! 🍂
Featuring Melissa Bradshaw
Bring cozy fall charm to your home with a soft, neutral Thanksgiving sign featuring the Heirloom Thanksgivi...


Create a magical winter scene with a little shimmer! In this project, Sharon from I Restore Stuff uses the October 2026 Stencil of the Month designs, Fusion Mineral Paint, and Chromaflex shimmer paints to create a snowy polar bear scene filled with Northern Lights color.
The dark blue-gray background makes the shimmer really stand out, while the white mountains, ice chunk, and polar bear bring the whole scene to life.
Ready to get started? Let’s make this sweet Winter Wonderland project!
Start with a canvas board pre-painted in Fusion Mineral Paint in Cambridge, a deep blue-gray shade. Make sure the surface is completely dry before beginning.

Using a small flat brush, apply Violet Hummingbird Chromaflex to the upper section of the board. Add a little water to your brush to help the paint glide smoothly across the surface.

Next, add Turquoise Peacock and Blue Butterfly. Blend the colors together around the top of the board to create sweeping Northern Lights shapes.
A little Chromaflex goes a long way. Work with small amounts and build the color gradually until you get the soft, shimmery effect you want.

Helpful Tip: Dampening your brush slightly helps Chromaflex spread more easily. Let the background dry completely before moving on to the stenciling.
Grab the October 2026 Stencil of the Month Add-on Set and position the mountain design toward the top of the board.
Using a stencil brush and a small amount of white paint, fill the mountain design. Allow it to dry, then apply a second coat for fuller coverage.

Helpful Tip: Use very little paint on your stencil brush. A dry-brush technique gives you better control and helps keep the stencil edges crisp.
Use another design from the Add-on Set to create a snowy tree along the side of the board.
Fill the tree with white paint, then carefully lift the stencil to reveal the crisp design.

Once the background elements are dry, position the “There’s Snow Place Like Home” design from the October 2026 Premium Set along the bottom of the board.
Stencil the lettering with white paint. Let it dry before adding a second coat for a brighter, more opaque finish.

Helpful Tip: Resist the urge to load your brush with paint. Small amounts give you much more control and help prevent fuzzy stencil edges.
Reposition the Add-on Set and place the large ice chunk in the center of the board, just above the sentiment.
Before applying paint, check the placement. Make sure there is enough room for the polar bear to sit comfortably on top of the ice.
Fill the ice chunk with white paint, then carefully lift the stencil.

Now for the star of the project!
Position the polar bear from the Add-on Set at the top of the ice chunk. Using your stencil brush, fill the bear with white paint.
Leave the scarf lightly painted. You’ll add a beautiful shimmer to it in the next step.

Once the polar bear is completely dry, grab your Blue Butterfly Chromaflex and a mini stencil brush.
Apply the shimmery blue to the bear’s scarf. Because you’re brushing it over white paint, the result is a softer, icy shimmer rather than the deeper blue you get over the dark background.

While you have the Chromaflex out, lightly brush a little across the ice chunk too. A small amount adds subtle shimmer and dimension without covering the white base.

Helpful Tip: When adding shimmer over white, use a light touch. You can always add more, but a subtle layer keeps the icy effect soft and dimensional.
Finally, reposition the Add-on stencil and carefully align the polar bear’s face details.
Using another mini stencil brush and just a tiny amount of black paint, fill in the eyes and nose.

Helpful Tip: Keep your brush nice and dry when adding the face details. Too much water can cause the black paint to seep underneath the stencil.
This project was created by Sharon Hankins of I Restore Stuff. Sharon’s projects combine approachable stenciling techniques with creative painted finishes, and this Northern Lights scene is a great example of how a few layers of color and shimmer can completely transform a simple canvas board.
And there you have it! A charming winter scene complete with shimmering Northern Lights, snowy mountains, an icy chunk, and an adorable polar bear.
The combination of the deep Cambridge background and Chromaflex shimmer gives this project so much dimension. The shimmer catches the light beautifully, making this a fun piece to display throughout the winter season.

Get the October 2026 Stencil of the Month and turn your favorite winter scene into a handmade project of your own.
Don’t forget your Mini Stencil Brush Set for those small details and shimmer accents!
Want to see how Sharon created this beautiful Northern Lights Polar Bear project? Watch the full video tutorial below and follow along to create your own shimmery winter wonderland! ❄️✨
Fall 2026 Featuring Melissa Bradshaw
 Fall 2026
Featuring Tammy Muto
 Fall 2026
Featuring Renee Rumph