
 Fall 2026
 🍂 Harvest Blessing: A Vintage-Inspired Plaque with a Touch of Golden Glow
Featuring Melissa Bradshaw
Give a simple wood plaque a beautiful autumn makeover with the Harvest Blessing Transfer! Layer distressed ...


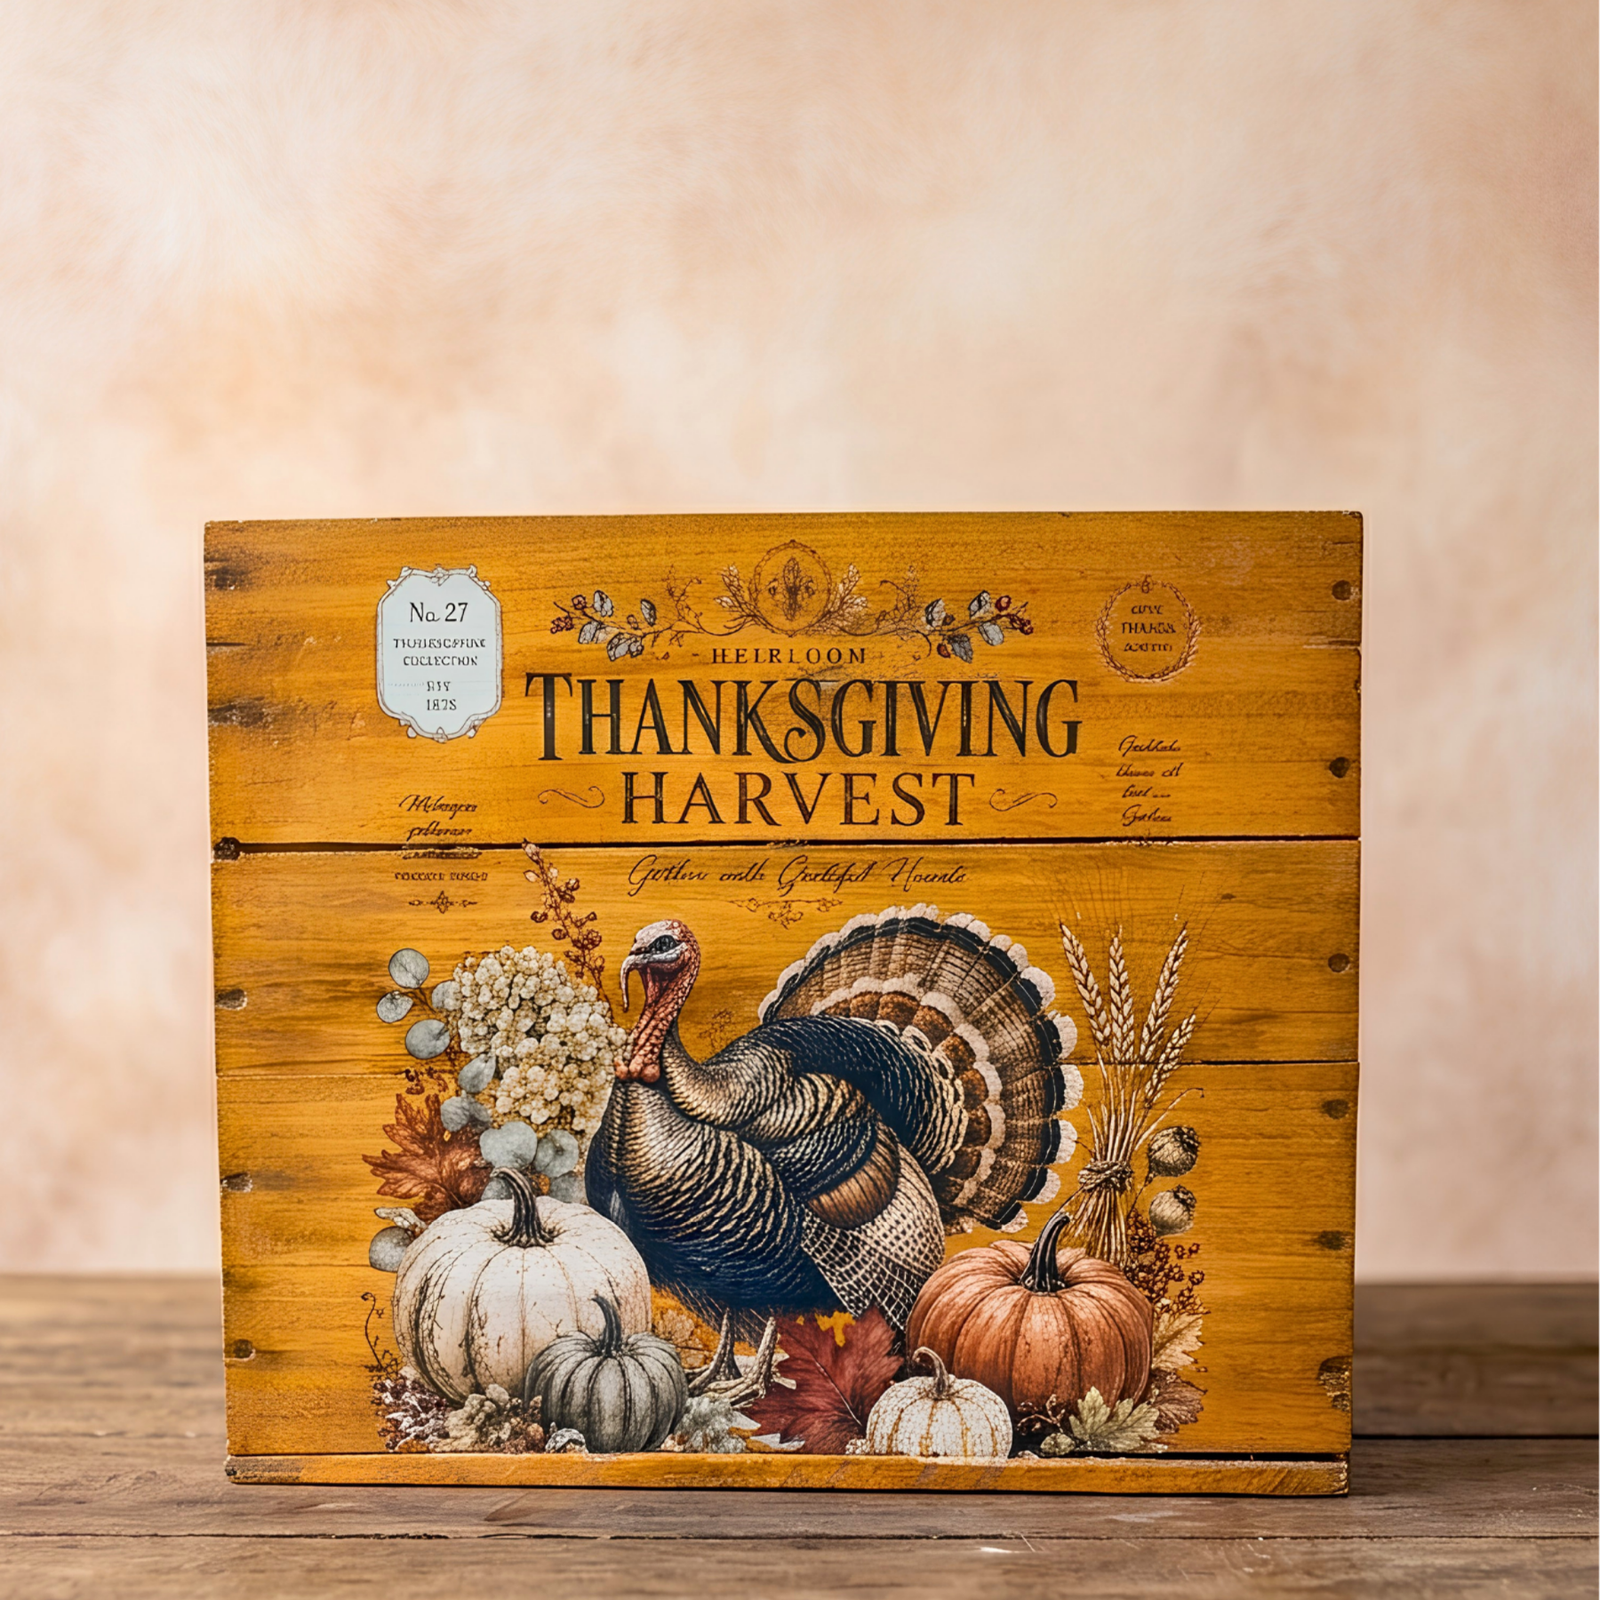
Give an old wooden crate a cozy fall makeover with the Heirloom Thanksgiving Transfer. This simple project adds beautiful seasonal detail without requiring a lot of supplies or complicated steps.
The turkey design looks right at home on a wooden crate, and you can finish the piece with fall flowers, greenery, or your favorite Thanksgiving decor.

Start with a wooden crate box and make sure the surface is clean and completely dry before applying your transfer.
A clean surface helps the transfer adhere properly and gives you a smooth, finished look.
Grab the Heirloom Thanksgiving Transfer and decide which part of the design you want to use.
For this project, a section featuring the Thanksgiving turkey is used along the bottom of the crate. Don’t be afraid to cut your transfers! Trimming individual sections makes it easier to position the design exactly where you want it.
Save any extra pieces you cut away. Small decorative elements can be perfect for another DIY project.

Place the transfer where you want it on the crate. Take a moment to check the placement before removing the backing sheet.
Once you’re happy with the position, carefully peel away the backing sheet. Try not to touch the transfer design too much as you handle it.
Gently lay the transfer onto the wood and smooth it into place. If your crate has a small lip or edge, make sure the design is pressed into that area as well.
Now it’s time to transfer the design onto the wood. Use the Essential Rub-On Transfer Tool to firmly burnish over the entire design.
Work your way across the transfer, applying enough pressure to help every detail adhere to the wooden surface.
If a section doesn’t transfer right away, simply lay the sheet back down and go over that area again. Take your time and check the design as you work.

Once you’ve gone over the entire design, carefully peel away the transfer sheet.
Check the design as you remove the sheet. If you notice any detail that needs a little extra attention, place the sheet back down and burnish that section again.
Finish by gently pressing over the transferred design with your hand to make sure everything is securely adhered.
And that’s it! The Thanksgiving turkey design gives this simple wooden crate an instant seasonal update.
Add fall flowers, greenery, or other autumn accents to turn the crate into a beautiful piece of Thanksgiving decor. It’s an easy way to give an old wood box a fresh seasonal purpose.

Bring seasonal character to your next furniture flip, wood crate, sign, or home decor project with the Heirloom Thanksgiving Transfer. Browse more Essential Stencil Rub-On Transfers to find your next project.
Fall 2026 Featuring Melissa Bradshaw

 Fall 2026
 Featuring Cindy Berry

