 How to Use
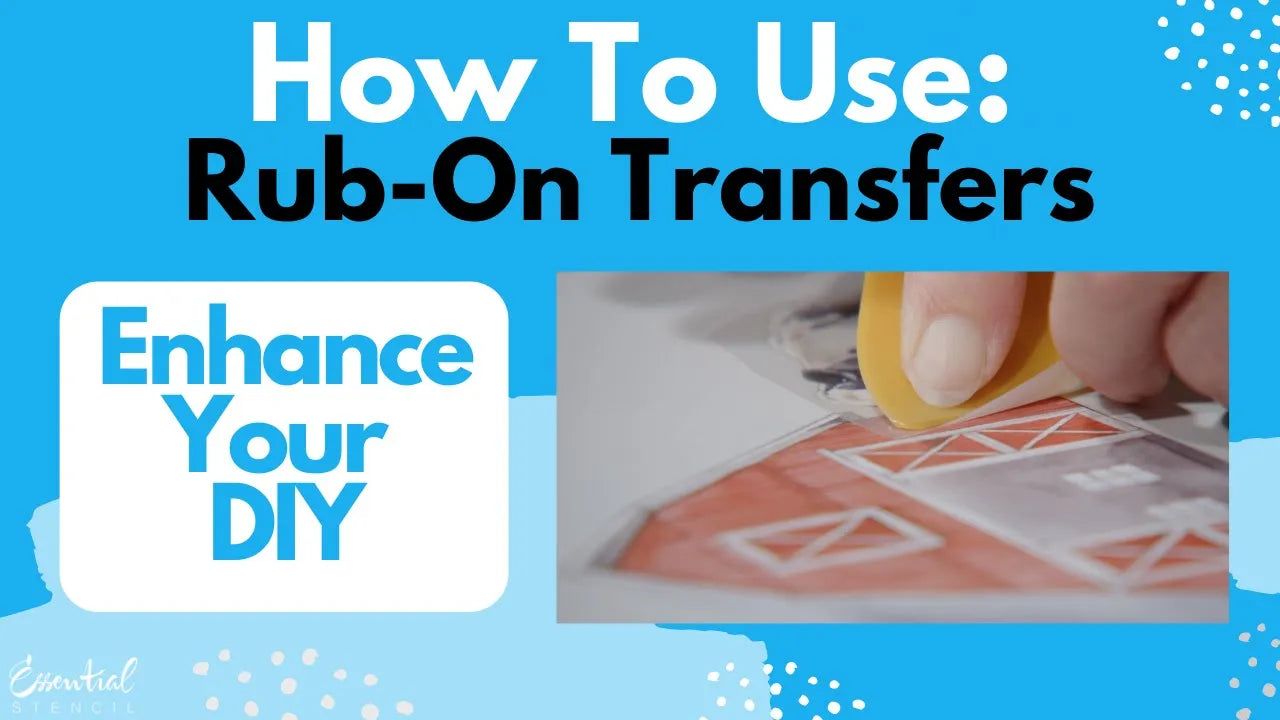
 Enhancing Your Stencil Projects with Rub-On Transfers
Featuring Sharon Hankins
Learn how to layer rub-on transfers with stencils to create stunning decor in minutes. Tips, tools, and vid...


You'll love how easy it is to create your very own rustic farmhouse style wood signs with these reusable sign stencils!

Supplies you'll need:

You Will Need:
Paint bleeding underneath your stencil is common when stenciling on wood....
That being said,
There is a better way to minimize paint bleed and create Beautiful Wood Signs!😊
Your frustrations are normal, this is a way too common issue that all DIYers face when stenciling (especially on wood)
We have a few DIY Techniques to help you stencil like a PRO & ensure your finished signs look AMAZING 😉
🎉Great! Lets get started 🎉

Step 1: Prepping Your Wood Board
First thing to do is choose your favorite wood board to stencil onto, there is no one right board to use, this is part of the fun.
Pallet wood planks:
Pro: It's typically FREE
Con: Rough surface will cause paint to easily bleed under stencil.
Solution: Sanding smooth the surface of your pallet plank will help ensure you have a ready-to-stencil board and minimize chances of any bleed.
Common Wood Planks from your local home improvement store:
Pro: Boards are smooth and ready-to-stencil with minimal sanding
Con: Not free
Essential Tip: Most hardware stores will cut your wood board to any size needed when asked. Make sure and write down the board measurements you will need for each sign you plan to make. Also, have an extra piece cut so you can practice stenciling onto.
1. Sand your board smooth with #180 or #220 fine grit sandpaper.
Remember to sand the edges and corners of the board (rounding out your edges will give your project a more worn rustic look) A smooth surface is important for getting the best finished stencil project.
2. Next, wipe your board clean and stain your board with a favorite stain of yours.
3. Apply thin coat ofpolyurethane with a fine brush, foam pad, or cloth over stain and let dry according to products instructions. (Applying this coating before moving on to painting will give you a beautiful chippy paint look :)
4. Paint your wood board with a chalk white paint and let dry for 30 minutes.
5. Lets make it rustic! Sand the edges and corners of your board exposing your stain underneath, continue sanding until you get your desired look.
There are so many possibilities to choose from when finishing your wood board, this is really up to what you want your sign to look like.
Here are some other great DIY videos/articles on creating different looks for your wood board.
Check out our Best Selling Sign Stencils!

Step 2: Positioning Your Sign Stencil
This seems to be pretty straight forward, but there are many different techniques used by DIYers.
1. Tape your stencil in place with painters / stencil tape
2. Using a low-tack spray adhesive on the back of your stencil
3. Holding in place with one hand while stenciling paint with your other hand.
4. Adding Mod Podge to seal your stencils edges which will keep paint from bleeding underneath.
We like using painters tape on each side to hold your stencil in place while you stencil your design.
This technique is easy and keeps your stencil from moving up or down while you stencil.
Option 1: Position your stencil onto desired location, then attach sign stencil to your finished wood board using painter's tape.
Option 2: Use low-tack adhesive spray on the back of your stencil to hold in place and minimize paint bleed.
Using spray adhesive is a good option when using spray paint to apply your design. This will prevent your stencil from lifting up due to the air pressure pushing under your stencil.
Option 3: Great if you have been stenciling for awhile and have your technique mastered, more power to you 😜
Awesome, now that your stencil is held in place with tape or other method you selected.

Step 3: Using Dry Brush Stenciling Technique
If you are like us, we know you have read and tried this technique and still have paint bleed, this truly is a key part of minimizing or eliminating paint bleed all together!
Take your time & be patient, it will definitely make all the difference.
Here is a few essential tips when stenciling:
Using a good quality stencil brush is key to getting the results you desire.
Begin by dipping tips of bristles in paint and remove excess paint by dabbing brush on a paper towel or newspaper.
👉Very little paint should be left on the brush.👈
🎉 HOORAY! It's time to stencil 🎉

Step 4: Stippling Method
This takes patience, especially when you are stenciling a larger design.
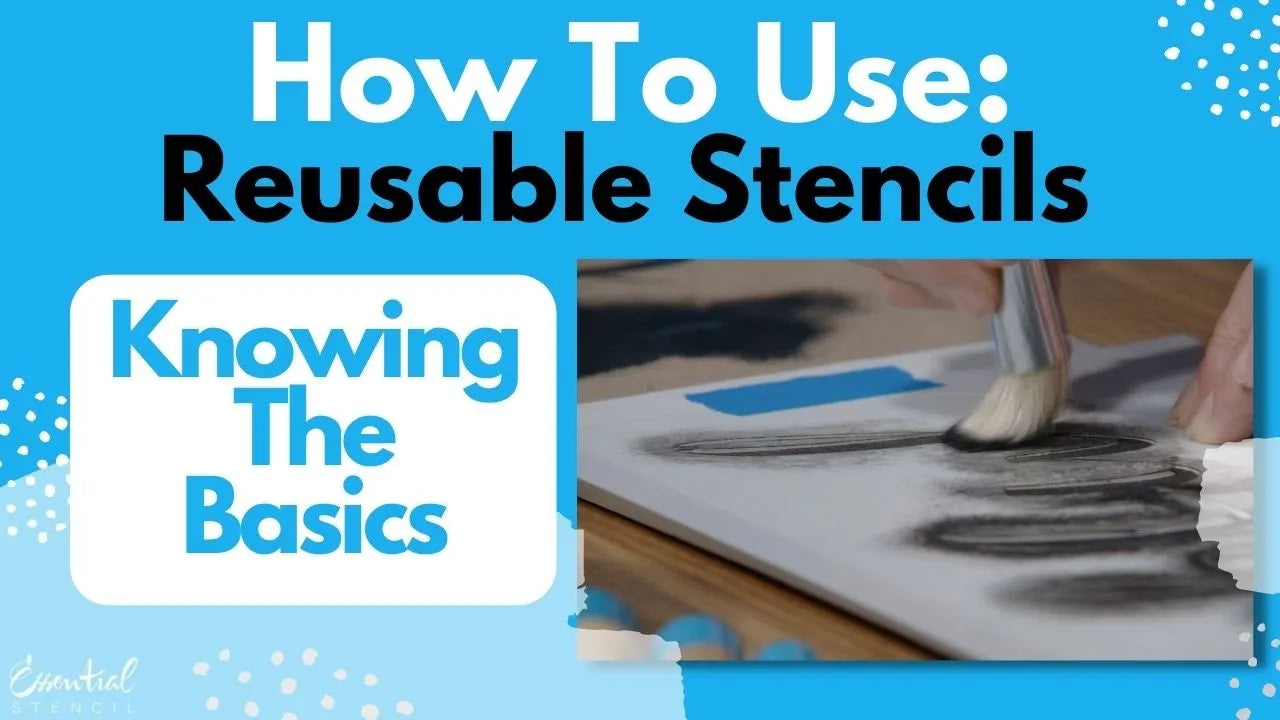
Using the Stippling method, which is dabbing brush up and down against stencil openings.
Apply paint along the edge of the window (the shapes cut out from the stencil) gradually working toward the center of the window.
Apply paint to entire design
Continue stenciling entire design until you reach your desired look. (Multiple thin coats work better than 1 thick coat)
Option 2: Use a foam roller to apply your design onto your wood, this will be much faster but typically does not produce crisp clean lines like stippling method.
Almost there!👍

Step 5: Reveal Your Amazing Stenciled Sign!
Carefully lift stencil from top corner, revealing your AMAZING finished project!
BONUS Tip:Let your sign dry for 24 hours then lightly sand to create a more aged rustic looking sign!
🎉 Celebrate good signs, come on! 🎉

After each use, stencils and stencil tools should be cleaned thoroughly. Never Allow paint to dry in a stencil brush as it may ruin the brush. If using water-base paints, clean your stencils and tools in warm soapy water.For a quick paint removal, wipe stencils with a rubbing alcohol dampened paper towel. When stenciling with oil based paints, clean stenciling supplies with low-odor turpentine or mineral spirits.
Comments will be approved before showing up.
How to Use Featuring Sharon Hankins
 How to Use
 Featuring Sharon Hankins