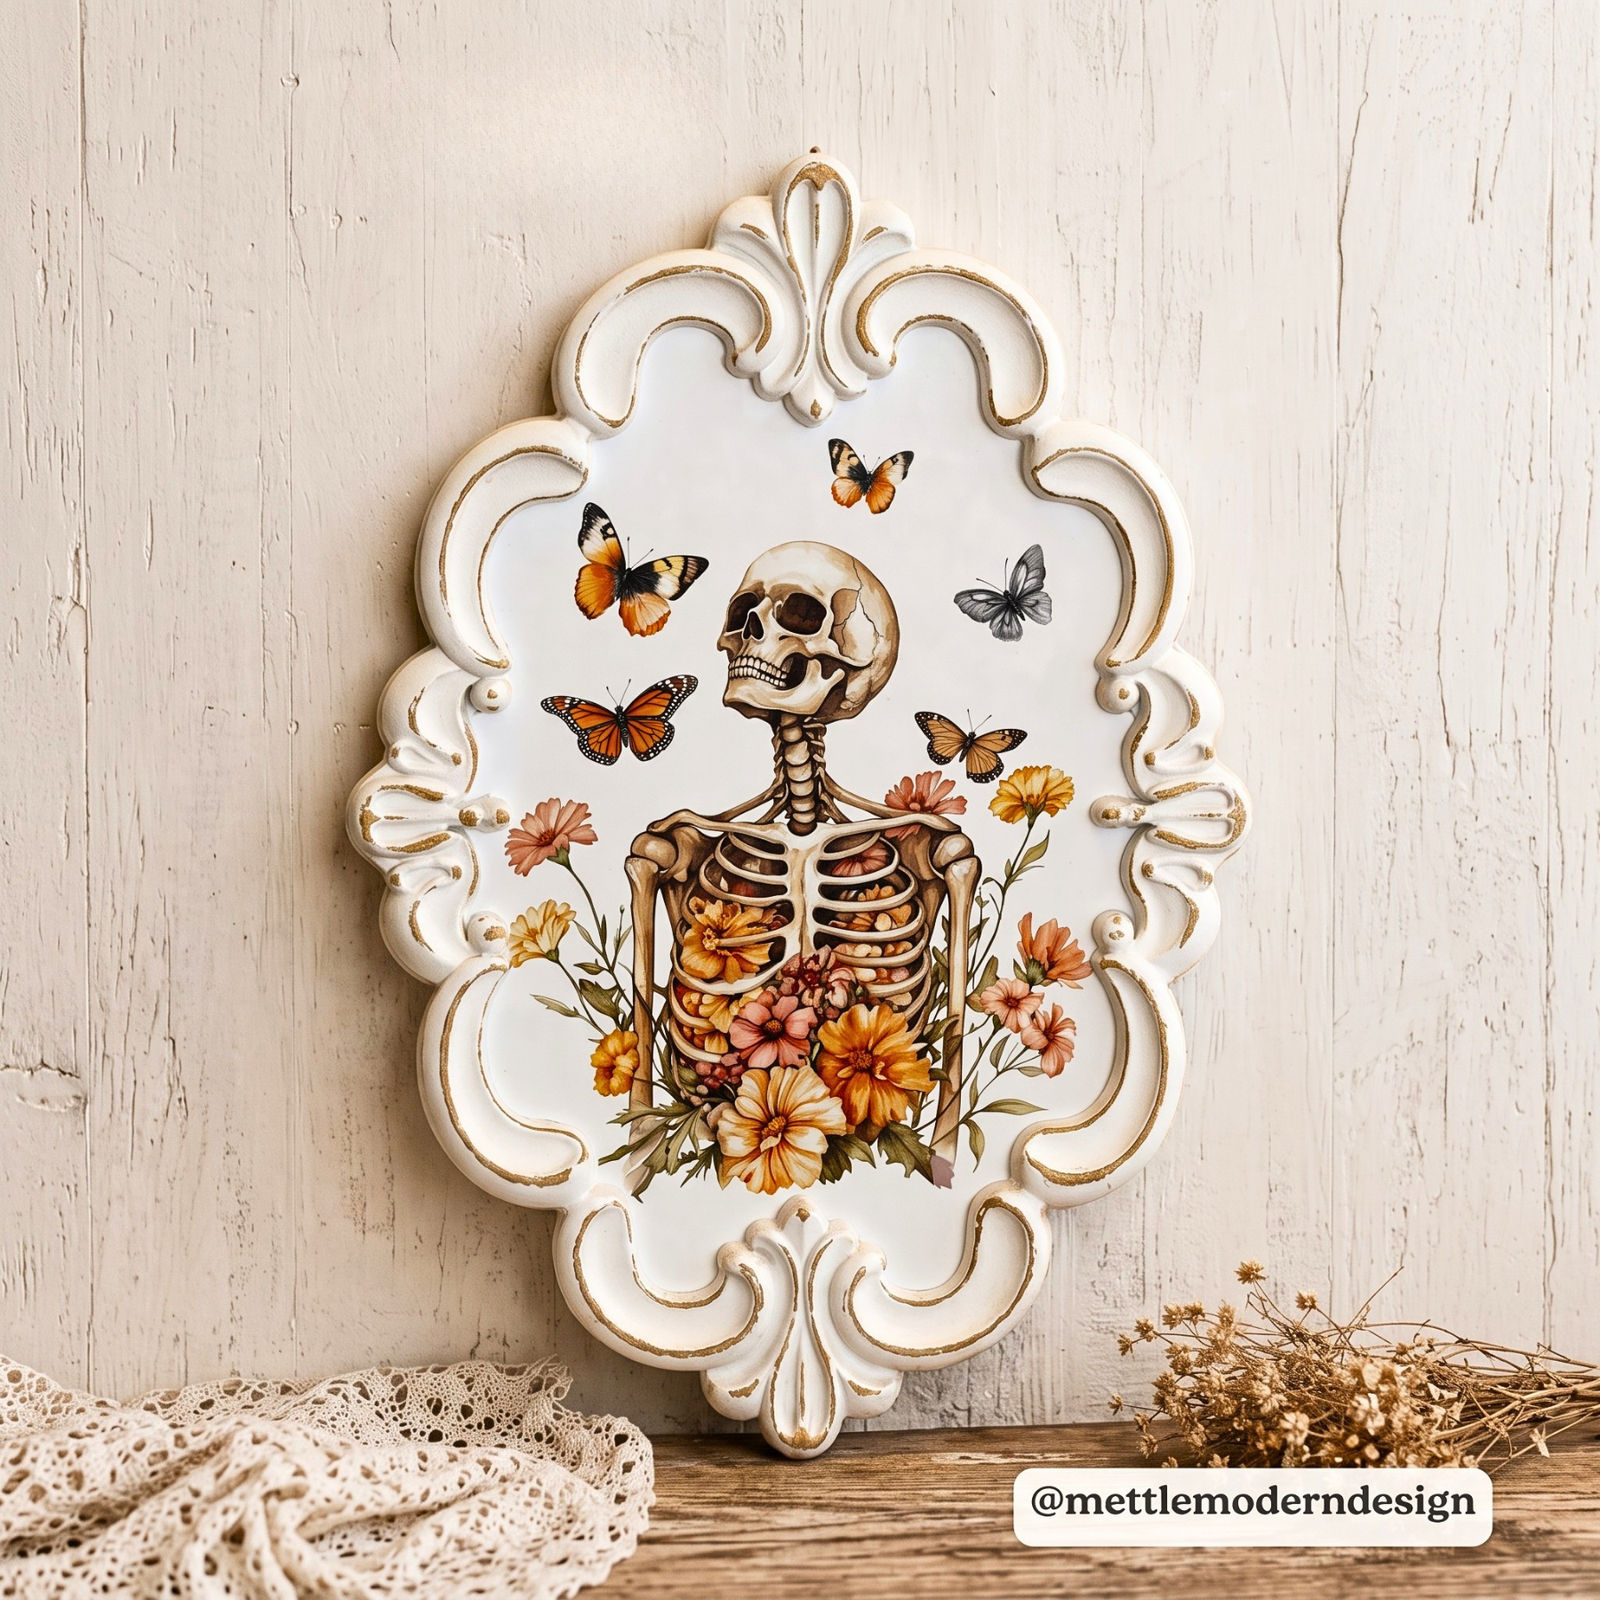
Halloween
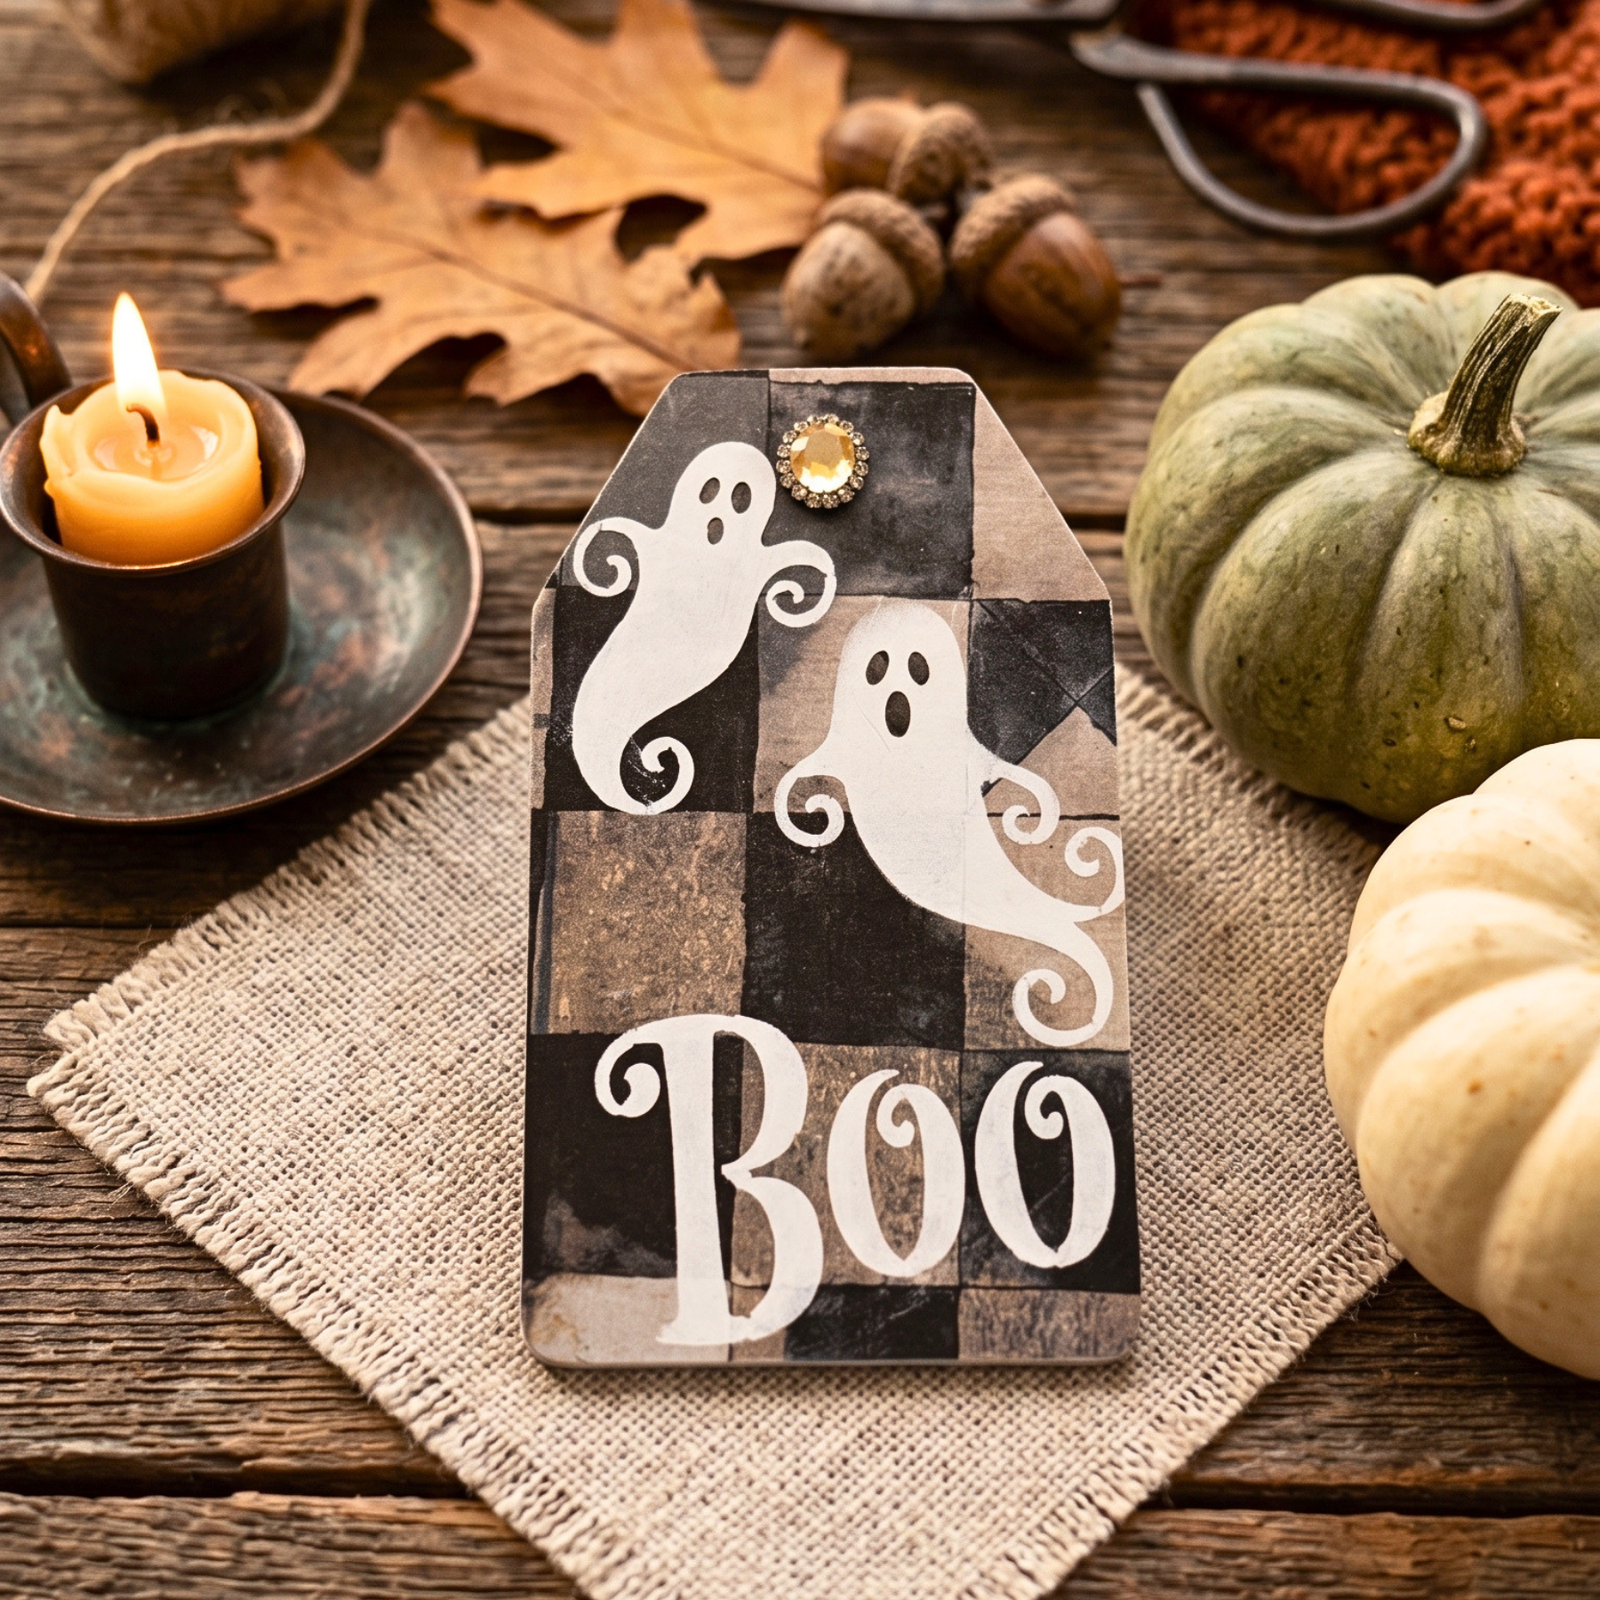
 🎃 Boo-tiful Halloween Porch Charm! 🕷️ Create a Spooky Wooden Tag
Featuring Melissa Miller
Bring a little vintage Halloween magic to your porch! 🎃🖤 Melissa Miller combines warm wood tones, playful J...


Give your Christmas decorating a sweet handmade touch with this adorable Cookies for Santa banner!
In this project, Sharon Hankins of I Restore Stuff transforms three simple wooden banner pieces into a festive Christmas decoration using stencils, rub-on transfers, and a little dry brushing.
The project is simple enough for a beginner and makes a charming addition to a mantel, Christmas treat table, kitchen, or anywhere you plan to leave goodies for Santa.
Start with three wooden banner cutouts that have been painted white. Make sure the paint is completely dry before stenciling.

Grab the 1-Inch Christmas Words Stencil Set and choose the words “Cookies,” “For,” and “Santa.”
Position “Cookies” on the first banner piece. Use a stencil brush with Fusion Mineral Paint in Algonquin, a soft muted brown.
Before applying the paint, offload the excess paint from your brush. A brush with too much paint can allow color to seep underneath the stencil.

Position “For” on the second banner piece and fill the stencil with the same Algonquin paint.

Position “Santa” on the third banner and stencil it with Algonquin paint.
Once all three words are complete, let the paint dry completely before adding the transfers.

Now for the fun part! Choose cookie and gingerbread designs from the Merry & Sweet Christmas Rub-On Transfer Set.
Position the gingerbread cookie in the center of the second banner. Peel away the white backing, place the transfer, and burnish it thoroughly with the Essential Rub-On Transfer Tool.
Lift the transfer backing slowly. Check that each part of the design has adhered before completely removing the backing. If a small section remains stuck to the backing, simply lay it back down and burnish that area again.

Choose two more cookie designs and position one on each of the remaining banner pieces.
Burnish each transfer until it is fully adhered, then slowly lift the backing to reveal the designs.

To give the banner a little more character, use a clean stencil brush to dry brush Cranberry paint around the edges of each piece.
Use only a tiny amount of paint and make sure your brush is nice and dry. Lightly brush around the edges to create a subtle red tint and a little extra depth.
This step is completely customizable. Keep the dry brushing soft for a subtle vintage look, or build up the color for a more distressed finish.

Once everything is dry, thread ribbon through the holes in the wooden pieces to connect the three banners.
Your Cookies for Santa banner is ready to display!

This little banner is proof that a few simple supplies can make a big impact. The combination of warm brown lettering, cheerful cookie transfers, and Cranberry-dry-brushed edges gives these wooden pieces a cozy vintage Christmas feel.
Display your finished banner over a mantel, above a Christmas treat table, in the kitchen, or anywhere Santa might be stopping by for a cookie.
Ready to make your own? Shop the Essential Stencil supplies and create a Christmas banner of your own!
Want to see Sharon create this festive Cookies for Santa banner step by step? Watch the full tutorial below and craft along with her!
Halloween Featuring Melissa Miller
 Halloween
 Featuring Amanda Dillon
 Halloween
 Featuring Melissa Bradshaw