 Halloween
 Bones, Blossoms & Butterflies: Create a Spooky Plaque in Minutes!
Featuring Amanda Dillon
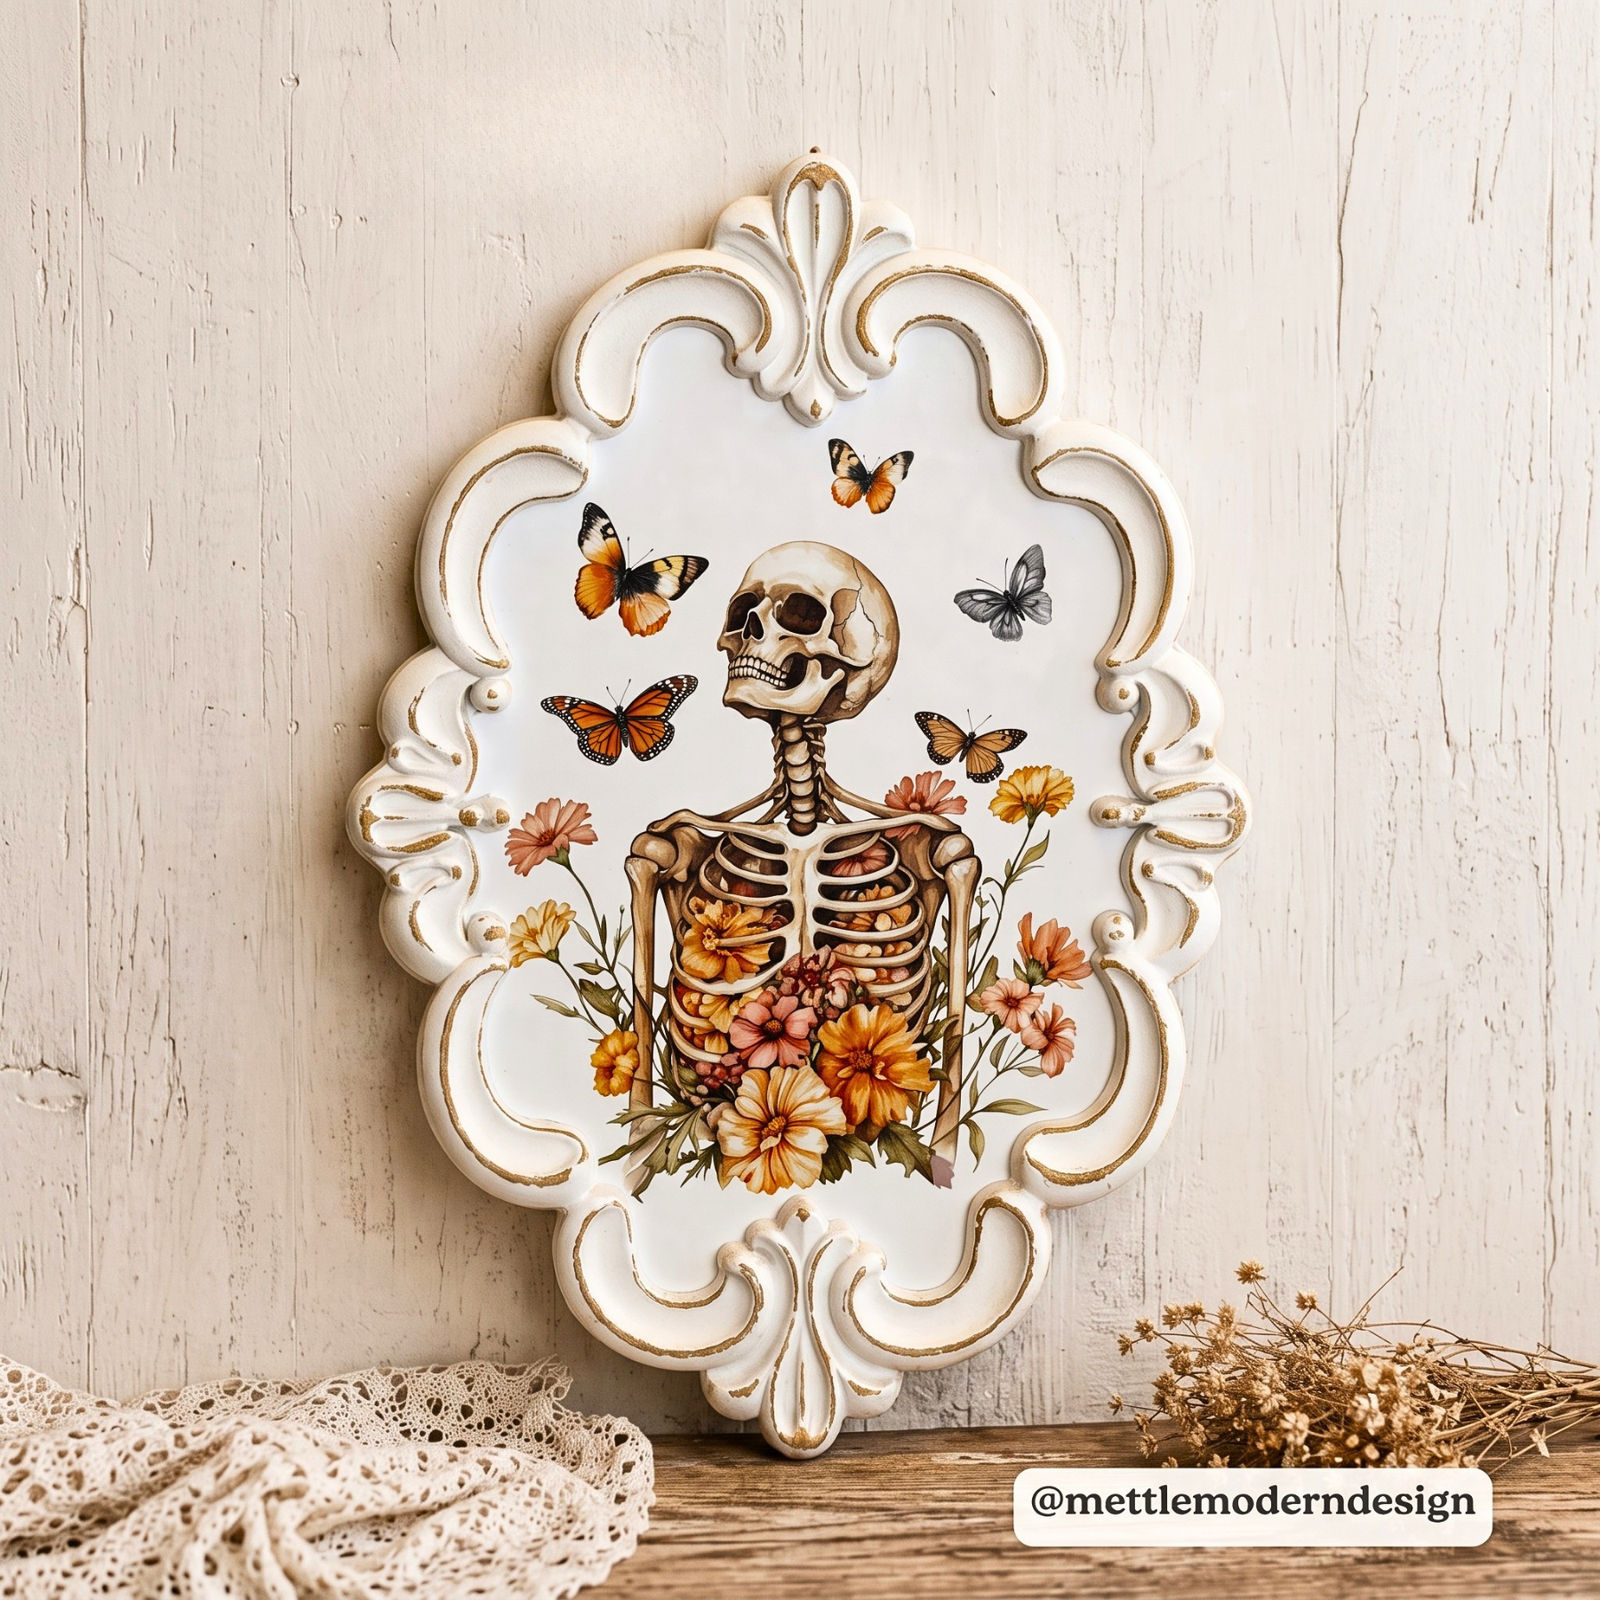
Turn a simple ornate wood plaque into a hauntingly beautiful piece of Halloween décor! 👻 With the Bones to ...


Fall decorating doesn’t have to mean starting from scratch. With a simple upcycled wood board and a few beautiful rub-on transfers, you can create a seasonal piece that feels collected, layered, and full of vintage charm.
In this project, Sharon Hankins of I Restore Stuff transforms an approximately 8" x 14" painted wood board using pieces from three different Essential Stencil transfer sets. The result is a beautiful Autumn Marshlands Transfer Board filled with warm fall details, delicate leaves, vintage-inspired artwork, and butterflies.
The best part? You don't need to be an artist to create it. Rub-on transfers make it easy to add detailed artwork while giving you plenty of freedom to mix, match, layer, and customize your design.
Start with an approximately 8" x 14" wood board that has been painted white. Before applying any transfers, make sure the surface is completely clean and dry.

For the main focal point, use the Golden Marsh design from the Autumn Marshlands Transfer Set.
Position the design in the center of the board. Take a moment to make sure it is straight and that you like the placement before committing to the transfer.
Once you're happy with the placement, carefully burnish over the entire design using the Essential Rub-On Transfer Tool. Work over all areas of the artwork, paying special attention to the small details.

If your board has uneven areas, don't worry. Change the direction of your tool slightly as you work across the surface. This can help you get into textured or uneven spots and ensure the artwork transfers properly.
When you're finished burnishing, slowly peel away the plastic backing. Check as you go to make sure the entire design has transferred before removing the backing completely.
With the Golden Marsh design in place, it's time to fill some of the open space around the edges.
Choose a border from the Heirloom Harvest Market Transfer Set. Cut out the border and trim the ends on both sides. Don't throw those pieces away—you'll use them later to help complete the frame.
You can also cut out a few small leaf elements from the Autumn Marshlands Transfer Set.
Arrange the border along the bottom of the board, adding the leaf pieces wherever you want a little extra detail. Once you're happy with the arrangement, burnish everything securely into place.

Don't be afraid to cut your transfers apart. Individual borders, leaves, and other small elements can be used wherever your project needs them.
For the top of the board, choose another border from the Heirloom Harvest Market Transfer Set.
Position the border along the top section of the board and burnish it into place.
Once the top border is secure, bring back those cut-out ends from the first border. Position them in the center area where needed to help complete the framed look.

This is where the flexibility of rub-on transfers really shines. Mixing pieces from different transfer sets allows you to create a design that is completely your own.
For the final layer, bring in a few butterflies from the Whiskers & Wildflowers Transfer Set.
Cut out a few butterfly designs and scatter them around the board. There's no need to make the placement perfectly even. In fact, randomly positioning these small elements helps create a more natural, layered look.

Burnish each butterfly securely, then take a look at the whole piece. Add or remove elements visually by balancing the areas that feel too empty or too busy.
And that's it! A plain, upcycled piece of wood has been transformed into a beautiful fall-inspired sign using a combination of rub-on transfers.

Sharon's project is a great example of how you can combine different transfer sets to build a custom design. The Golden Marsh artwork creates the focal point, the Heirloom Harvest Market borders frame the piece, and the leaves and butterflies add those extra little details that make the board feel finished.
That's the beauty of rub-on transfers. You can add detailed artwork to your projects without needing to paint every detail yourself. And if you want to take your project even further, try combining your transfers with stencils for another layer of dimension and creativity.
Ready to create your own fall project? Explore the Essential Stencil Rub-On Transfer Collection and start mixing and matching your favorite designs.
Happy crafting!
Halloween Featuring Amanda Dillon
 Halloween
 Featuring Melissa Bradshaw
 Fall 2026
 Featuring Tammy Muto