 Halloween
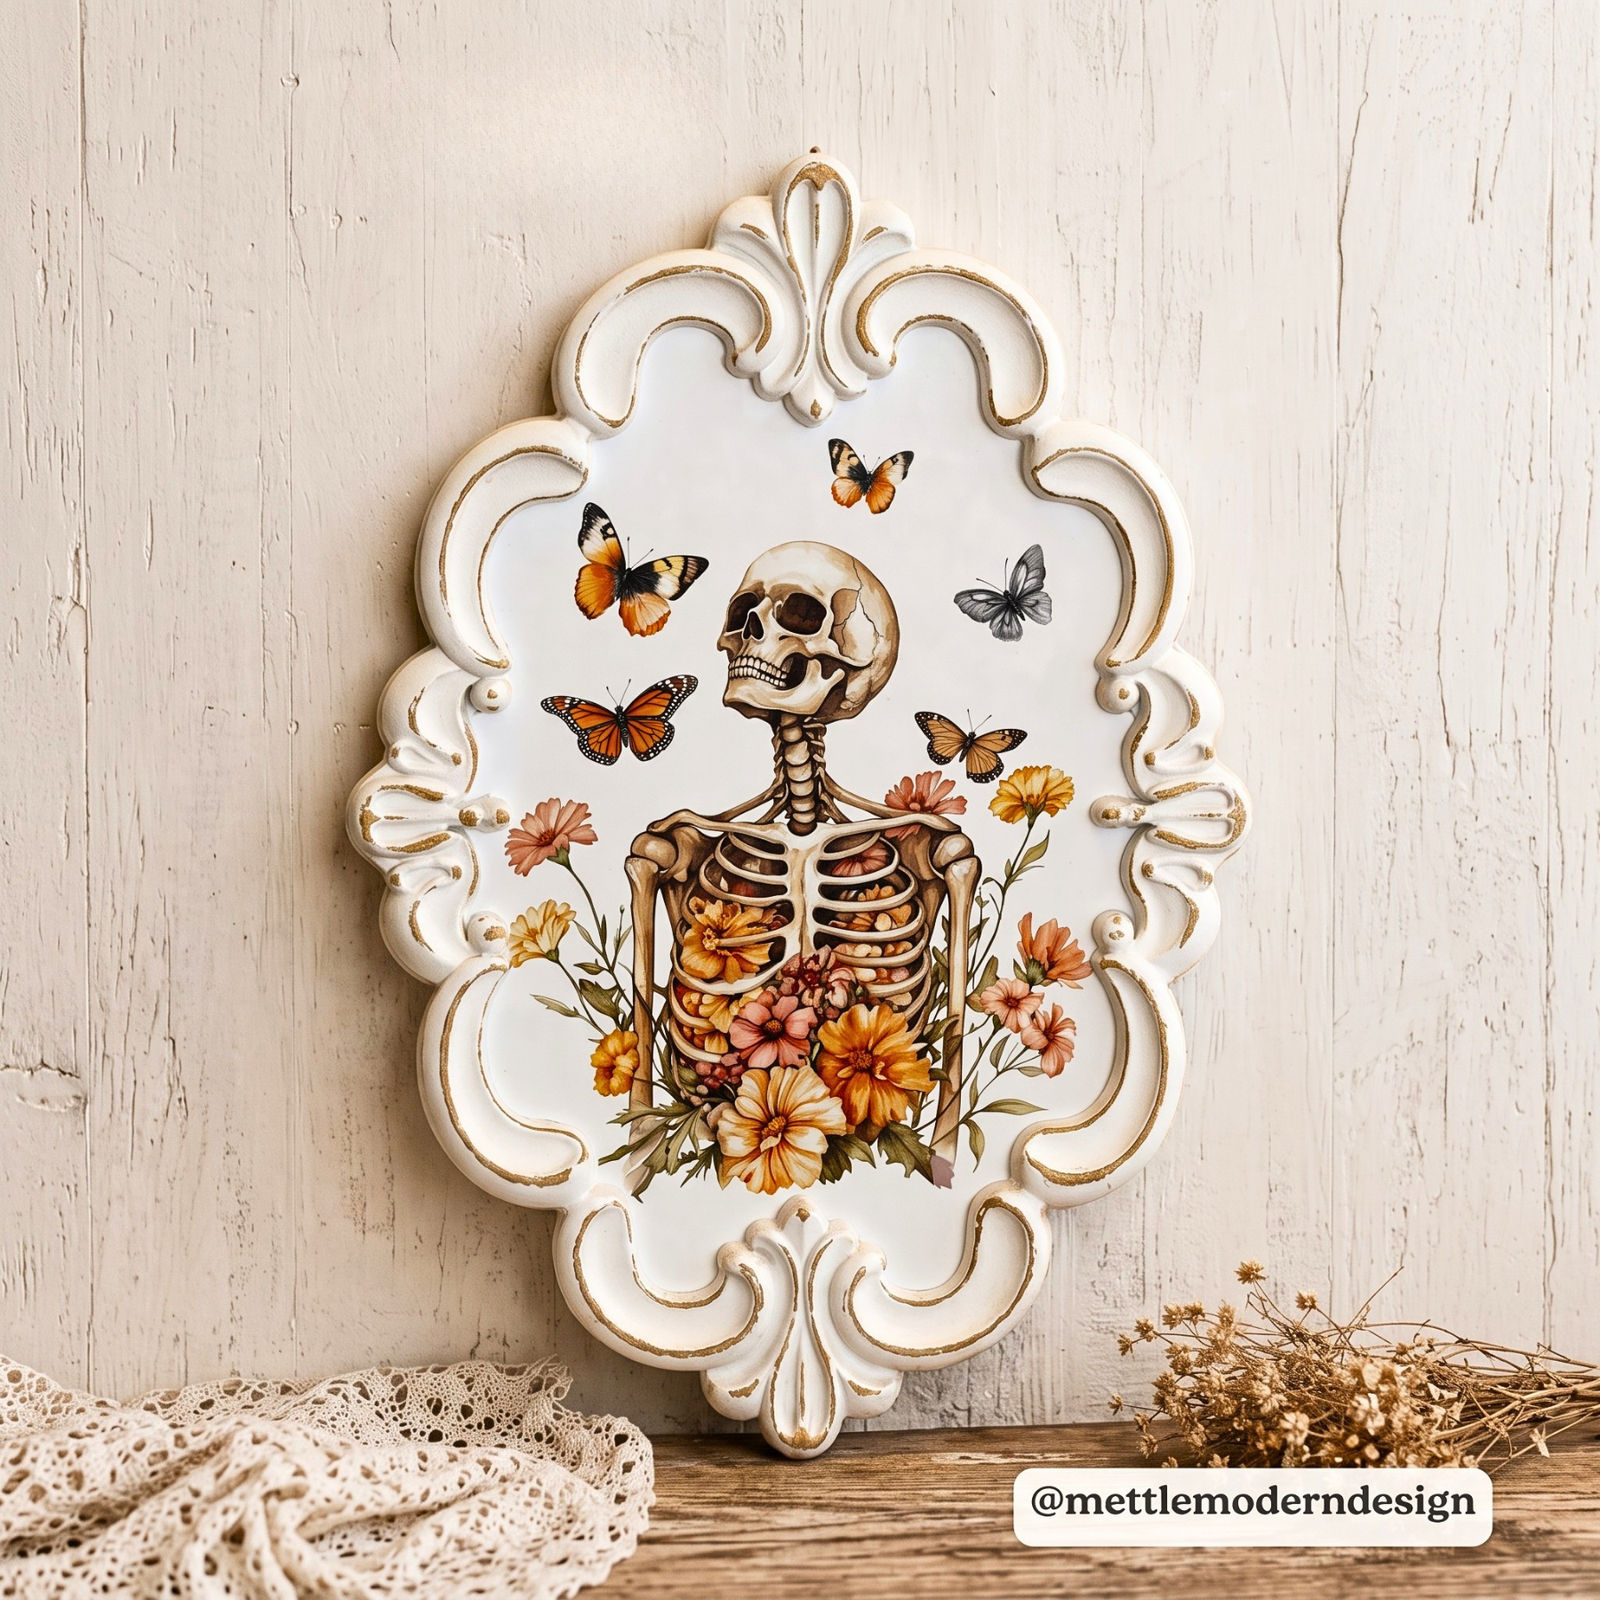
 Bones, Blossoms & Butterflies: Create a Spooky Plaque in Minutes!
Featuring Amanda Dillon
Turn a simple ornate wood plaque into a hauntingly beautiful piece of Halloween décor! 👻 With the Bones to ...


Have a small glass bottle sitting around that could use a little personality? This easy DIY turns an ordinary bottle into a charming decorative piece using a cat from the Whiskers & Wildflowers Transfer Set.
Tammy Muto of Cheers to Creativity shared this project during a live Essential Stencil tutorial. She shows how to apply a rub-on transfer to curved glass while keeping all those tiny leaves and details intact.
The best part? You can use leftover transfer pieces on other glass projects, too. So grab a bottle and let’s get crafting!
Start with a small glass bottle. Before applying your transfer, the glass needs to be clean and completely free of dust, dirt, and residue.
Wipe the bottle thoroughly with rubbing alcohol. Make sure you clean the area where your transfer will be placed.
Allow the glass to dry completely before moving on. A clean, dry surface gives your transfer the best chance of adhering properly.

Choose one of the adorable cat designs from the Whiskers & Wildflowers Transfer Set.
Carefully cut around the design you want to use. Position it on the glass bottle and take a moment to make sure you like the placement before burnishing.
Once you’re happy with the position, gently rub over the entire transfer using the Essential Rub-On Transfer Tool.
Because the bottle has a slight curve, work slowly and carefully. Burnish a section at a time, paying close attention to the tiny leaves and other delicate details.
Continue rubbing until the design has fully released from the backing and adhered to the glass.

Slowly peel the backing away to reveal your design. If you notice an area that hasn’t transferred completely, simply lay the backing back down and burnish that spot again.
And just like that, a simple glass bottle gets a whole new look!

The cat, leaves, and floral details give this little bottle a beautiful decorative feel. You could even add a small light inside if the bottle opening allows for it. As the transfer settles onto the glass, it can take on an especially pretty, stained-glass-like appearance.
This is also a great way to give new life to an inexpensive bottle or repurpose one you already have at home.
Ready to create your own? Start with the Whiskers & Wildflowers Transfer Set and add the Essential Rub-On Transfer Tool for easy burnishing.
Grab your favorite transfers and turn an ordinary glass bottle into something uniquely yours!
Halloween Featuring Amanda Dillon
 Halloween
 Featuring Melissa Bradshaw
 Fall 2026
 Featuring Sharon Hankins