 Christmas 2026
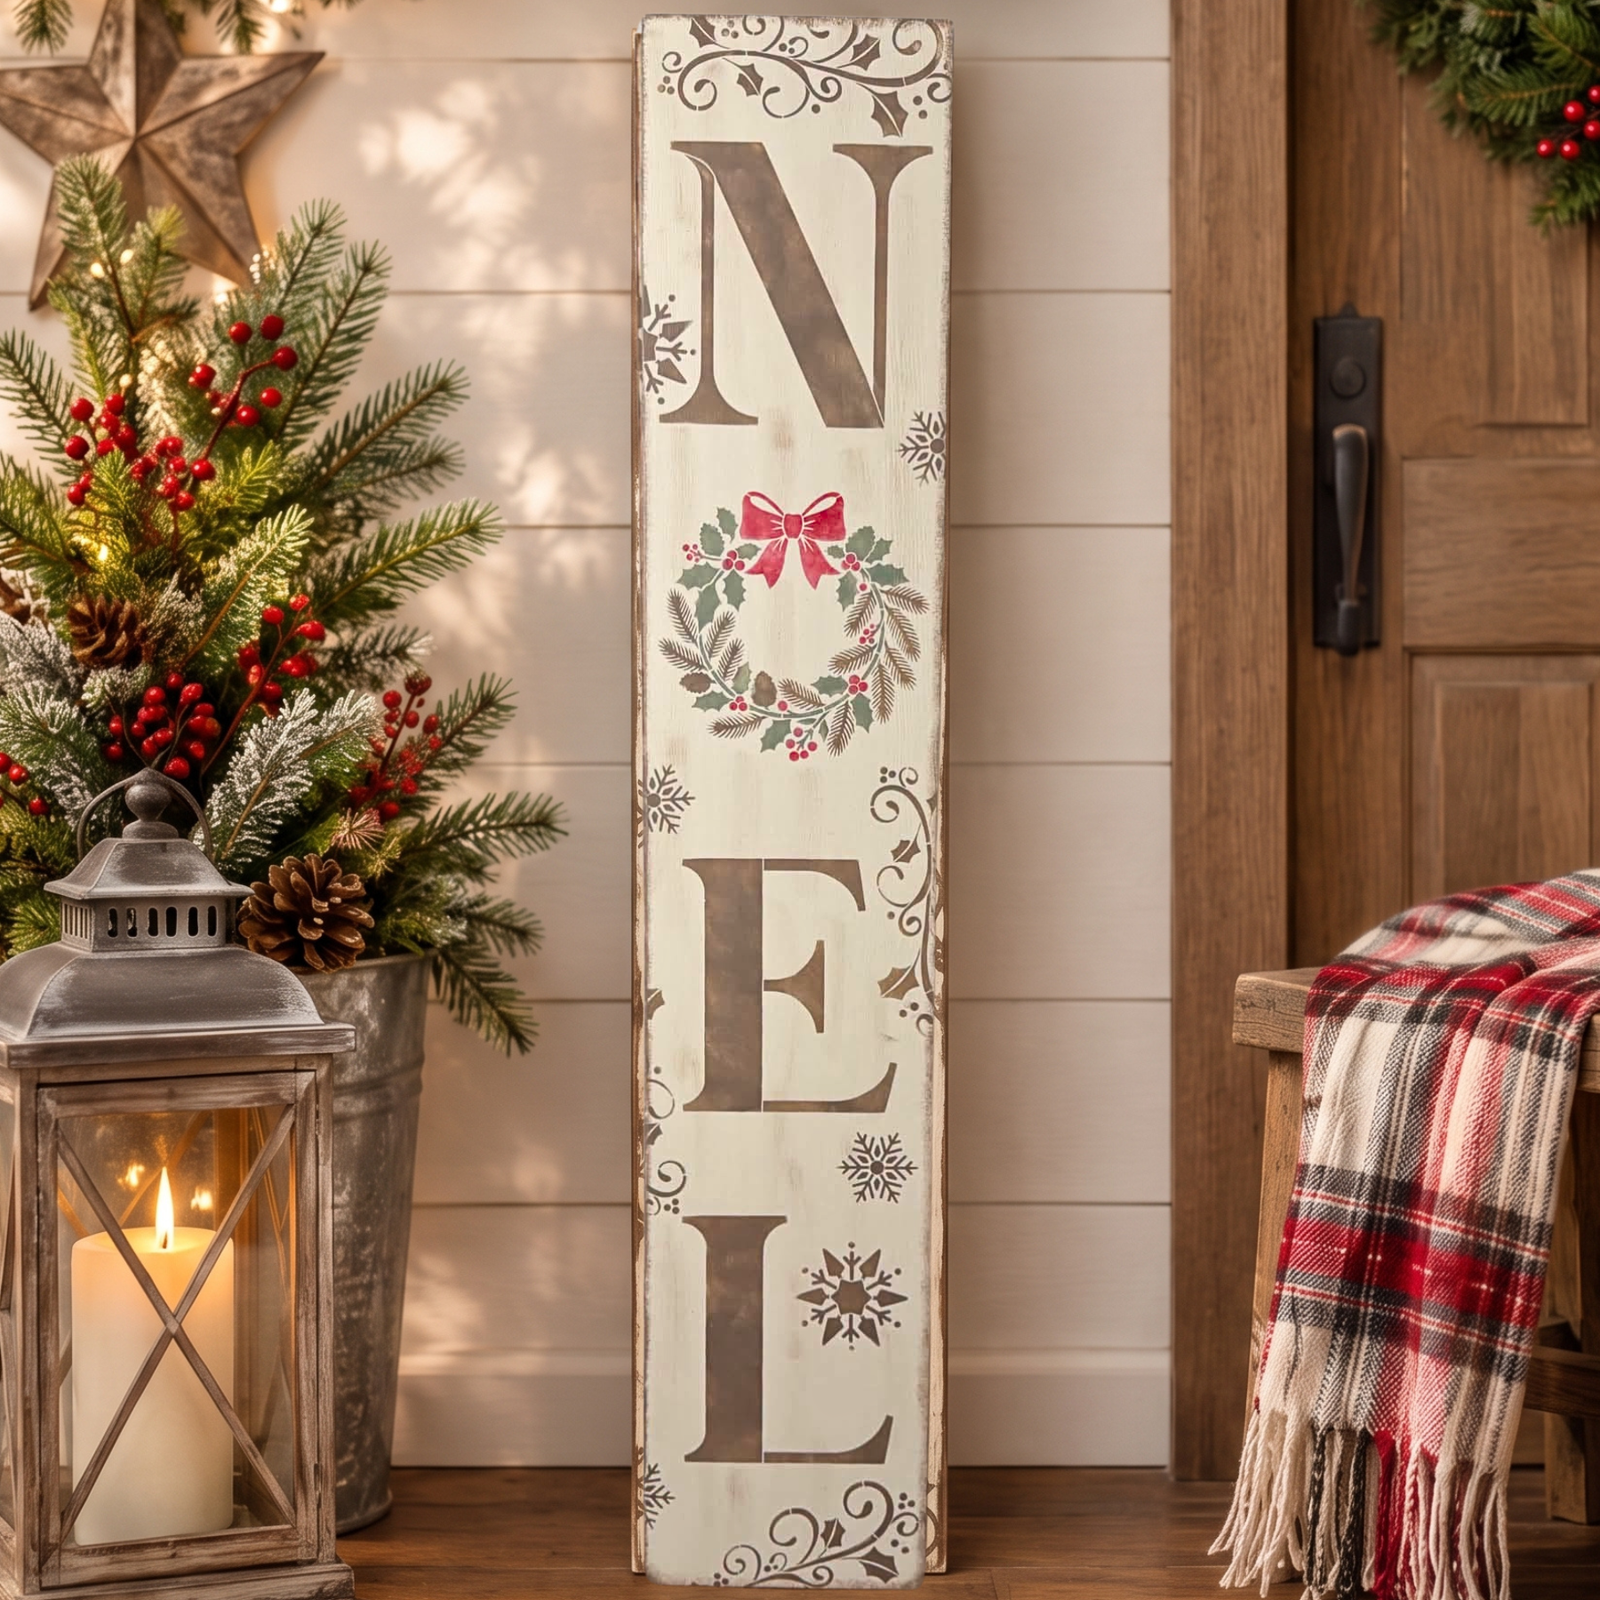
Oh, What Fun! Create a Charming NOEL Christmas Porch Board! ❤️🌿
Featuring Melissa Bradshaw
Bring a little Christmas magic to your front porch! 🎅✨ Melissa from Junk and Craft Treasures shows us how t...


Looking for a fun way to add a little vintage charm to your Christmas decorating? Cindy from Berry Jam Crafts is sharing how to create a festive Mid-Century Merry Christmas Sign using layered stencils, classic holiday colors, and a touch of metallic shimmer!
This DIY Christmas sign combines a softly aged background with retro-inspired red, green, and yellow details. Gold and silver paint splatters add a little sparkle, while the layered stencil design brings the whole project together.
Whether you're making holiday decor for your own home or creating a handmade gift, this project is a great way to experiment with color and layering techniques. Follow Cindy's steps below to create your own vintage-inspired Christmas sign!
Optional: Add your favorite festive colors or experiment with different metallic shades to personalize your sign.
Start with a 10 x 12-inch wood board and apply a coat of white paint. Add a second coat for fuller, more even coverage. Allow the paint to dry until the surface is ready for the next step.

While the white base is still slightly damp, lightly dry brush Burnt Umber across the surface. Concentrate a little more brown around the corners to create a rustic, aged appearance.

Blend the brown gently back into the white using a clean brush. If the corners become too dark, brush a little white paint back toward the center until you achieve the look you want.
Next, prepare your gold and silver metallic paints by mixing each with a small amount of water. Use a thin brush to flick or tap the paint across the board, creating delicate metallic splatters.

Helpful tip: Practice your splatter technique on scrap paper before working on your board. Start with a small amount of paint and build up the effect gradually. Let the background dry completely before stenciling.
Once your background is dry, position the first-layer stencil from the Mid-Century Merry Christmas Stencil Set on your board.
Using a stencil brush, fill the rectangular sections with Tuscan Red, English Ivy green, and Golden Straw yellow. Repeat the colors in a playful pattern to create that classic mid-century Christmas look.

For larger areas, offload excess paint from your brush first. Begin near the edges and work inward with a light hand. You don't need perfectly solid coverage everywhere. A little variation can enhance the rustic finish.
For the stars, apply Golden Straw yellow paint first. Once that layer is dry, add a second coat of gold metallic paint to give the stars extra sparkle.

Important: Let all the paint dry completely before carefully lifting the stencil. Pay special attention to the metallic paint so it doesn't stick to the stencil or smudge your design.
Now it's time to bring the design to life! Once the first layer is completely dry, position the second-layer stencil over the design.
Take your time lining up the stencil. Use the built-in alignment guides to match the second layer to the first. Accurate placement helps create a clean, finished design.
Using a mini stencil brush, fill the remaining design areas with white, red, green, and yellow paint. Cindy uses a relaxed mix of colors to create a festive, vintage-inspired finish.

For smaller details, use a gentle pouncing motion rather than swirling your brush. This helps control the paint and reduces the chance of it slipping beneath the stencil.
If you're applying a light color over a darker area, start with a thin layer and build coverage gradually. You may need a second coat to achieve the desired opacity.
Allow the final layer to dry before removing the stencil and revealing your finished design.
And there you have it! This Mid-Century Merry Christmas Sign combines retro-inspired holiday colors, a softly distressed background, and shimmering metallic details for a festive handmade decoration.

A big thank-you to Cindy from Berry Jam Crafts for sharing her techniques and creative inspiration with Essential Stencil! Her approach shows how a few simple painting tricks can add depth, character, and sparkle to a layered stencil project.
Want to make one of your own? Shop the Mid-Century Merry Christmas Stencil Set and start creating your own vintage-inspired holiday decor.
Save 10% on your Essential Stencil order with Cindy's discount code: BERRYJAMCRAFTS.
Happy crafting!
Want to see how Cindy creates this beautiful Mid-Century Merry Christmas Sign? Watch the full video tutorial below and follow along as she brings this vintage-inspired Christmas project to life!
Christmas 2026 Featuring Melissa Bradshaw
 Christmas 2026
Featuring Tammy Muto
 Christmas 2026
Featuring Sharon Hankins