 Christmas 2026
Sweeten Your Christmas Decor! 3 Adorable Hot Cocoa Blocks to Make This Holiday Season ❤️🍬
Featuring Tammy Muto
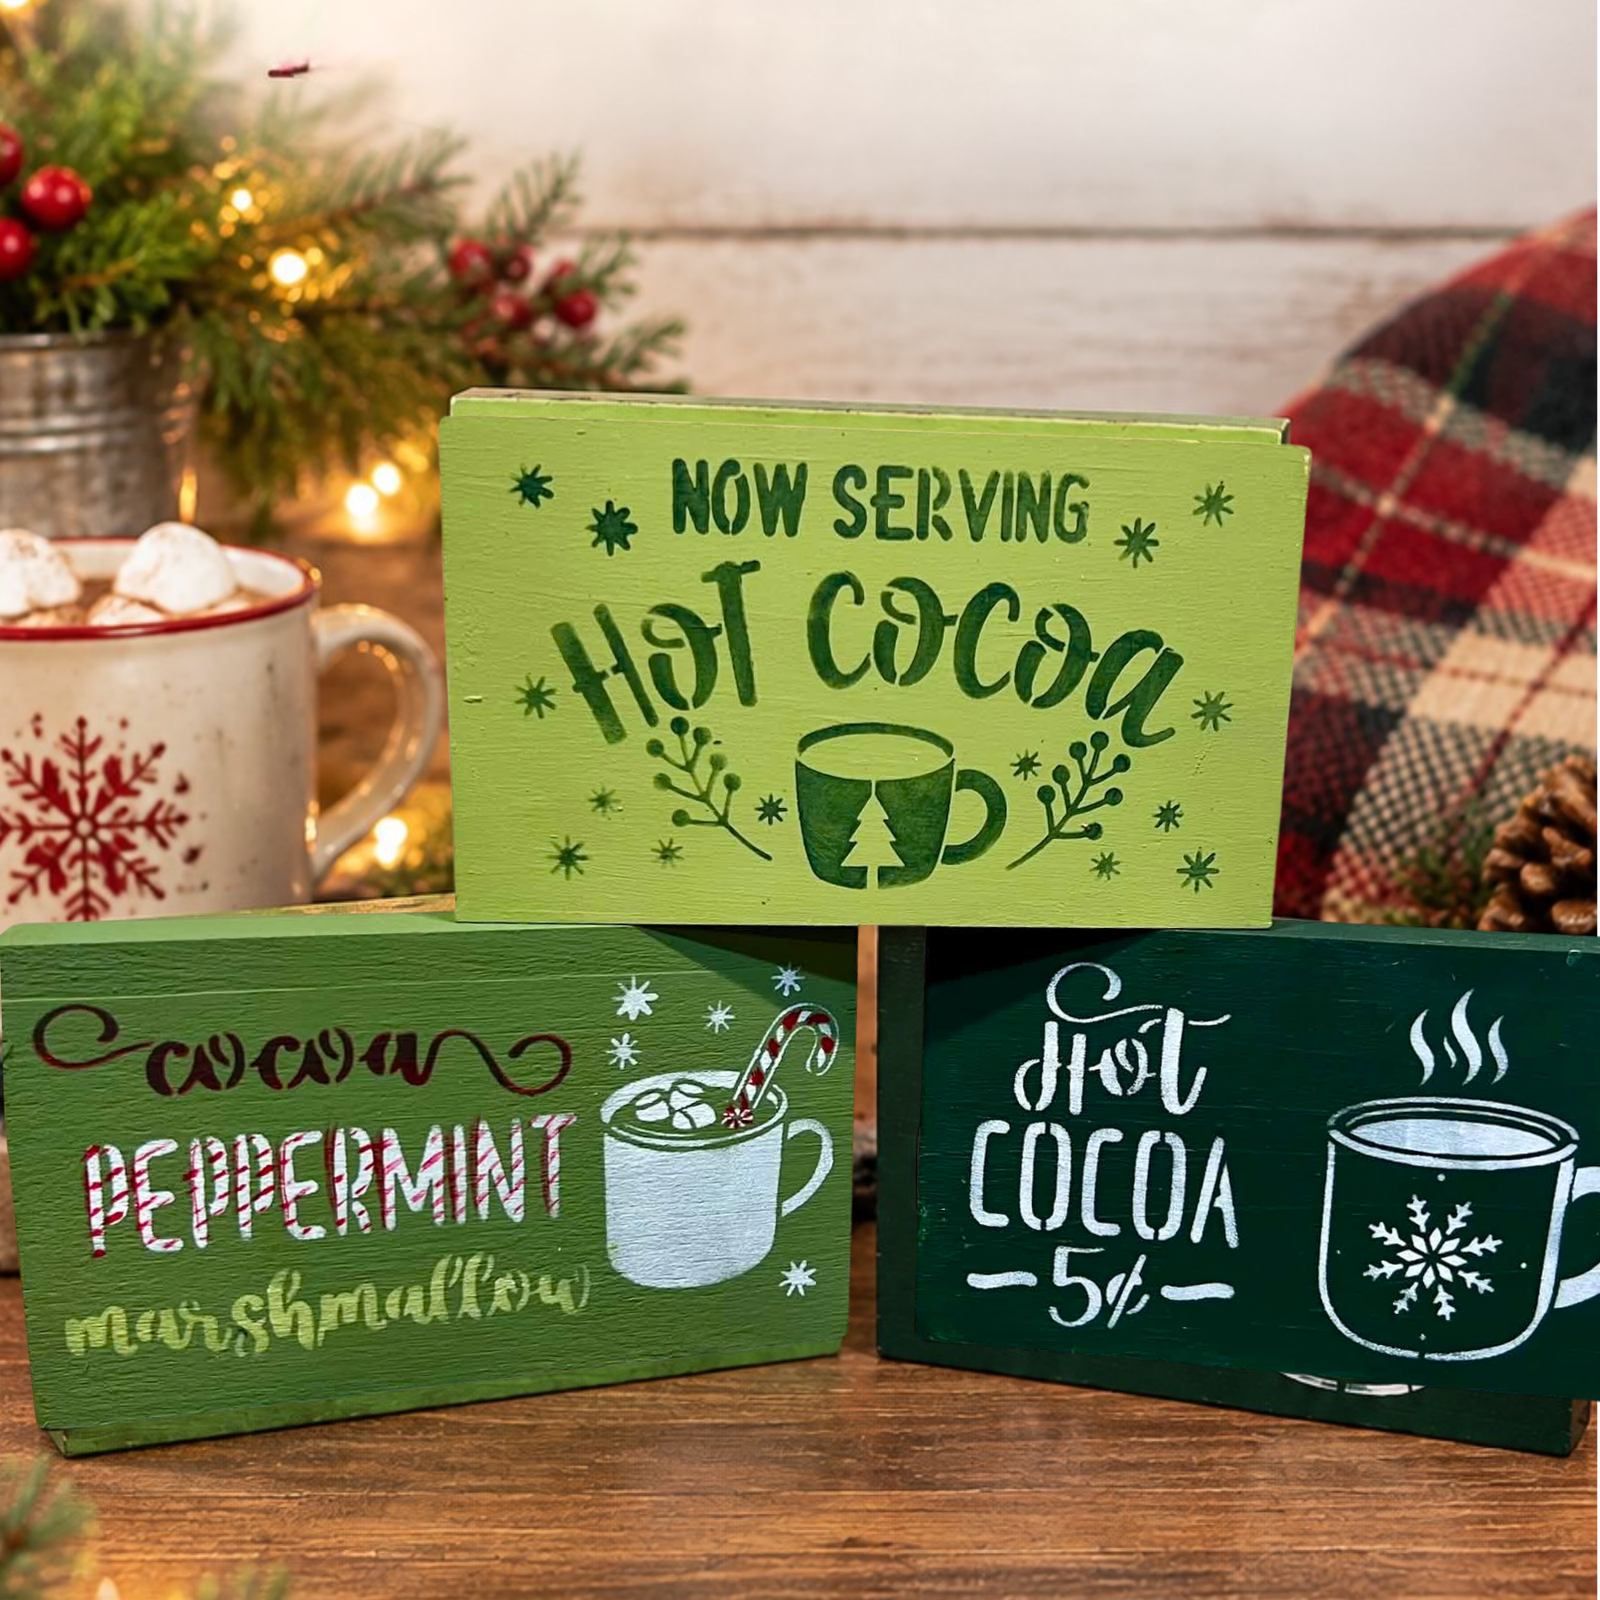
Bring on the Christmas coziness! 🎅☕ Create three adorable hot cocoa blocks with festive stencils, merry pop...


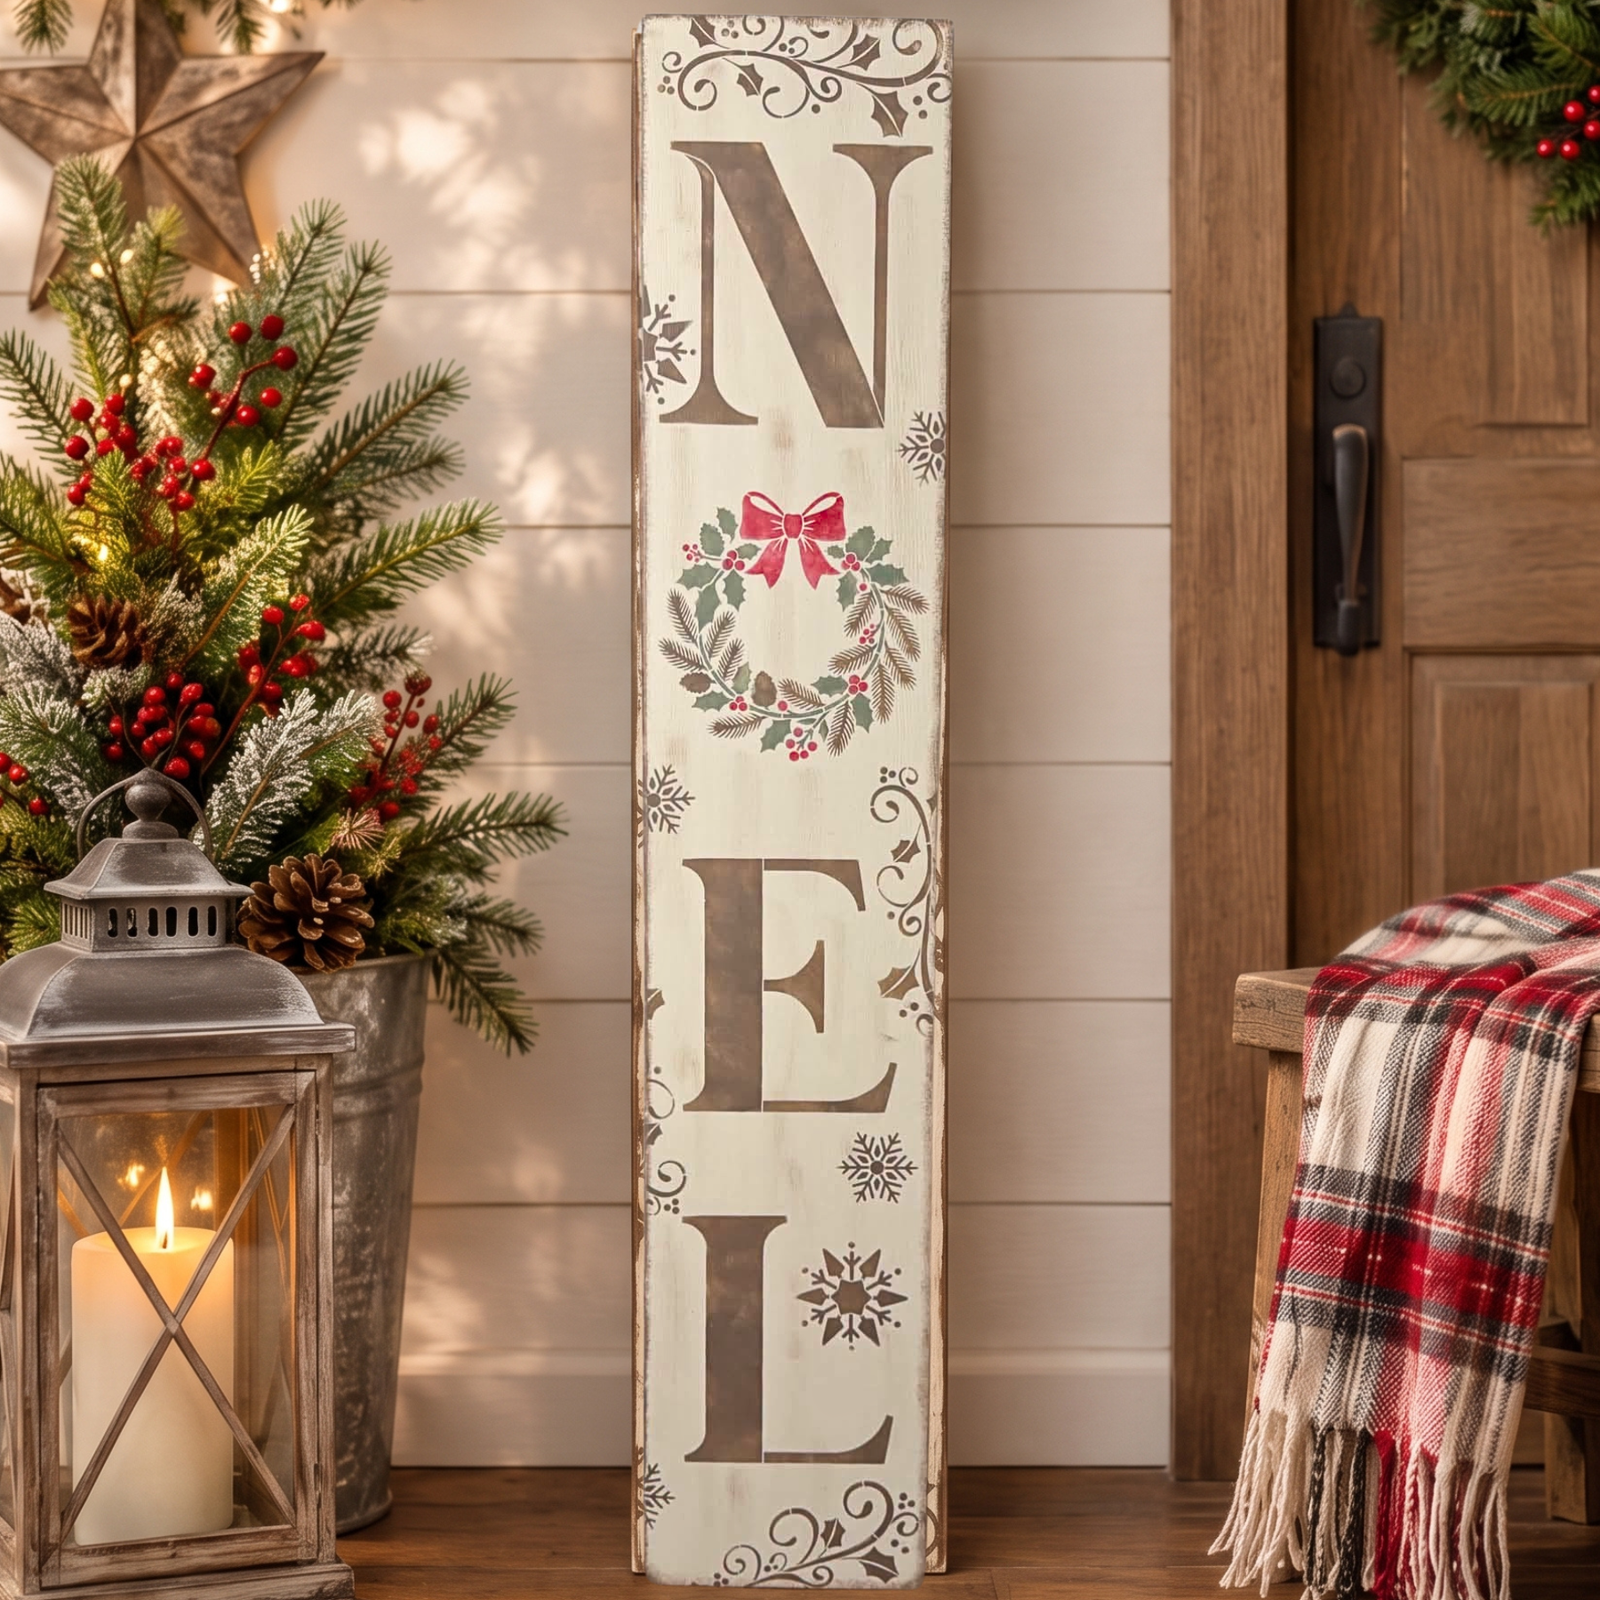
Looking for a cozy, rustic way to decorate your porch for Christmas? This DIY NOEL porch board combines warm neutrals, a festive wreath, and a classic checker pattern for a handmade holiday accent that feels right at home with farmhouse and traditional Christmas decor.
In this tutorial, Melissa Bradshaw of Junk and Craft Treasures shows us how to transform a simple wooden board into a festive four-foot porch sign using the NOEL Porch Stencil and the Large Checker Pattern Stencil.
The neutral color palette keeps the design timeless, while the red bow, green holly leaves, and wreath add just the right amount of Christmas color. Follow along to create your own version, or switch up the colors to coordinate with your holiday decorations!
Start with a wooden porch board measuring 48 inches long, 10 inches wide, and approximately 1.5 inches thick. This size creates a statement piece that's perfect for a covered porch or entryway.
Using a chip brush, apply your first coat of off-white paint to the front, back, and sides of the board. Melissa uses Fusion Mineral Paint in Chateau for a soft, warm background.
Allow the first coat to dry completely before applying a second coat. The additional layer helps create fuller, more even coverage and gives the stenciled details a clean background.

Give your porch board extra character by adding a checker pattern along the sides. Position the Large Checker Pattern Stencil along one side of the board.
Load a stencil brush with Elmwood paint, then offload the excess onto a paper towel before applying it to the stencil. Use a light tapping or swirling motion to fill in the pattern without pushing too much paint beneath the stencil.
Continue repositioning the stencil along the sides until the checker pattern extends around the board's border. Keep the warm brown shade consistent for a coordinated look.

Now it's time to create the main design! Position the NOEL Porch Stencil down the center of the board, arranging the letters vertically from top to bottom.
For this design, the arrangement is N, wreath, E, L. Leave out the letter O and use one of the festive wreath designs included in the stencil set in its place.
Take your time with the layout. Align the stencil edges to help maintain even spacing between the letters and wreath. Once everything is centered and positioned the way you want it, secure the stencils with painter's tape.

With the stencil securely in place, use a stencil brush and Elmwood paint to fill in the N, E, and L. The rich brown creates a beautiful contrast against the off-white background while keeping the overall design neutral.
Offload excess paint before applying it, then use a light swirling or tapping motion to fill the letter openings. Pay special attention to the stencil bridges and edges to help prevent paint from slipping underneath.
Keep the letters evenly filled for a cohesive look, and allow the paint to dry before moving on to the next details.

Here's where the Christmas color comes in! The wreath replaces the O in NOEL and becomes the focal point of the porch board.
Switch to smaller brushes for the delicate details. Use red paint for the bow and berries, pastel green for the holly leaves, and Elmwood for the pine needles.
Work carefully within each section, using a small amount of paint at a time. A light touch helps keep the colors neat and prevents paint from bleeding beneath the stencil.
Once the wreath details are complete, allow the paint to dry thoroughly before carefully lifting the stencil.

Finish decorating the board with the extra snowflakes, holly, swirls, and other festive accents included in the NOEL Porch Stencil set.
Place the smaller designs around the letters and wreath wherever they look balanced. Use Elmwood paint to tie the accents into the checker pattern and lettering.
Feel free to experiment with the placement. You can keep the details symmetrical or arrange them more casually for a collected, handmade look. The wreath is already the main pop of color, so the brown accents help everything feel cohesive.

To bring the entire design together, lightly dry brush Elmwood paint along the edges and across selected areas of the board.
For dry brushing, load your brush with a small amount of paint and remove most of it before touching the wood. Sweep the brush lightly over the surface to create subtle, weathered accents.
This final layer gives the porch board a rustic, aged appearance and helps connect the checker pattern on the sides with the design on the front.
Remember, a little paint goes a long way! Start with a very light application and add more only where needed.

And there it is! Your four-foot NOEL porch board is ready to bring a little handmade Christmas charm to your home. The warm off-white background, Elmwood lettering, checker-patterned sides, and colorful wreath create a festive design that feels both rustic and timeless.

Ready to start your own holiday stencil project? Shop the NOEL Porch Stencil and pair it with the Large Checker Pattern Stencil to create a festive porch board that's uniquely yours.
Don't forget to share your finished project with us! We'd love to see the colors, patterns, and creative touches you choose for your Christmas decor.
Happy crafting, and Merry Christmas!
Join Melissa Bradshaw of Junk and Craft Treasures as she walks you through creating this festive NOEL Christmas Porch Board!
Christmas 2026 Featuring Tammy Muto
 Christmas 2026
Featuring Sharon Hankins
 Christmas 2026
Featuring Cindy Berry

