 Halloween
 👻 Boo! A Spooktacular Little Ghost Tag for Halloween
Featuring Melissa Bradshaw
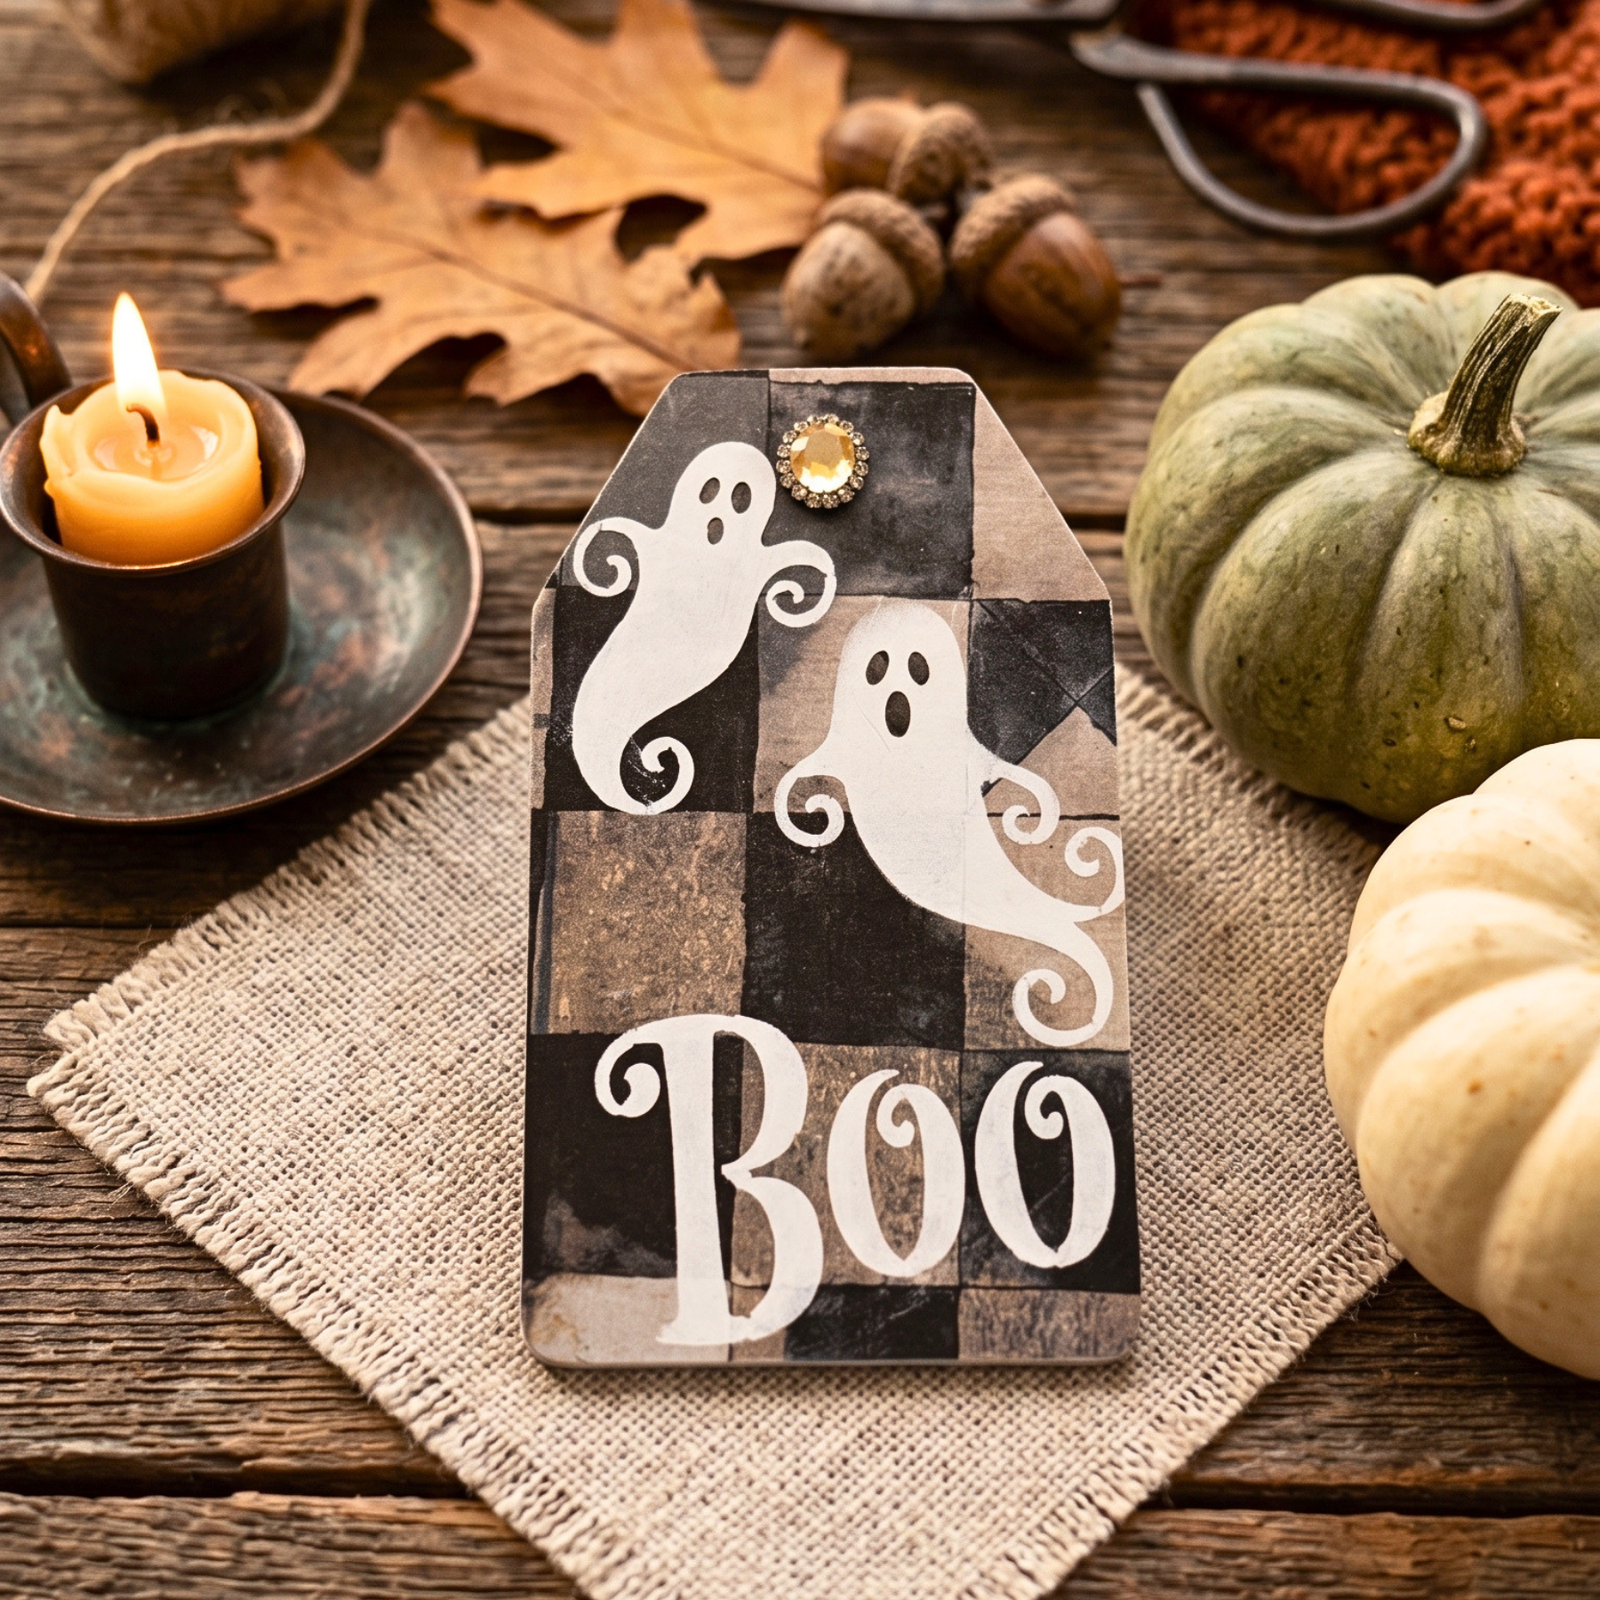
Turn a simple wooden tag into the cutest little Halloween accent! With a fun checkerboard background, adora...


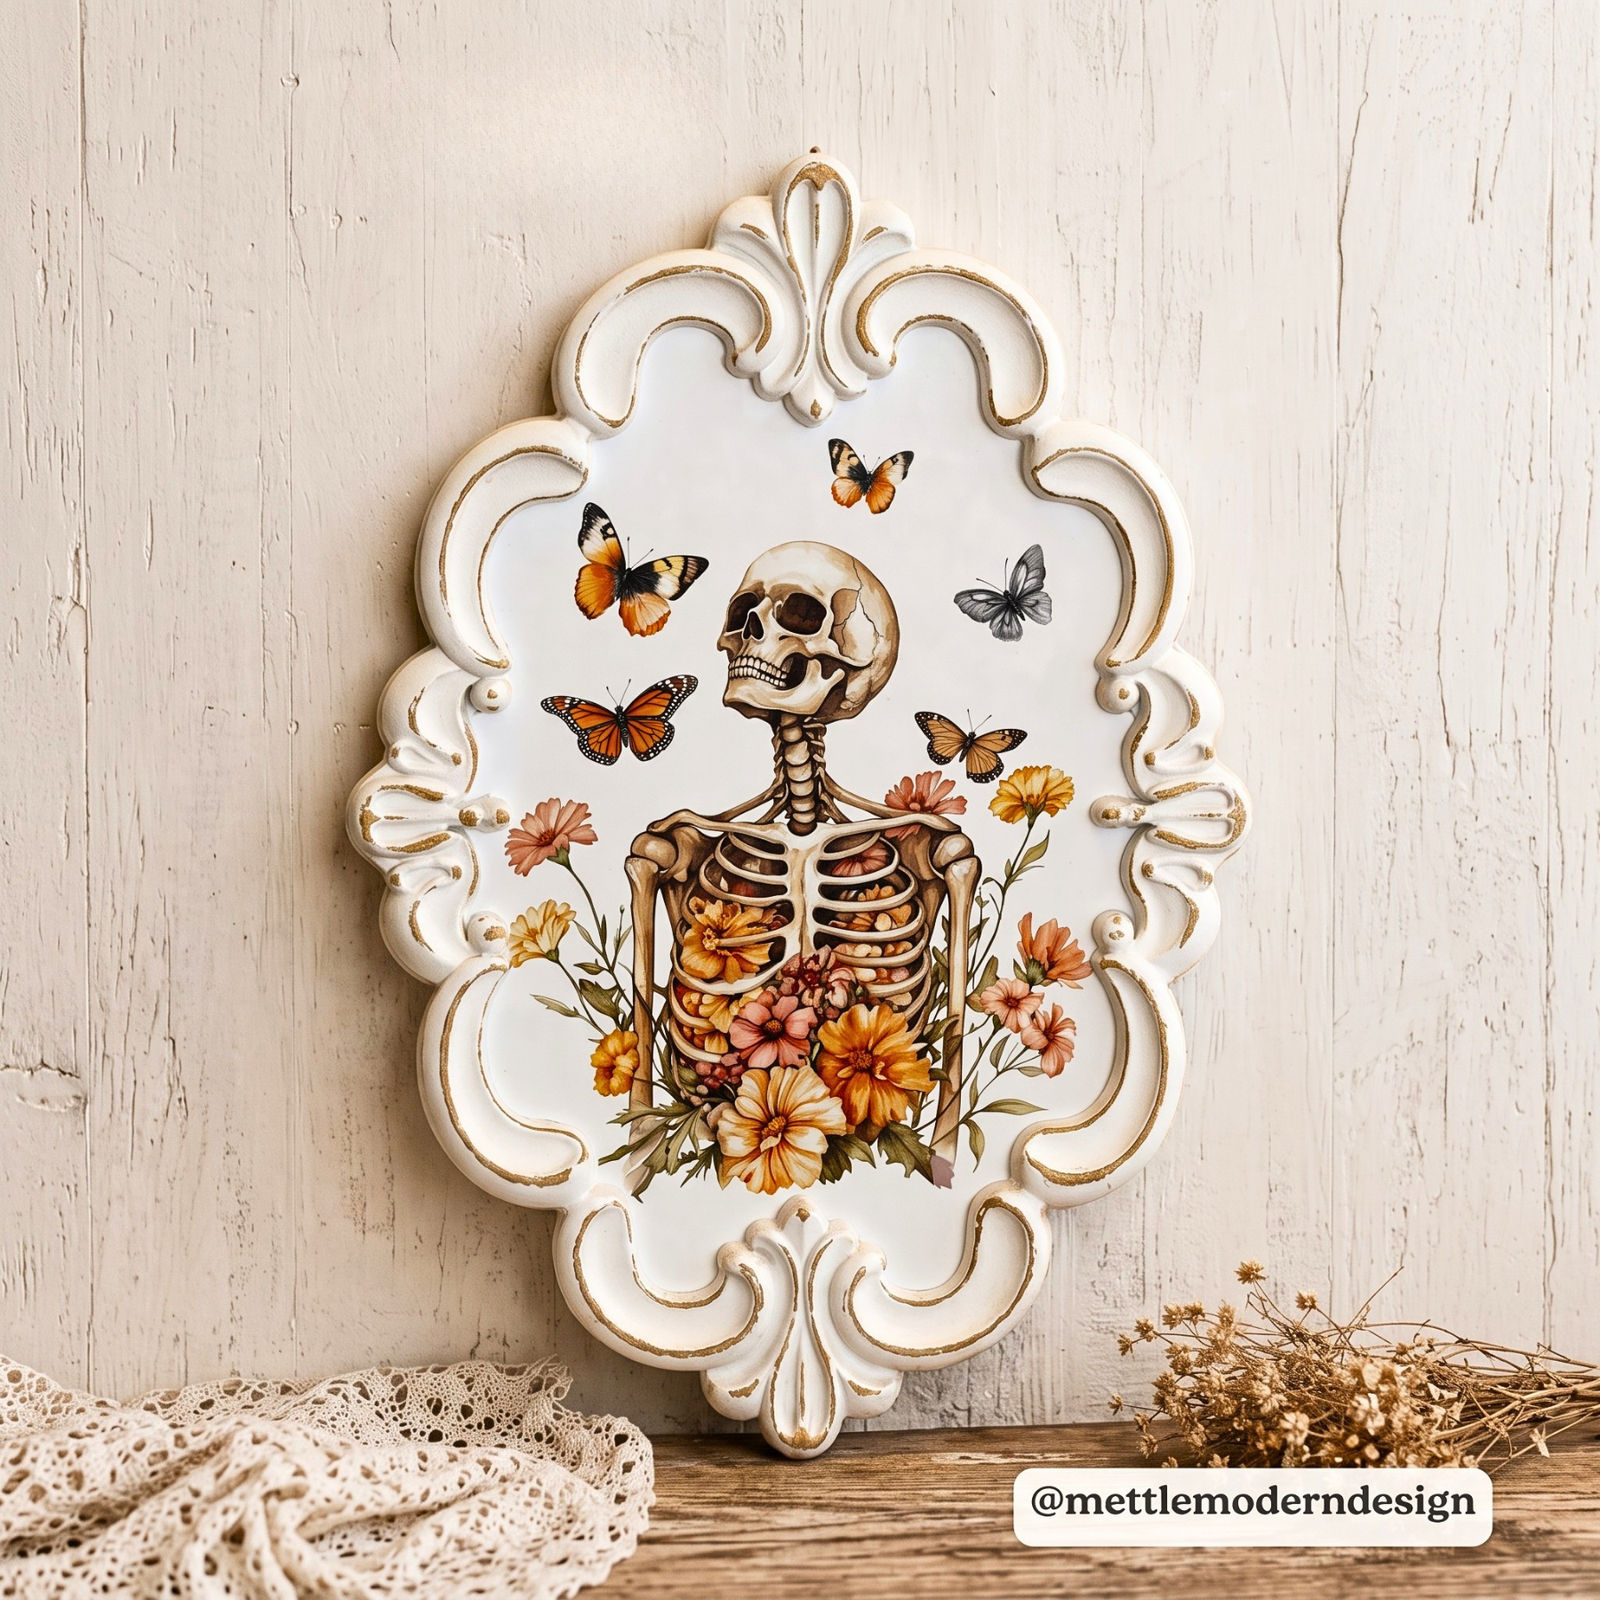
Sometimes the right surface is all you need to turn a simple transfer into a piece of art. In this project, Amanda from Mettle Modern Design shows how a white ornate wood plaque paired with the Bones to Blossoms rub-on transfer creates a striking Halloween-inspired accent in just a few minutes.
The secret is simple: choose a surface that complements the transfer, then let the artwork do the work.
This project starts with a beautiful white decorative plaque. The light background gives the detailed skeleton and butterfly artwork plenty of contrast while the ornate shape adds extra character.

Start with a white decorative ornate wood plaque. Before applying the transfer, make sure the surface is clean, smooth, and completely dry.
A clean surface helps the transfer adhere properly and gives you a smooth finished result.

Trim the skeleton design from the Bones to Blossoms set, cutting fairly close to the artwork. This makes it easier to position the design exactly where you want it.
Center the skeleton on the plaque and smooth the transfer down with your hand first.
Next, use the Essential Rub-On Transfer Tool to burnish the design. Start with the soft side, then go over the transfer with the harder edge.
Take your time around the small details. Make sure every part of the design is thoroughly burnished before lifting the transfer sheet.

Once the skeleton transfer is fully adhered, lightly sand the surface.
This helps remove any extra adhesive and gives the design a smooth, softly blended look. Keep the sanding light so you don't overwork the transfer.

The Bones to Blossoms set also includes beautiful butterfly designs.
Cut out several butterflies and arrange them randomly across the upper portion of the plaque. There's no need to make the placement perfectly symmetrical. A relaxed arrangement gives the finished piece a more natural look.
Once you're happy with the placement, smooth and burnish each butterfly firmly into place.

And that's it! A simple white ornate plaque has been transformed into a dramatic piece of seasonal art with just a few carefully placed transfers.
Amanda's project is a great reminder that the right surface paired with the right transfer can make a big impact without a complicated process.
Want to create your own? Explore the Bones to Blossoms Rub-On Transfer Set and turn your next blank surface into something special.
Halloween Featuring Melissa Bradshaw
 Fall 2026
 Featuring Tammy Muto
 Fall 2026
 Featuring Sharon Hankins

