
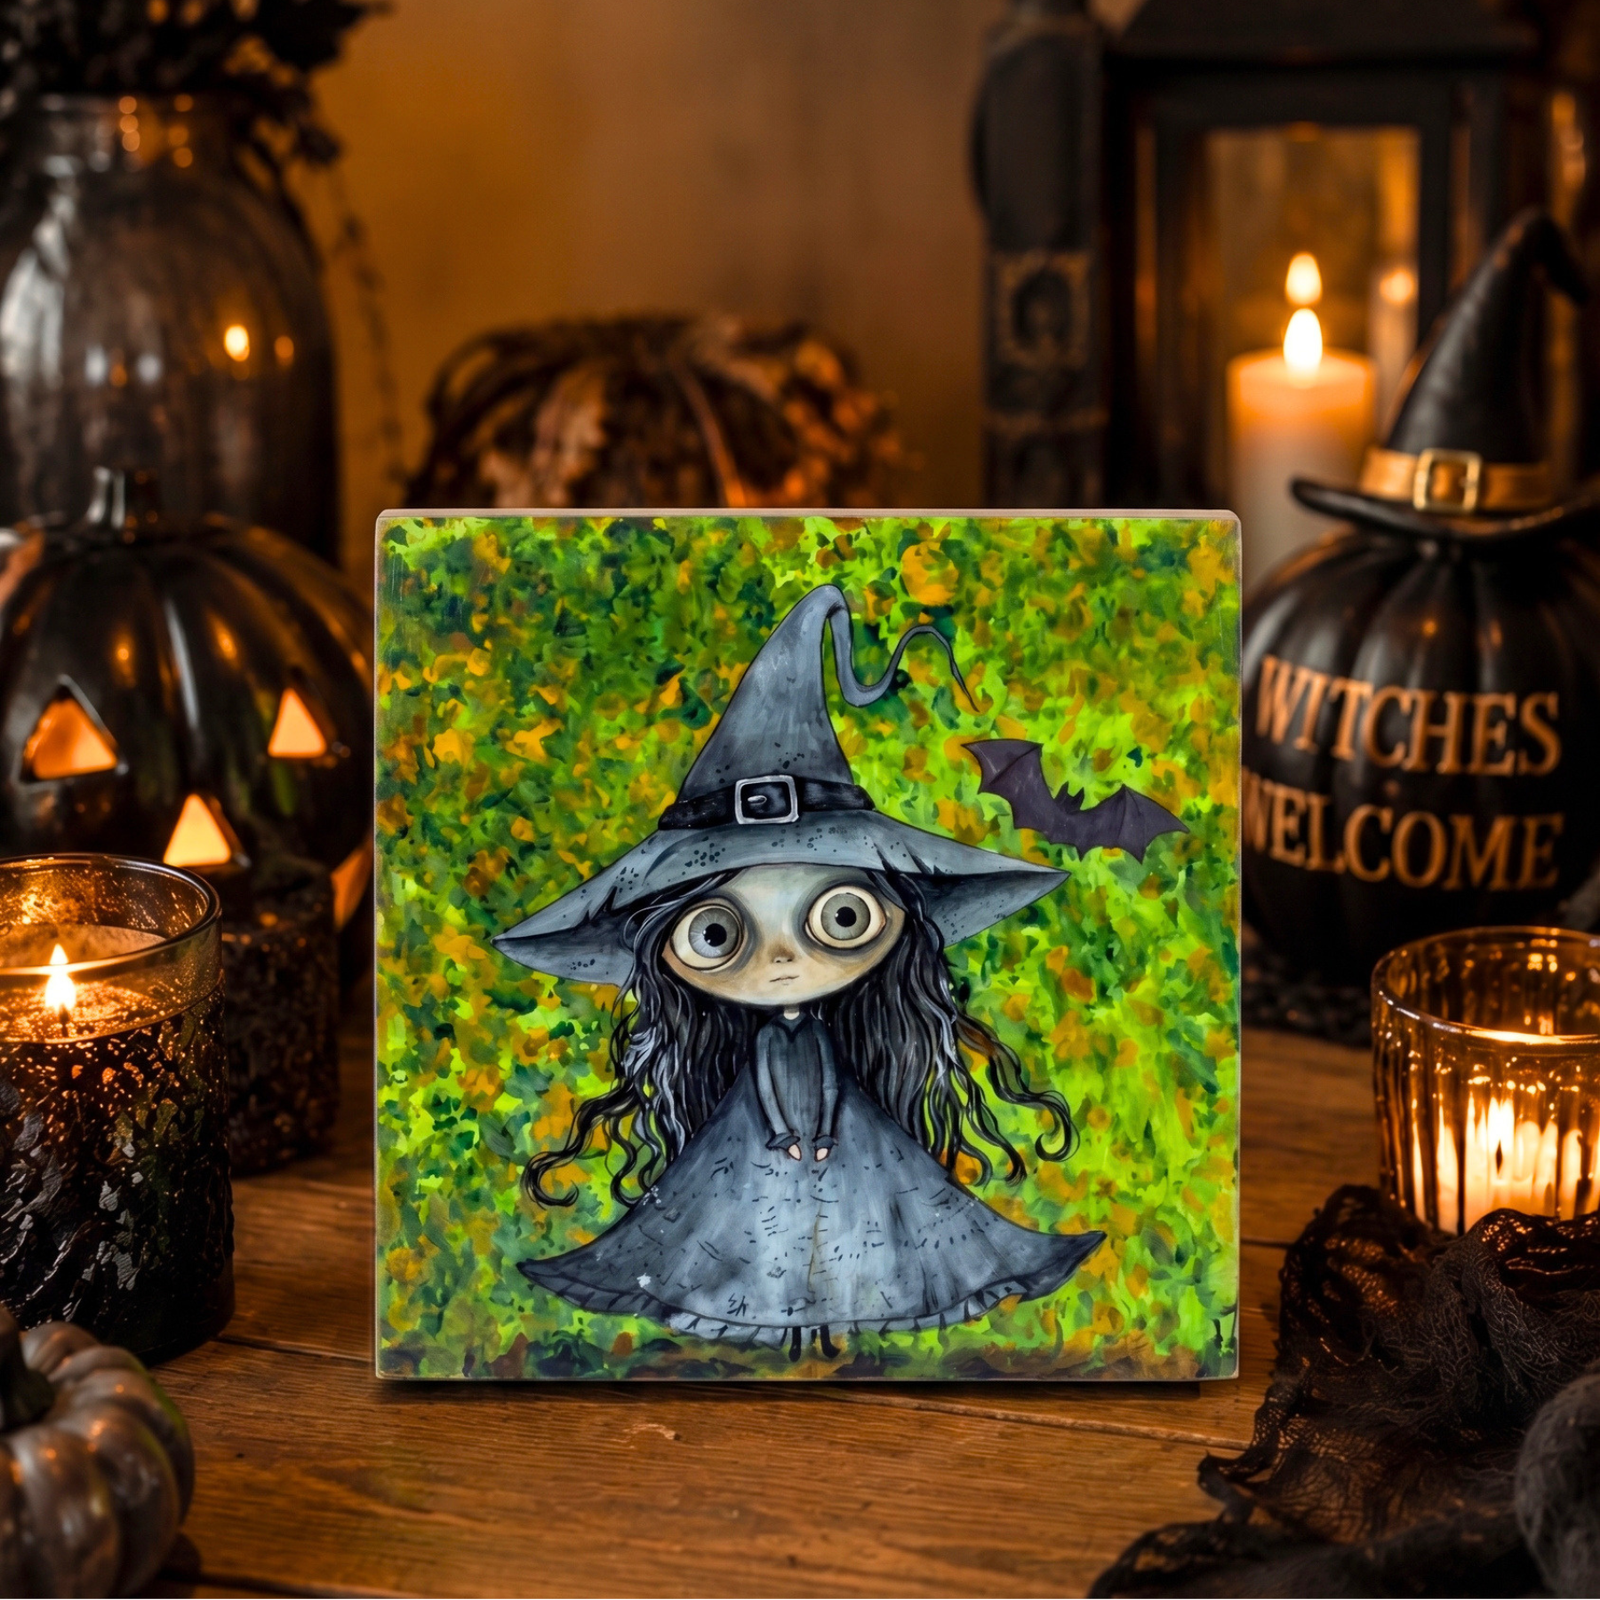
 Halloween
 Bubble Wrap, Witches & a Little Halloween Magic! 👻
Featuring Tammy Muto
Turn a simple wood board into a spooky-sweet Halloween accent! 🧙♀️✨ With bright Sour Apple paint, a fun bub...


Give your Halloween decor a little vintage character with these spooky skeleton portraits! In this project, Melissa of Junk and Craft Treasures creates two matching 8x10 wood panels using layered paint, water-based stain, and the Essential Stencil Skeleton Portraits Stencil Set.
The finished pieces have a beautifully aged background, pops of purple and red, and just enough white to make the skeleton details stand out. They’re a fun way to create Halloween decor that feels handmade rather than overly polished.
Featured creator: This project was created by Melissa of Junk and Craft Treasures. Melissa’s style is all about giving everyday and thrifted pieces new life with creative finishes and a little personality.
Start with two 8x10 wood panels. The goal is to create a dark, aged background while still allowing some of the natural wood grain to show through.
Apply a water-based Dark Walnut stain to each panel using a shop towel or soft cloth. Wipe away some of the excess stain as you work.

Leave some of the wood grain visible. This gives the finished pieces a natural, vintage look instead of making the background feel completely flat.
Let both panels dry completely before moving on.
Once dry, use a chip brush to apply black paint to the center of each board. Then lightly dry brush black around the edges to create a subtle dark frame.

Keep the black soft and blended. You want the brown stained wood to peek through around the edges and throughout the background.
Once the backgrounds are completely dry, position a Skeleton Portraits Stencil onto each board.
Use small pieces of FrogTape rolled behind the stencil to help hold it in place. There’s no need for spray adhesive with these Mylar stencils.
Begin with white paint. Using a stencil brush, load the paint into the bristles and then offload the excess onto a shop towel.
Your brush should look dry, not wet. Too much paint can cause bleeding underneath the stencil.
Start by filling the border areas of each stencil. Apply a second coat where needed for fuller coverage.

Next, lightly fill in both skeletons with white. Use a little more paint on the faces and necks so those features have enough definition to stand out against the dark background.

For the larger areas, a gentle swirling motion works well. Switch to a pouncing motion when working around smaller details.
You don’t have to make the white completely solid. Leaving some areas lighter and darker creates a vintage, slightly chippy finish.
Now it’s time to bring the portraits to life with color.
Switch to a mini stencil brush for the smaller details. Begin with brown paint on the female skeleton’s hair.

For her floral bow, use red on the flower, green on the leaf, and purple on the bow.
Use that same purple on her dress to create a coordinated look.

The purple is the star of the color palette, especially against the dark stained background.
If you don’t have purple paint ready to go, simply mix a little red and blue together. Add a touch of white if you want a softer lavender shade.
Don’t be afraid to adjust your color as you work. One of the best parts of painting your own decor is that you can tweak the color until it looks just right.
Use the purple paint on the male skeleton’s hat and coat, leaving the hatband unpainted for now.

Because purple is being painted over a dark background, you may want to add a second coat for stronger coverage.
Finish the male skeleton with a bold red hatband. It coordinates with the flower on the female portrait and gives the pair a bright Halloween-inspired pop of color.

Once all of the paint is dry, carefully remove the FrogTape and reveal your finished skeleton portraits.

The combination of stained wood, softly blended black paint, vintage-style white stenciling, and colorful accents gives these two panels plenty of personality.
For an extra-finished look, consider adding a frame around the edges. You can also customize the display with greenery, additional wood pieces, or other Halloween accents.
The beauty of a project like this is that there’s no single right way to finish it. Try a different background color, change the accent colors, or give each skeleton its own personality.
Don’t be afraid to experiment. Layering paint and stain is an easy way to create a finish that feels uniquely yours.
These vintage Halloween skeleton portraits are a great project for anyone who loves spooky decor with a little old-fashioned character. Grab the Skeleton Portraits Stencil Set and your favorite stencil brushes, then start creating!
For easy, controlled stenciling, check out the Essential Stencil Brush Set and bring your own Halloween color palette to life.
Use code CRAFTTREASURES at checkout for Melissa’s featured discount.
Watch Melissa from Junk and Craft Treasures create these vintage-inspired Halloween skeleton portraits step by step!
Halloween Featuring Tammy Muto
 Christmas 2026
 Featuring Sharon Hankins
 Halloween
 Featuring Melissa Miller

