
 Fall 2026
 🍂 Harvest Blessing: A Vintage-Inspired Plaque with a Touch of Golden Glow
Featuring Melissa Bradshaw
Give a simple wood plaque a beautiful autumn makeover with the Harvest Blessing Transfer! Layer distressed ...


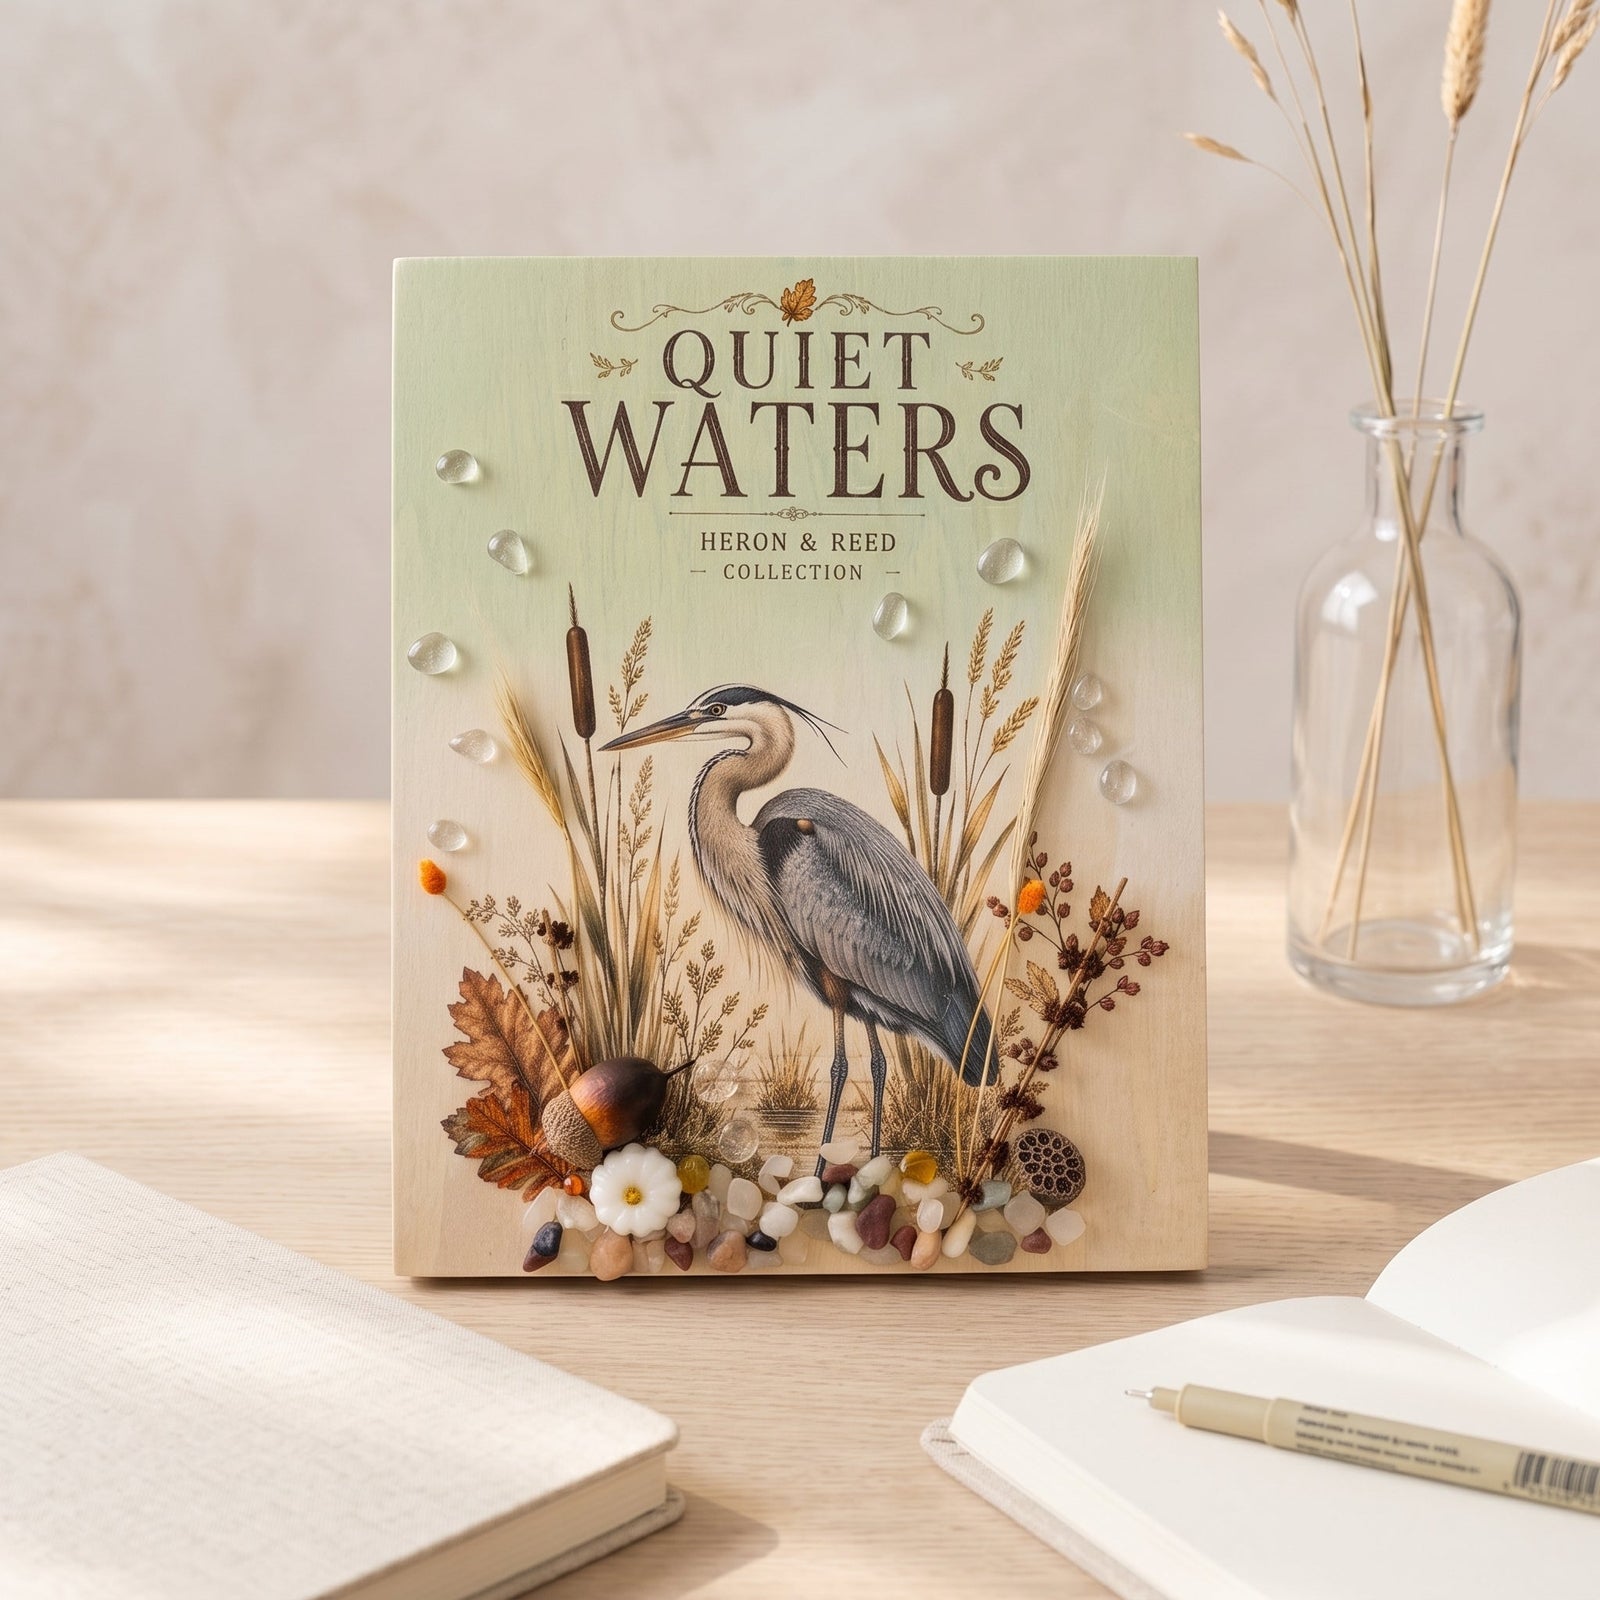
Bring a little coastal fall feeling to your home with this beautiful Quiet Waters Mixed Media Project. This 8x10 cradled wood panel starts with a soft blend of white, pastel teal, and warm beige stain. Then, a beautiful heron transfer and simple dimensional embellishments bring the scene to life.
This project is easy to customize and is a great way to combine flat transfer details with natural, textured elements. Follow along to create your own peaceful marshland-inspired piece.
Start with an 8" x 10" cradled wood panel. The soft stained background creates the perfect setting for the Quiet Waters transfer.

Using a staining sponge, apply white stain over the entire wood panel, including the sides. This gives the other colors a soft base and helps them blend beautifully.
While the white stain is still damp, lightly spritz the surface with water.
Juniper Mist is a soft pastel teal that adds a beautiful watery feel to the background. Using a separate staining sponge, lightly apply it across the top half of the board.

Apply Weathered Oak to the bottom half of the board. Lightly spritz with more water and use your white stain to help soften the transition between the colors.
The goal is a gradual blend without a harsh line between the teal and warm beige tones.

Once the board is completely dry, lightly sand the surface. This creates a smooth finish for applying the transfer.

Now it's time to add the focal point of the piece. We're using the Autumn Marshlands Transfer Set and selecting the Quiet Waters design.
Instead of using the entire sheet, strategically cut out the section featuring the heron, reeds, and feathers. This allows you to save the remaining elements for another project.

Position the heron toward the bottom of the board. Leave a little extra room along the bottom for the dimensional elements you'll add later.
Before removing the backing, take a moment to make sure you're happy with the placement.
Once you commit to the placement, you want to avoid moving the transfer.
Remove the backing and gently smooth the transfer onto the surface with your hands. Then use the Essential Rub-On Transfer Tool to burnish the design.
Slowly lift the transfer backing as you work and check that the design is adhering properly. If a small section lifts, simply lay it back down and continue burnishing.
For the wording, separate “Quiet Waters” and “Heron & Reed Collection” from the rest of the transfer.
This gives you more freedom with placement. Position the wording toward the top of the board to create more breathing room between the text and heron.

Once you're happy with the placement, burnish the wording until it is fully adhered.
Separating the wording from the main design is a simple way to customize the layout of your transfer.
The piece is already beautiful at this point, but adding a few raised elements gives it even more character.

Start by arranging river pebbles along the bottom of the board. They create a natural shoreline and help transition the flat transfer into the dimensional portion of the design.
Tuck in a few mini acorns, a small pumpkin, dried reeds, stems, and florals. You don't need a lot. A few carefully placed pieces are enough to create visual interest.
Add a few transparent art glass pieces around the design for another layer of texture and dimension.
The goal isn't to cover the transfer. Instead, let the flat transfer remain the star while the dimensional pieces complement the scene.
Once you're happy with the arrangement, allow everything to dry completely and make sure your embellishments are securely attached.
Do not rush into applying resin. The stain-blending process uses quite a bit of water, so the entire piece needs to be completely dry first.
Once everything is dry and secure, apply a layer of resin over the top to help protect the design and embellishments while giving the piece a finished look.
And there you have it! A simple 8x10 wood panel has been transformed into a peaceful marshland-inspired scene.
The combination of the soft white, teal, and Weathered Oak background with the Quiet Waters transfer creates a beautiful coastal fall feel. The river pebbles, dried elements, pumpkins, and art glass add just enough dimension to make the scene feel alive.

The best part? You can customize the arrangement and save unused transfer elements for future projects. Play with your colors, textures, and embellishments to make the finished piece your own.
Ready to create your own peaceful marshland scene? Start with the Autumn Marshlands Transfer Set and bring your design to life with a few simple dimensional details.
For easy and precise transfer application, add the Essential Rub-On Transfer Tool to your craft supplies.
Let your creativity take the lead and create a Quiet Waters piece that's uniquely yours!
Want to see the Quiet Waters Mixed Media Project come together step by step? Watch the full video below and follow along!
Fall 2026 Featuring Melissa Bradshaw

 Fall 2026
 Featuring Cindy Berry

