 Christmas 2026
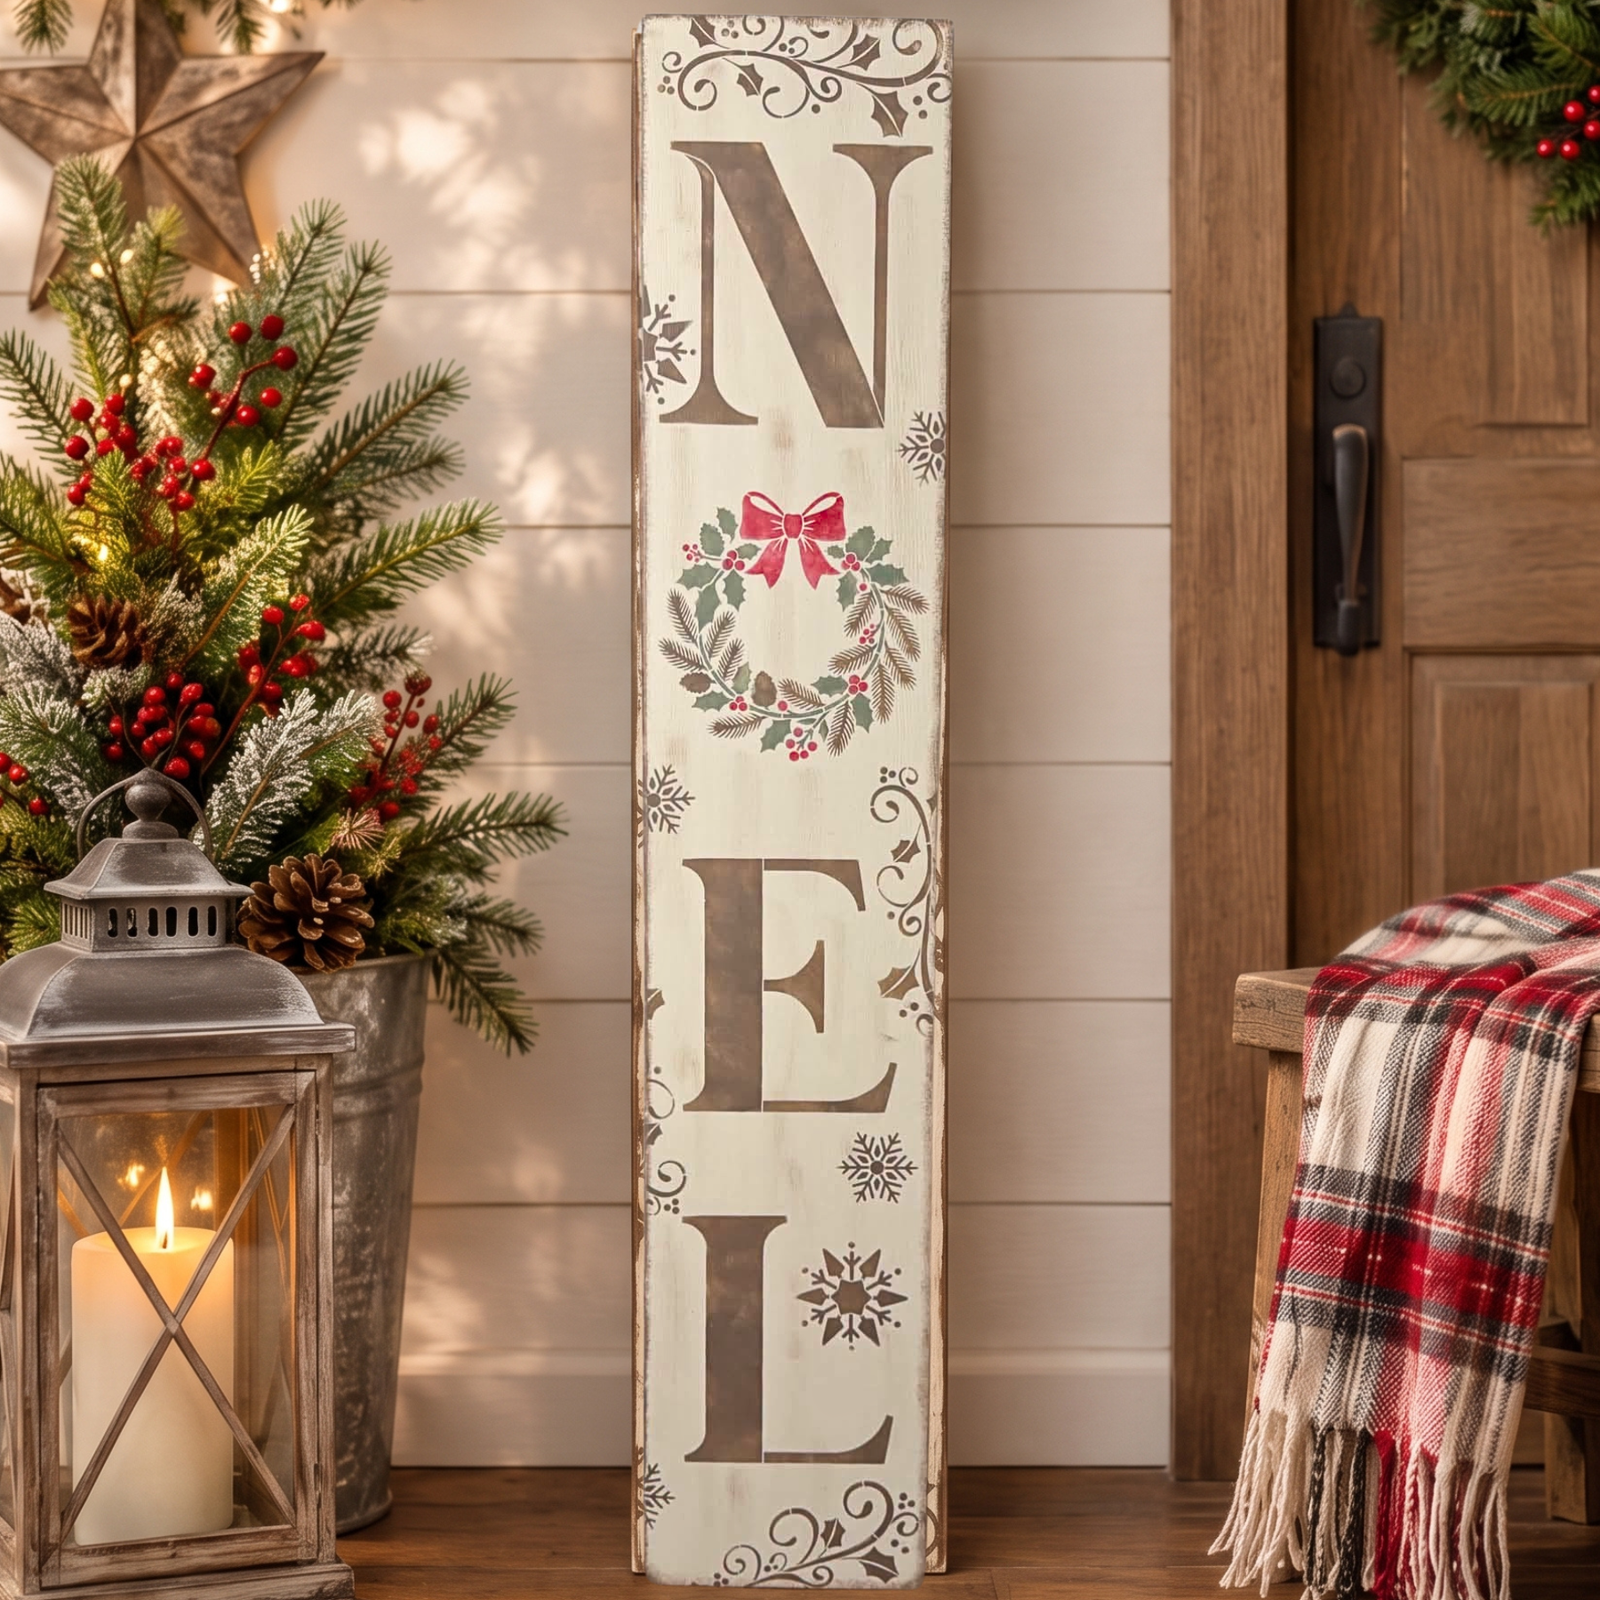
Oh, What Fun! Create a Charming NOEL Christmas Porch Board! ❤️🌿
Featuring Melissa Bradshaw
Bring a little Christmas magic to your front porch! 🎅✨ Melissa from Junk and Craft Treasures shows us how t...


Bring a little Christmas bakery charm to your home with this adorable Gingerbread Bakery sign! Sharon Hankins of I Restore Stuff is sharing a fun layered stencil project featuring three sweet gingerbread men, festive colors, and a rustic farmhouse-style background.
This DIY is a wonderful way to try layered stenciling, even if you're a beginner. With a little paint, a light touch, and a few simple techniques, you can create a charming sign for your kitchen or Christmas decorating.
Let's gather our supplies and get crafting!
Start with a plain white 16 x 12-inch canvas. Sharon uses Fusion Mineral Paint in Cathedral Taupe, a soft grayish-brown shade, to create an aged, distressed finish.
Load your brush with a small amount of paint and gently dry brush across the canvas. Use light, sweeping strokes so some of the white canvas still shows through. Continue along the edges to give the entire piece a cohesive, rustic look.

Next, use a fine detail brush and Algonquin paint to add two horizontal lines across the canvas. These simple lines create the look of weathered barnwood or shiplap and add depth to your background.

Let the background dry completely before moving on to the stencil. This helps keep the next layer neat and crisp.
Once your background is dry, it's time to bring those adorable gingerbread characters to life!
First, mix Fusion Mineral Paint in Iron Clay with Algonquin to create a custom gingerbread brown. Iron Clay can look a little too orange on its own, so adding Algonquin gives it a richer, more natural brown tone.
Position the first layer of your Gingerbread Bakery Stencil Set on the canvas and secure it with painter's tape. Take your time lining it up. Since canvas has some give, avoid pressing too hard in the middle.
Load your stencil brush with a small amount of the custom brown paint, then offload the excess onto cardstock. Use a light swirling motion, working from the outside of each stencil opening toward the center.
Remember: less paint is best! A lightly loaded brush and gentle pressure help prevent paint from bleeding beneath the stencil.
Fill in the three gingerbread men and the main design. Carefully lift the stencil and allow the paint to dry before adding the next layer.

Now for the colorful details that make this sign feel ready for Christmas! Carefully position the second stencil layer over the dried design. Make sure the openings line up with the gingerbread shapes and lettering underneath.
Use Fusion Mineral Paint in Bayberry, a deep green shade, to fill in the words “Cakes, Cookies, Pies” and the little scarves. Work with a lightly loaded stencil brush and gentle pressure.

Next, use Fusion Mineral Paint in Cranberry for the gingerbread men's hats. Red paint may need a second coat for solid coverage, so let the first coat dry before applying more.
For the icing, faces, pom-poms, and peppermint accents, use Victorian Lace white. Carefully fill in the small openings to give each gingerbread man its own personality.

Go back over the red and white areas with a second coat wherever needed. Allow each coat to dry before adding more paint.
Make it your own! You can change the colors to match your holiday decor or add the extra flourishes included in the stencil design for a more detailed finish.
And just like that, your Gingerbread Bakery sign is complete! The combination of the weathered background, warm gingerbread brown, festive green, cranberry red, and creamy white creates a cozy farmhouse Christmas look.

Display your finished sign in the kitchen, style it on a holiday shelf, or add it to your Christmas decorating. It's a sweet seasonal project that brings a little bakery-inspired charm to your home.
This project was created by Sharon Hankins of I Restore Stuff. Sharon shares furniture painting ideas, creative home decor projects, and approachable techniques to help you make your home your own.
Visit Sharon on Facebook or head to IRestoreStuff.com for more inspiration.
Enjoy an extra 10% off at Essential Stencil with Sharon's code IRESTORESTUFF.
Bring this festive design to life with the Gingerbread Bakery Stencil Set. Grab your brushes, choose your favorite holiday colors, and create a handmade piece you'll enjoy displaying year after year.
Shop the Gingerbread Bakery Stencil Set →
Follow along with Sharon Hankins of I Restore Stuff as she creates this adorable Gingerbread Bakery sign, and see each step come together!
Christmas 2026 Featuring Melissa Bradshaw
 Christmas 2026
Featuring Tammy Muto
 Christmas 2026
Featuring Cindy Berry