 Christmas 2026
✉️ Off to the North Pole! Create the Cutest Christmas Envelope for Santa 🎅❤️
Featuring Sharon Hankins
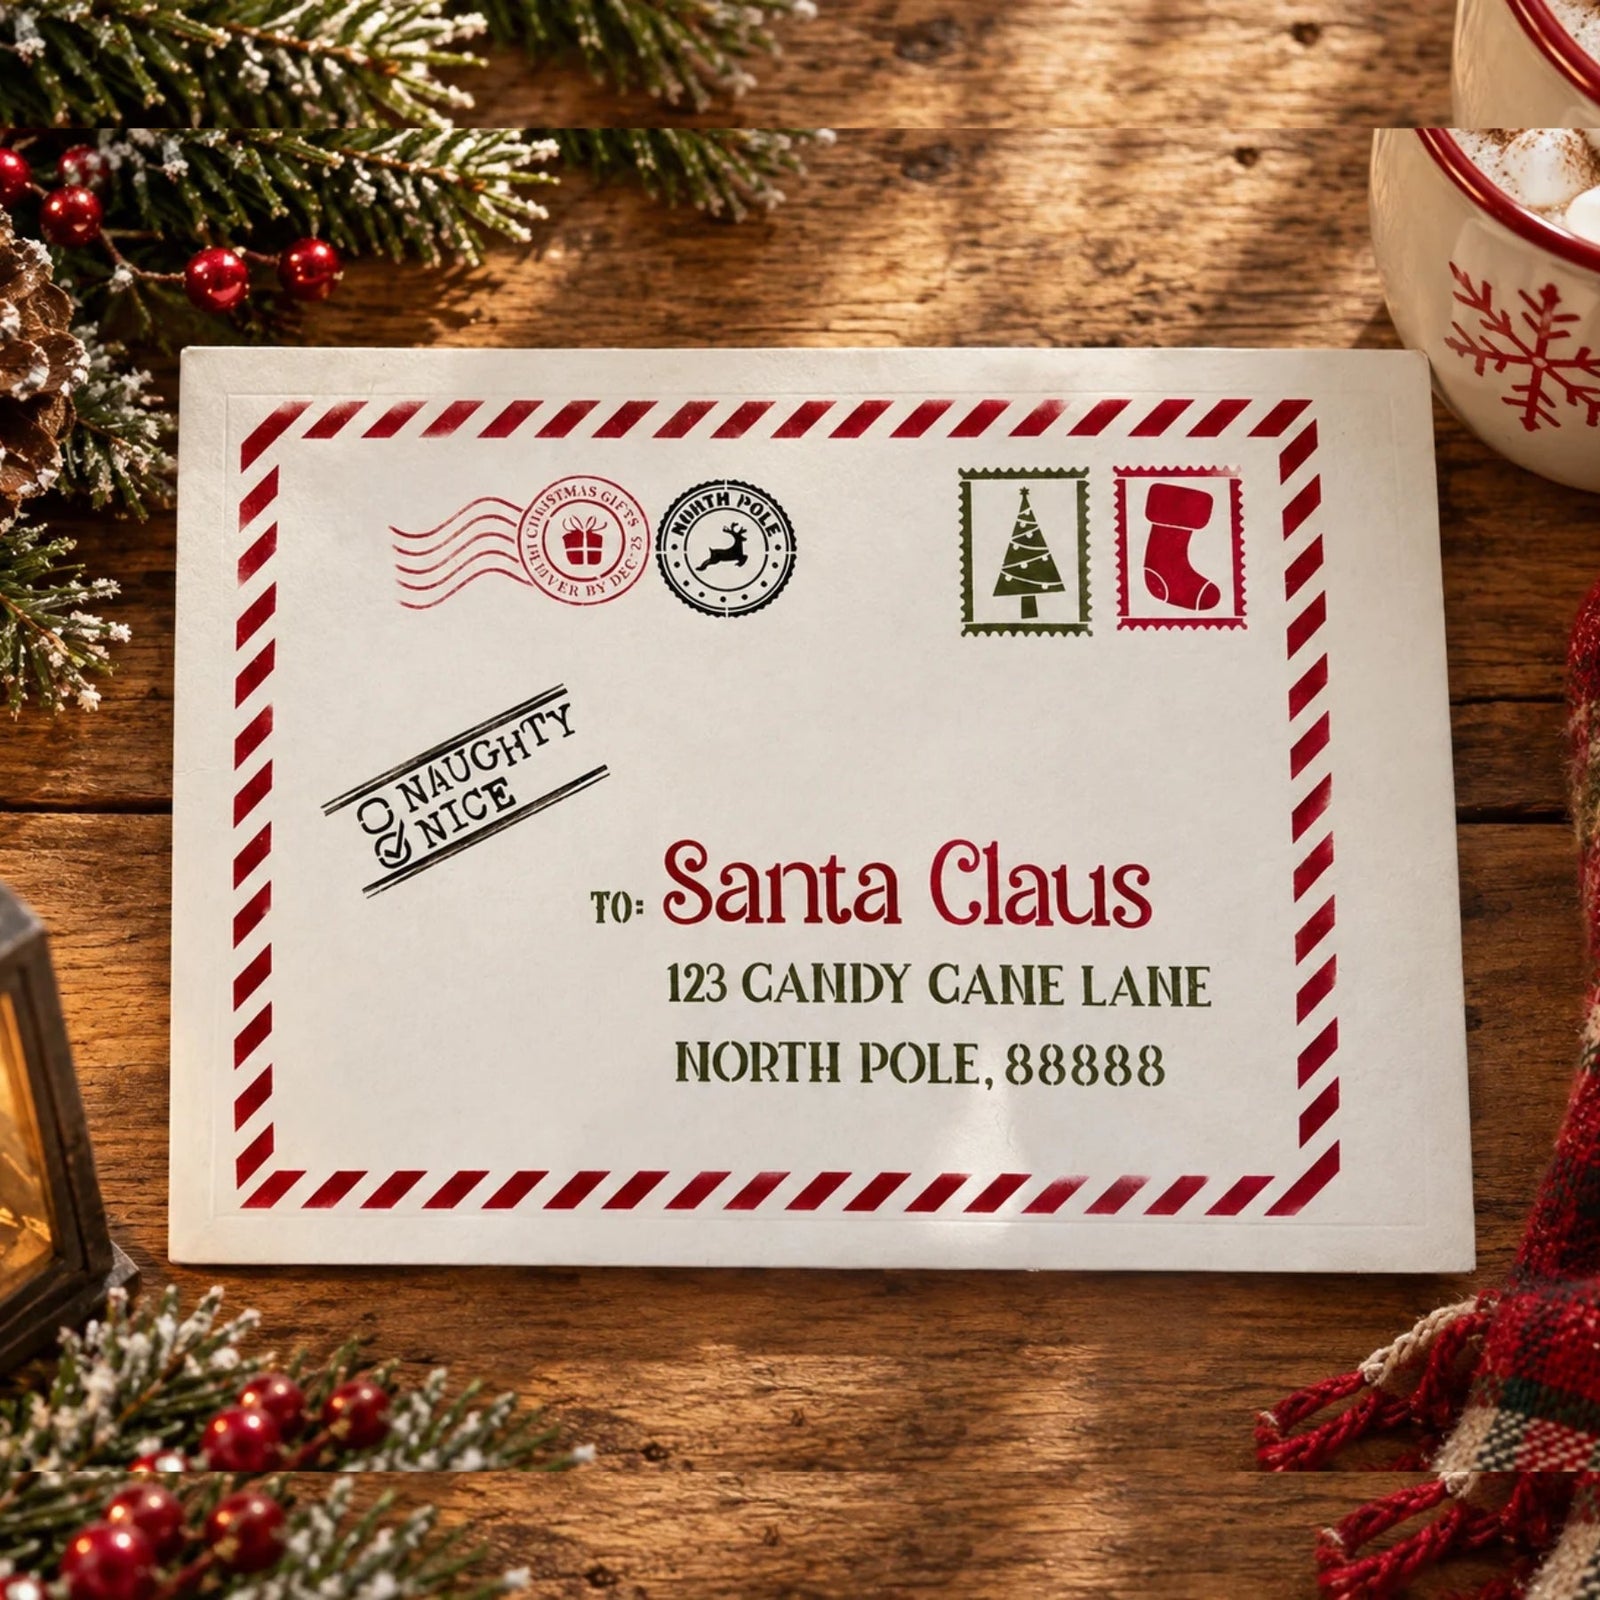
Turn an ordinary envelope into a magical piece of Christmas mail! With the Christmas Postage to Santa Stenc...


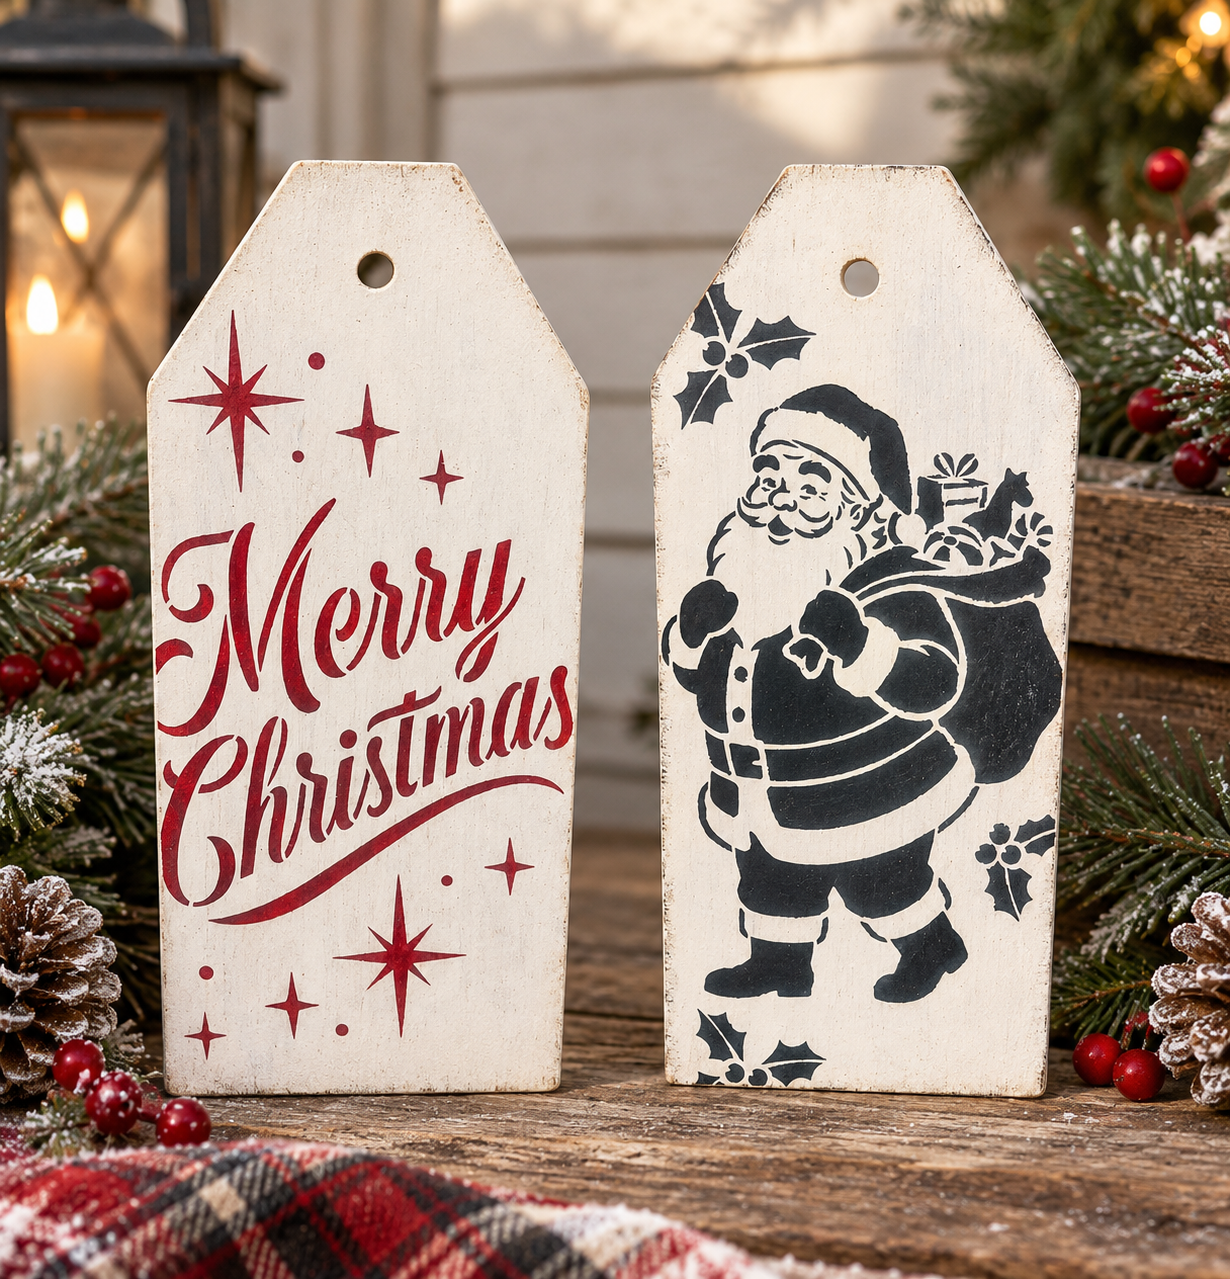
Looking for a simple Christmas project with a vintage feel? These two wooden Christmas tags are easy to make and look adorable displayed together.
Using the Retro Santa Merry Christmas Stencil, a little black and deep red paint, and a couple of wooden tags, you can create a coordinating Christmas set in just a few simple steps.
The combination of off-white, black, and deep red gives these tags a classic vintage Christmas look that works beautifully with farmhouse, rustic, or traditional holiday decor.
Start with the first wooden tag and create a simple black-and-cream Santa design with a little distressed detail around the edges.

Start with a large wooden tag that has been painted off-white. Make sure the base coat is completely dry before stenciling.
Position the Santa design from the Retro Santa Merry Christmas Stencil on the first tag.
Load your stencil brush with black acrylic paint, then offload the excess paint before touching the stencil. This helps prevent paint from bleeding underneath the stencil.
Lightly work the paint over the stencil until you have good coverage.

Once the Santa design is complete, carefully lift the stencil and allow the paint to dry.
Once the Santa is dry, use the same stencil brush with a small amount of black paint to lightly brush around the edges of the tag.
This creates a rustic, distressed effect and gives the tag a little more vintage character.

For the second tag, bring in a little traditional Christmas color with the Merry Christmas design in deep red.

Take the second off-white wooden tag and position the Merry Christmas design from the same stencil set.
Using a clean stencil brush, load it with deep red paint and offload the excess before stenciling.
Lightly fill in the Merry Christmas design, working in thin layers for clean coverage.
Don't worry if the first layer isn't perfectly opaque. Let it dry, then add another light layer if needed.
Carefully lift the stencil and allow the tag to dry completely before displaying it with your Santa tag.
Once both tags are completely dry, they are ready to display!

The black and cream Santa paired with the deep red Merry Christmas design creates a simple vintage Christmas look without needing a lot of supplies or complicated techniques.
Display the two tags together for a coordinated set, or use them separately throughout your Christmas decor. They would look sweet hanging on a tree, a wall, a cabinet, or anywhere that could use a little holiday cheer.
Ready to make your own? Grab the Retro Santa Merry Christmas Stencil and the Stencil Brush 4pc Set to get started.
With two wooden tags and a few simple paint colors, you can create a charming Christmas set with a classic vintage feel.
Want to see how these vintage Christmas tags come together? Watch the full step-by-step tutorial below and follow along as we create this charming Christmas set!
Christmas 2026 Featuring Sharon Hankins
 Christmas 2026
Featuring Amanda Dillon
 Fall 2026
Featuring Melissa Bradshaw